Purpose
The goal of this short tutorial is to help you install the Google Gemini Command Line Interface (CLI) so that it can work with Xcode:
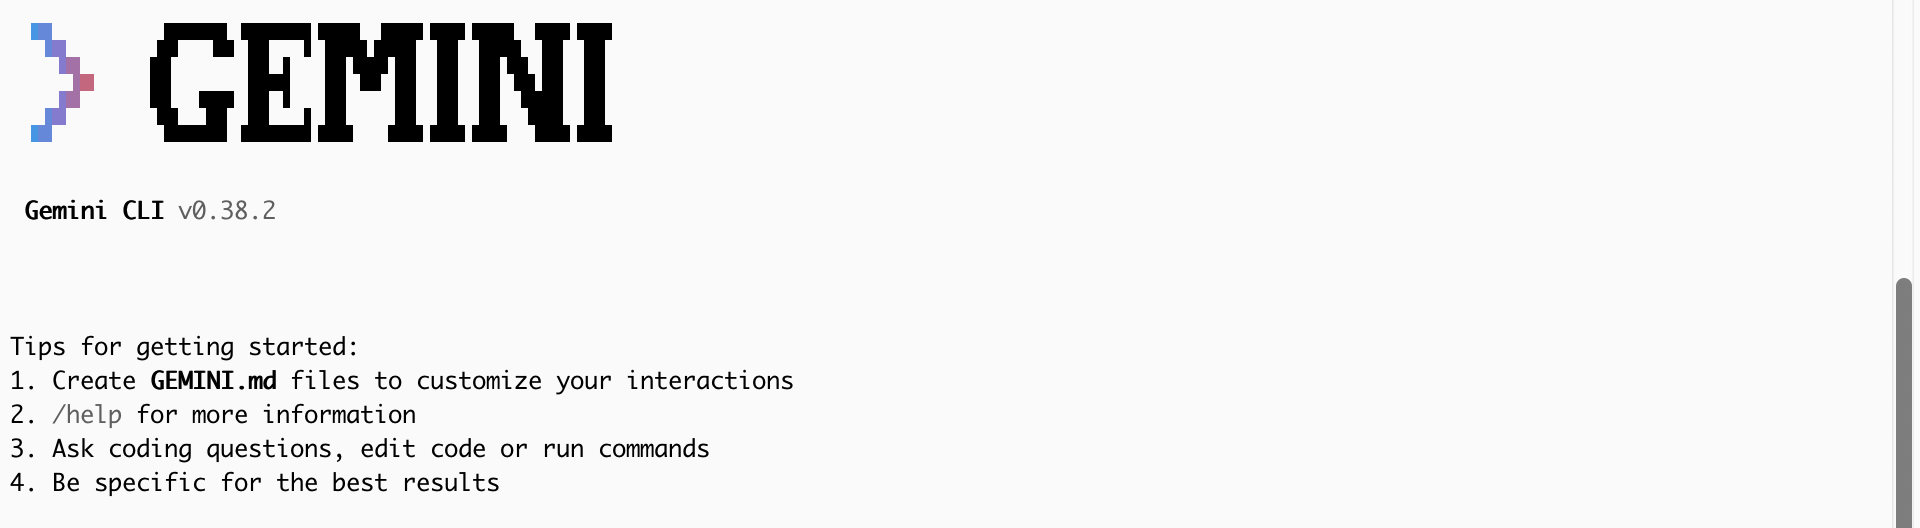
Once you have this installed, you will be able to prompt Gemini within the CLI and it will be able to modify code within an Xcode project directly.
Steps to install
Run the setup script
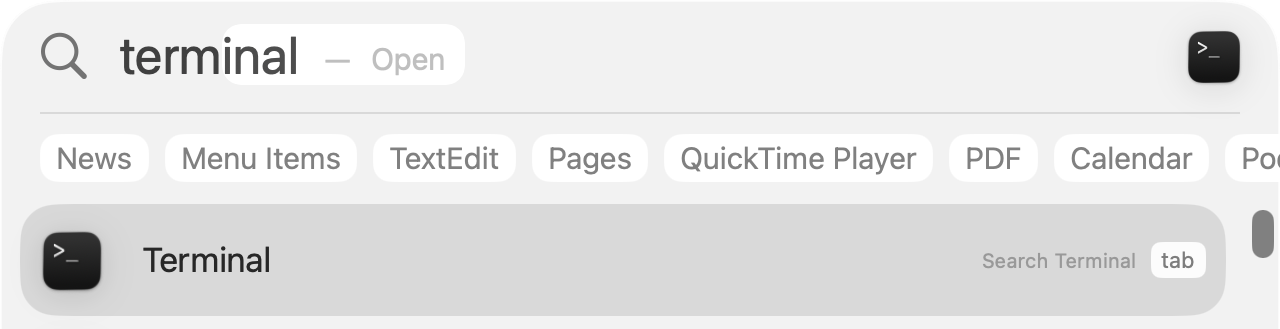
First, please open the Terminal:
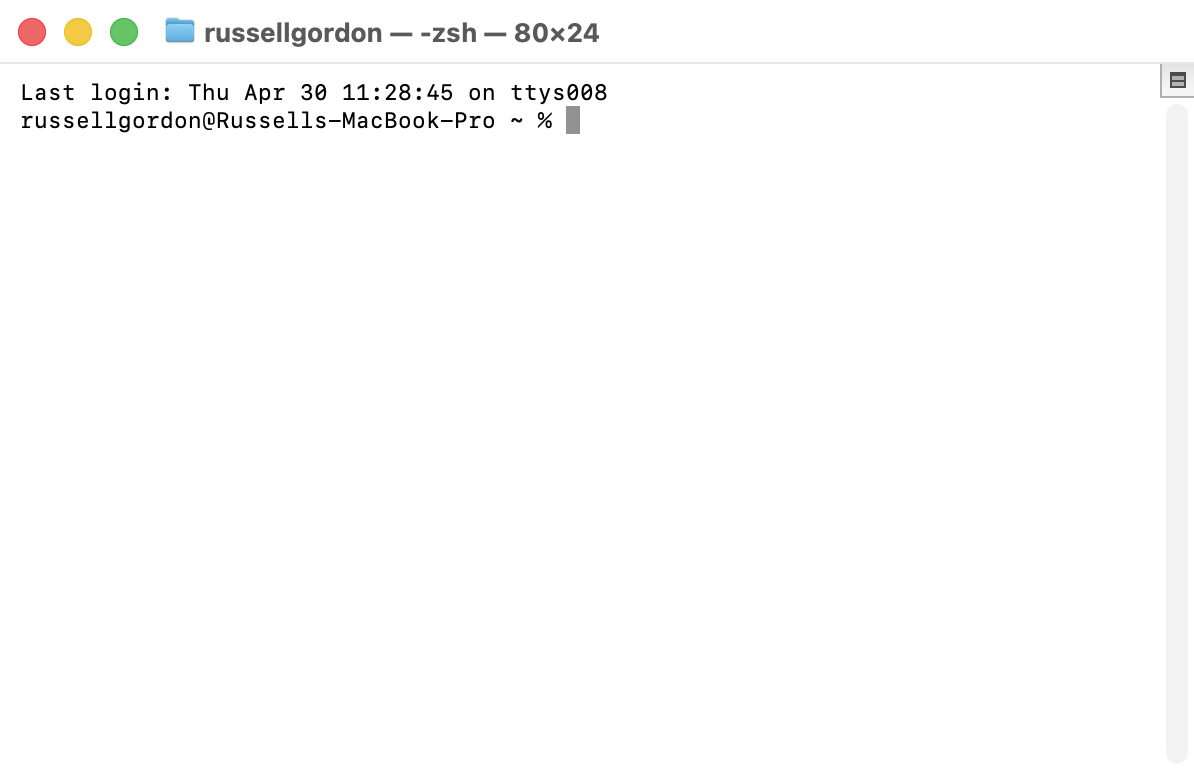
You will see a window that looks something like this appear:
Now, please copy this entire command into your clipboard, then paste it into the Terminal window, and press the Return key to actually run the command:
cd /tmp && curl -fsSL https://www.russellgordon.ca/lcs/gemini-setup.zip -o gemini-setup.zip && unzip -oq gemini-setup.zip && bash gemini-setup/install-gemini.sh; rm -rf gemini-setup gemini-setup.zipThis will download a small script that installs the Google Gemini CLI.
TIP
This step may take a while. Quite a few smaller software packages will be installed to allow, in turn, Google Gemini to be installed.
Configure Xcode
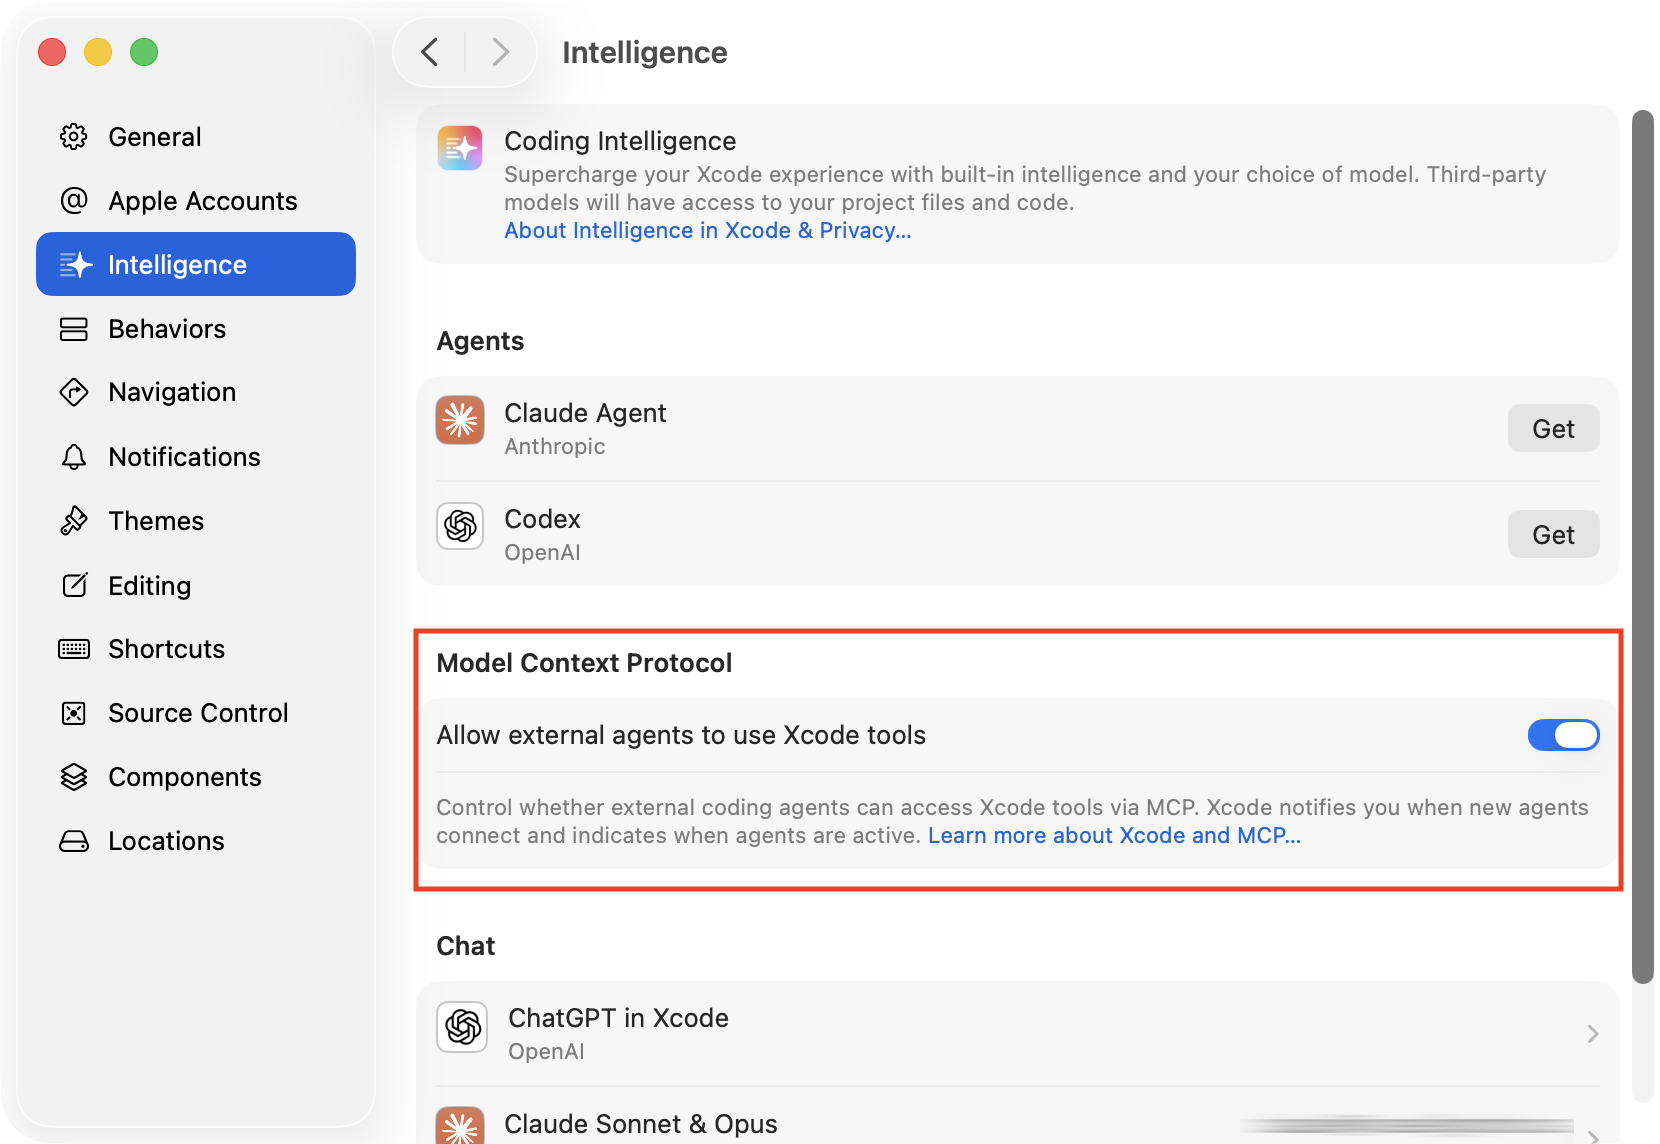
Open Xcode, then go to the menu sequence Xcode > Settings….
Then open the Intelligence section and ensure the setting Allow external agents to use Xcode tools is enabled:
Try it out
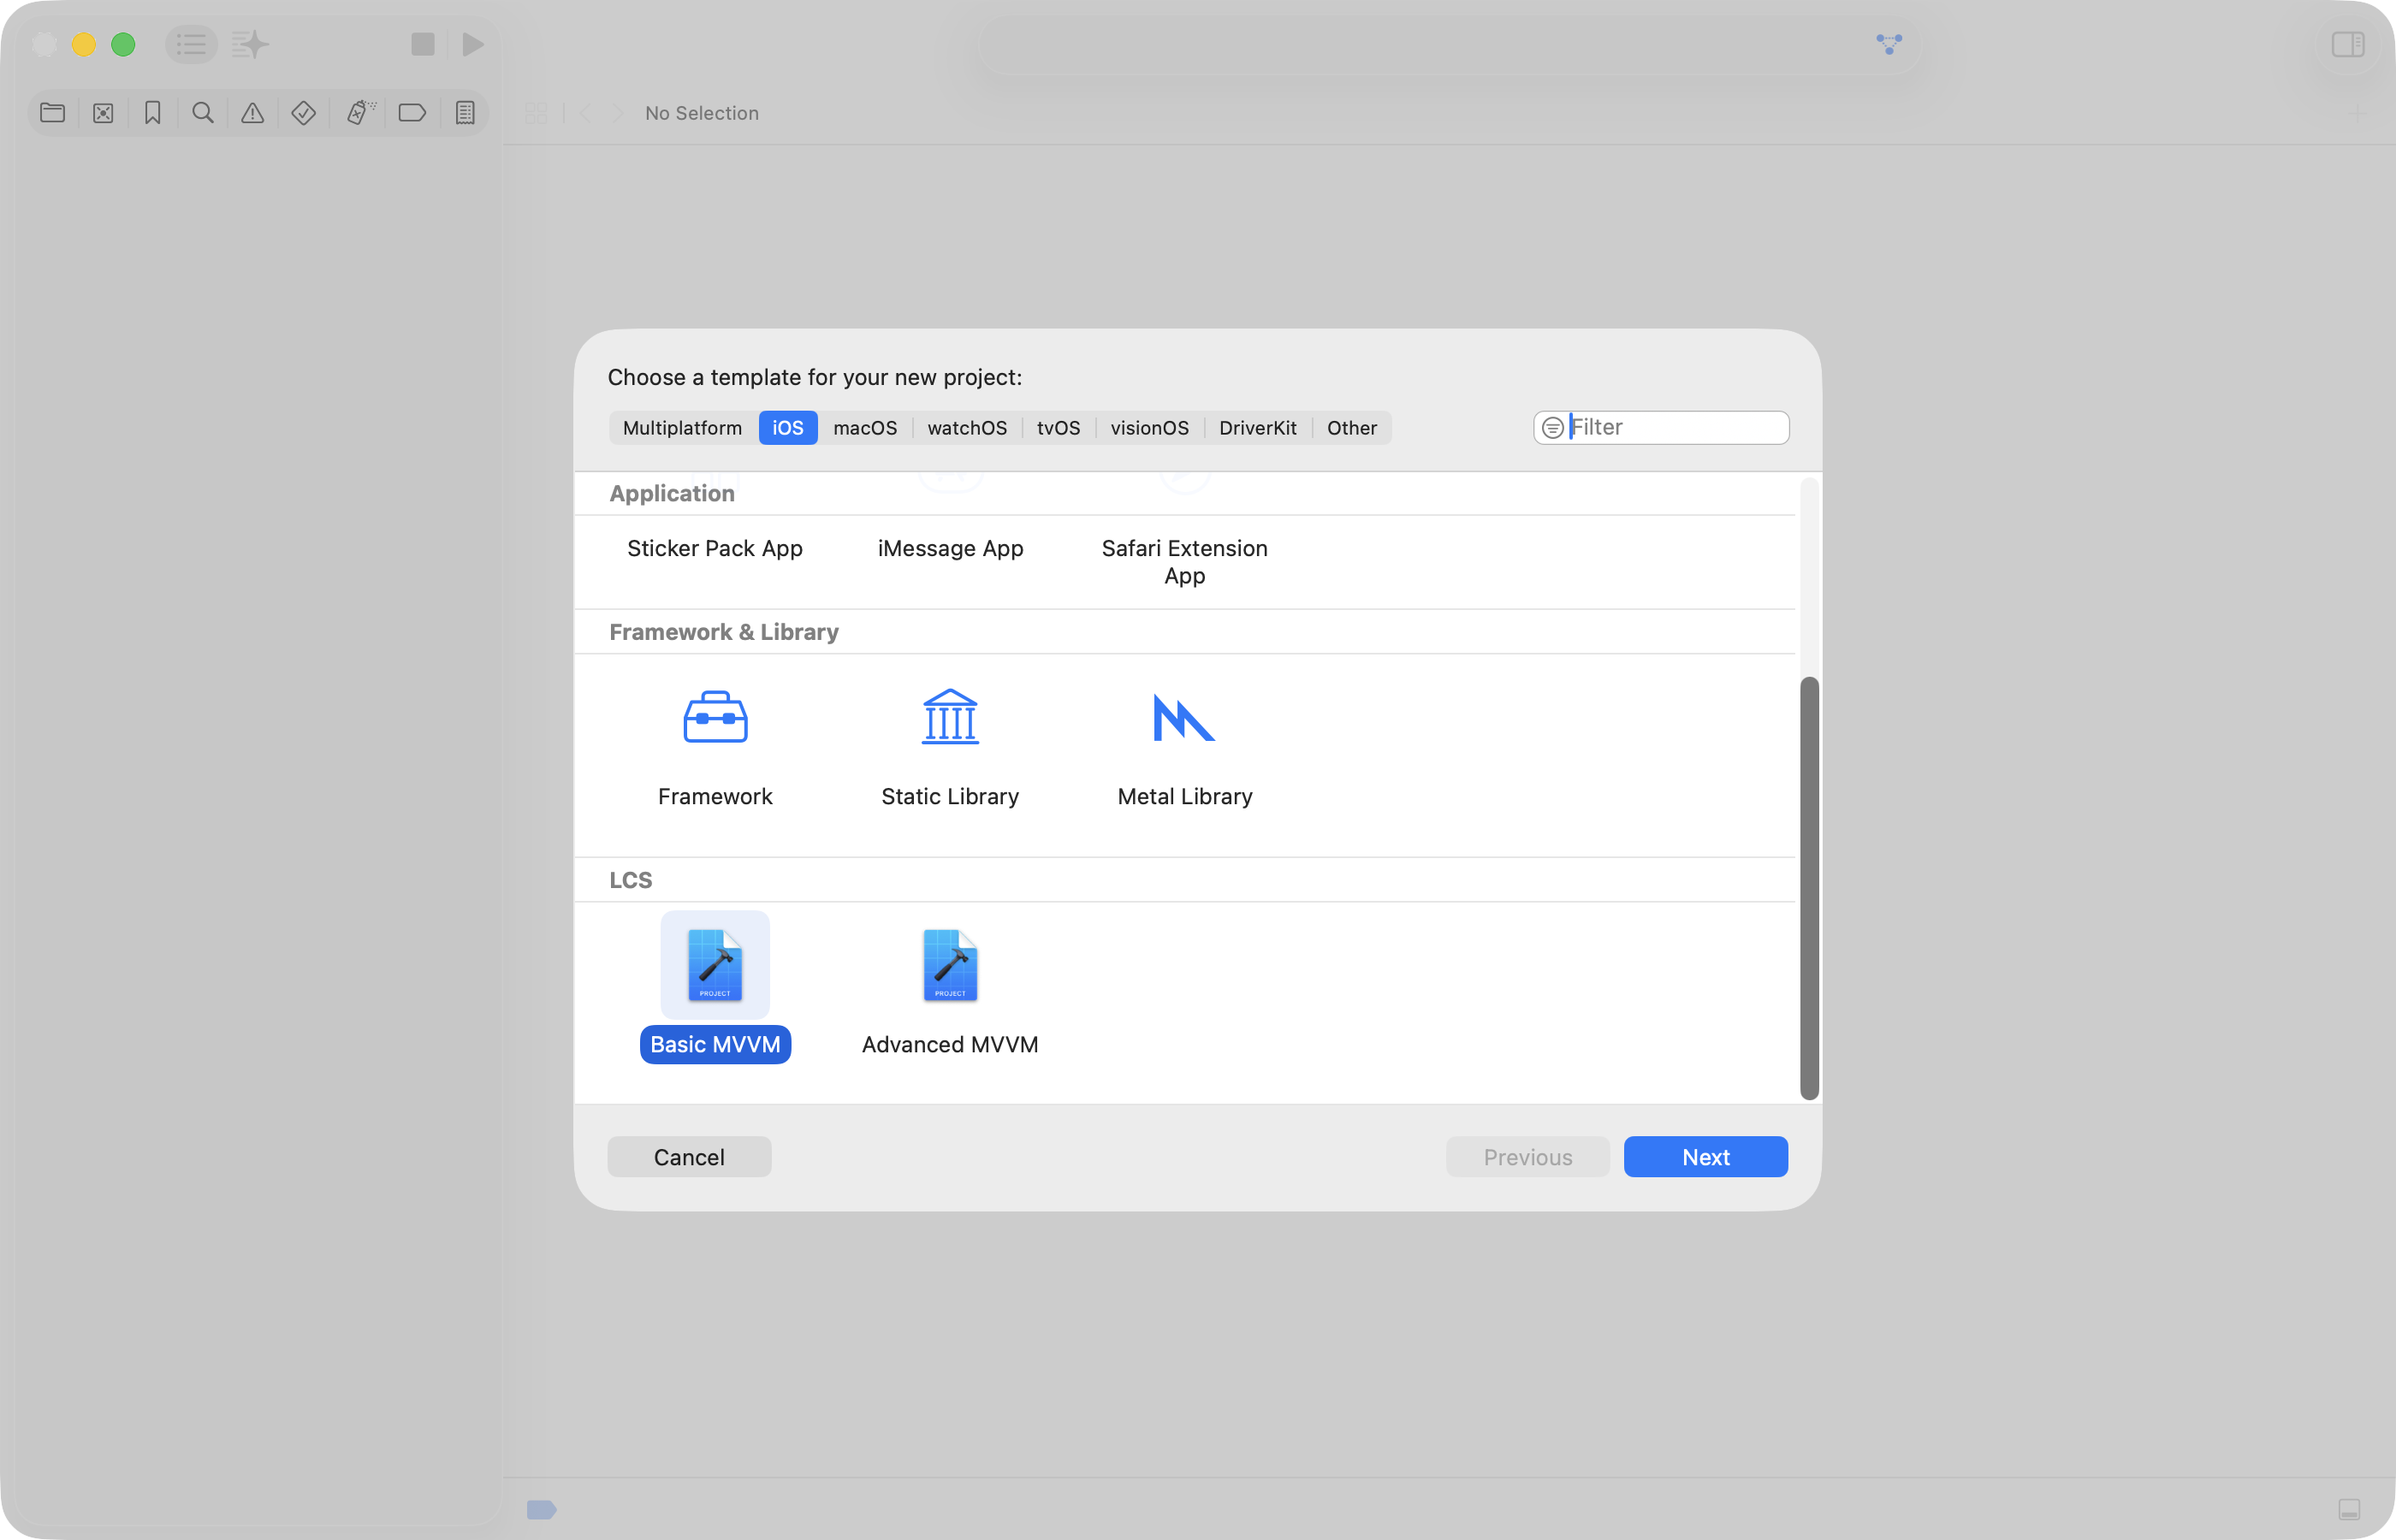
To test that everything is working, create a new project using the Basic MVVM template named GoogleGeminiTest:
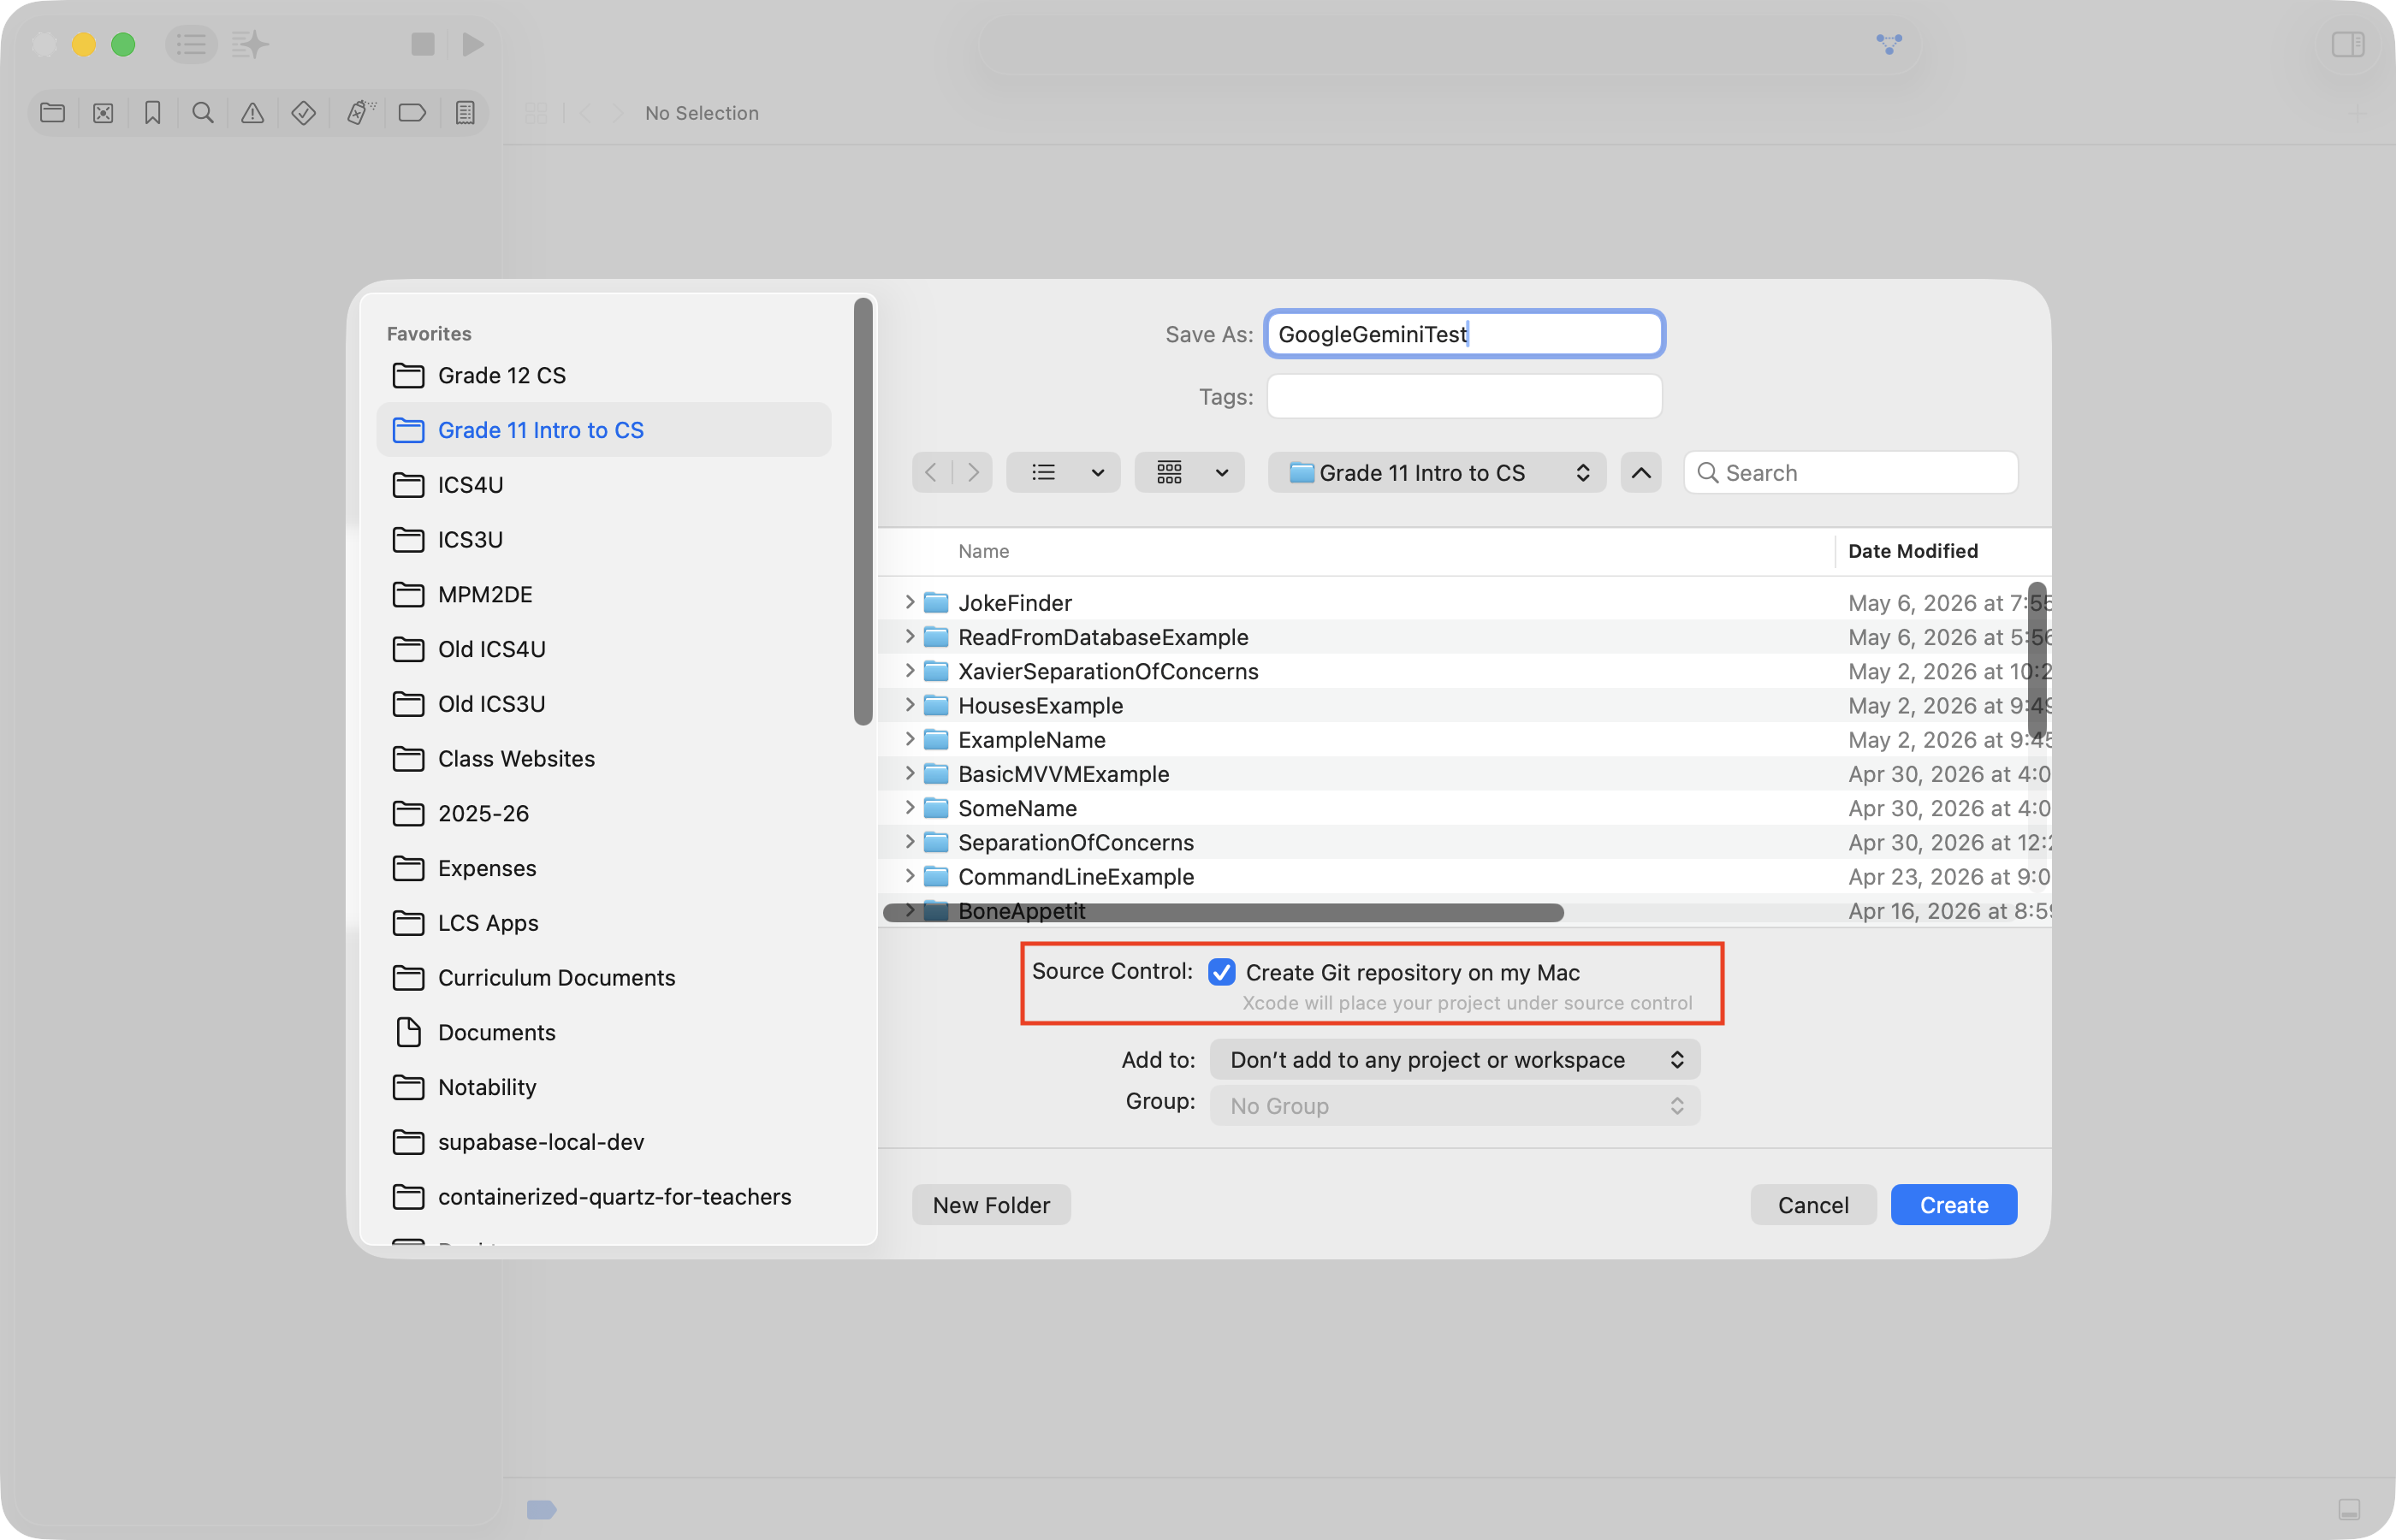
When you do so, be sure that you have source control enabled:
Next, we need to get to the correct location within your computer’s filesystem, at a Terminal prompt.
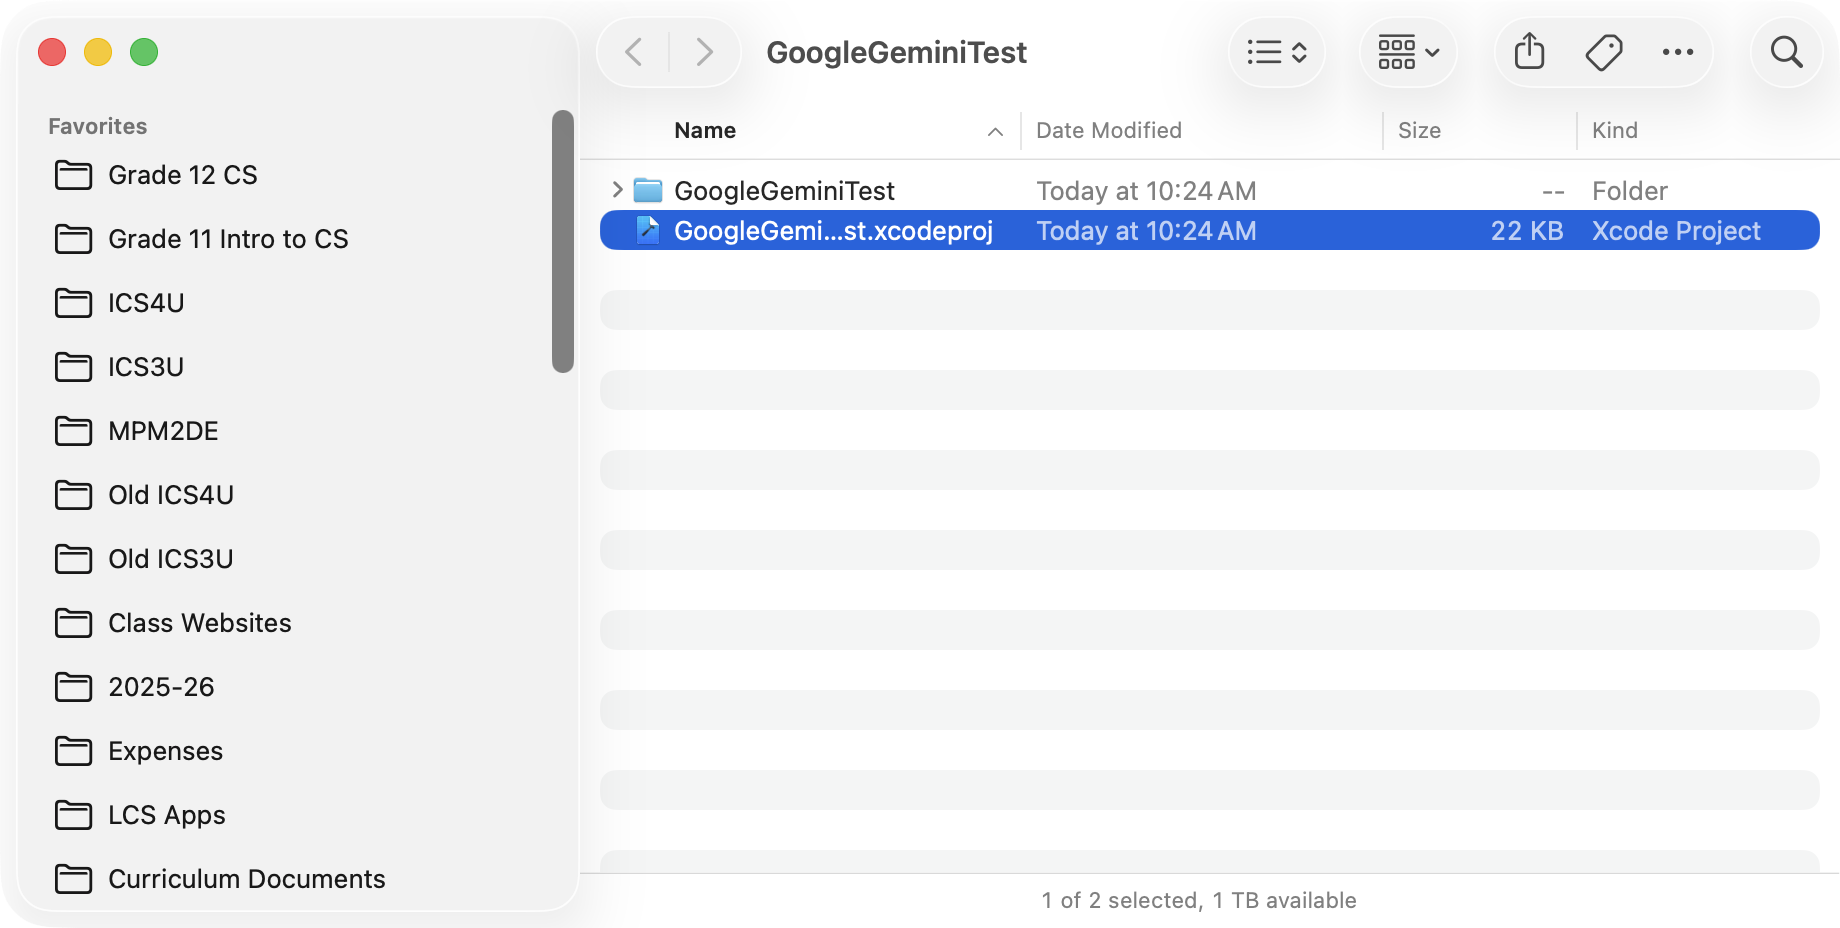
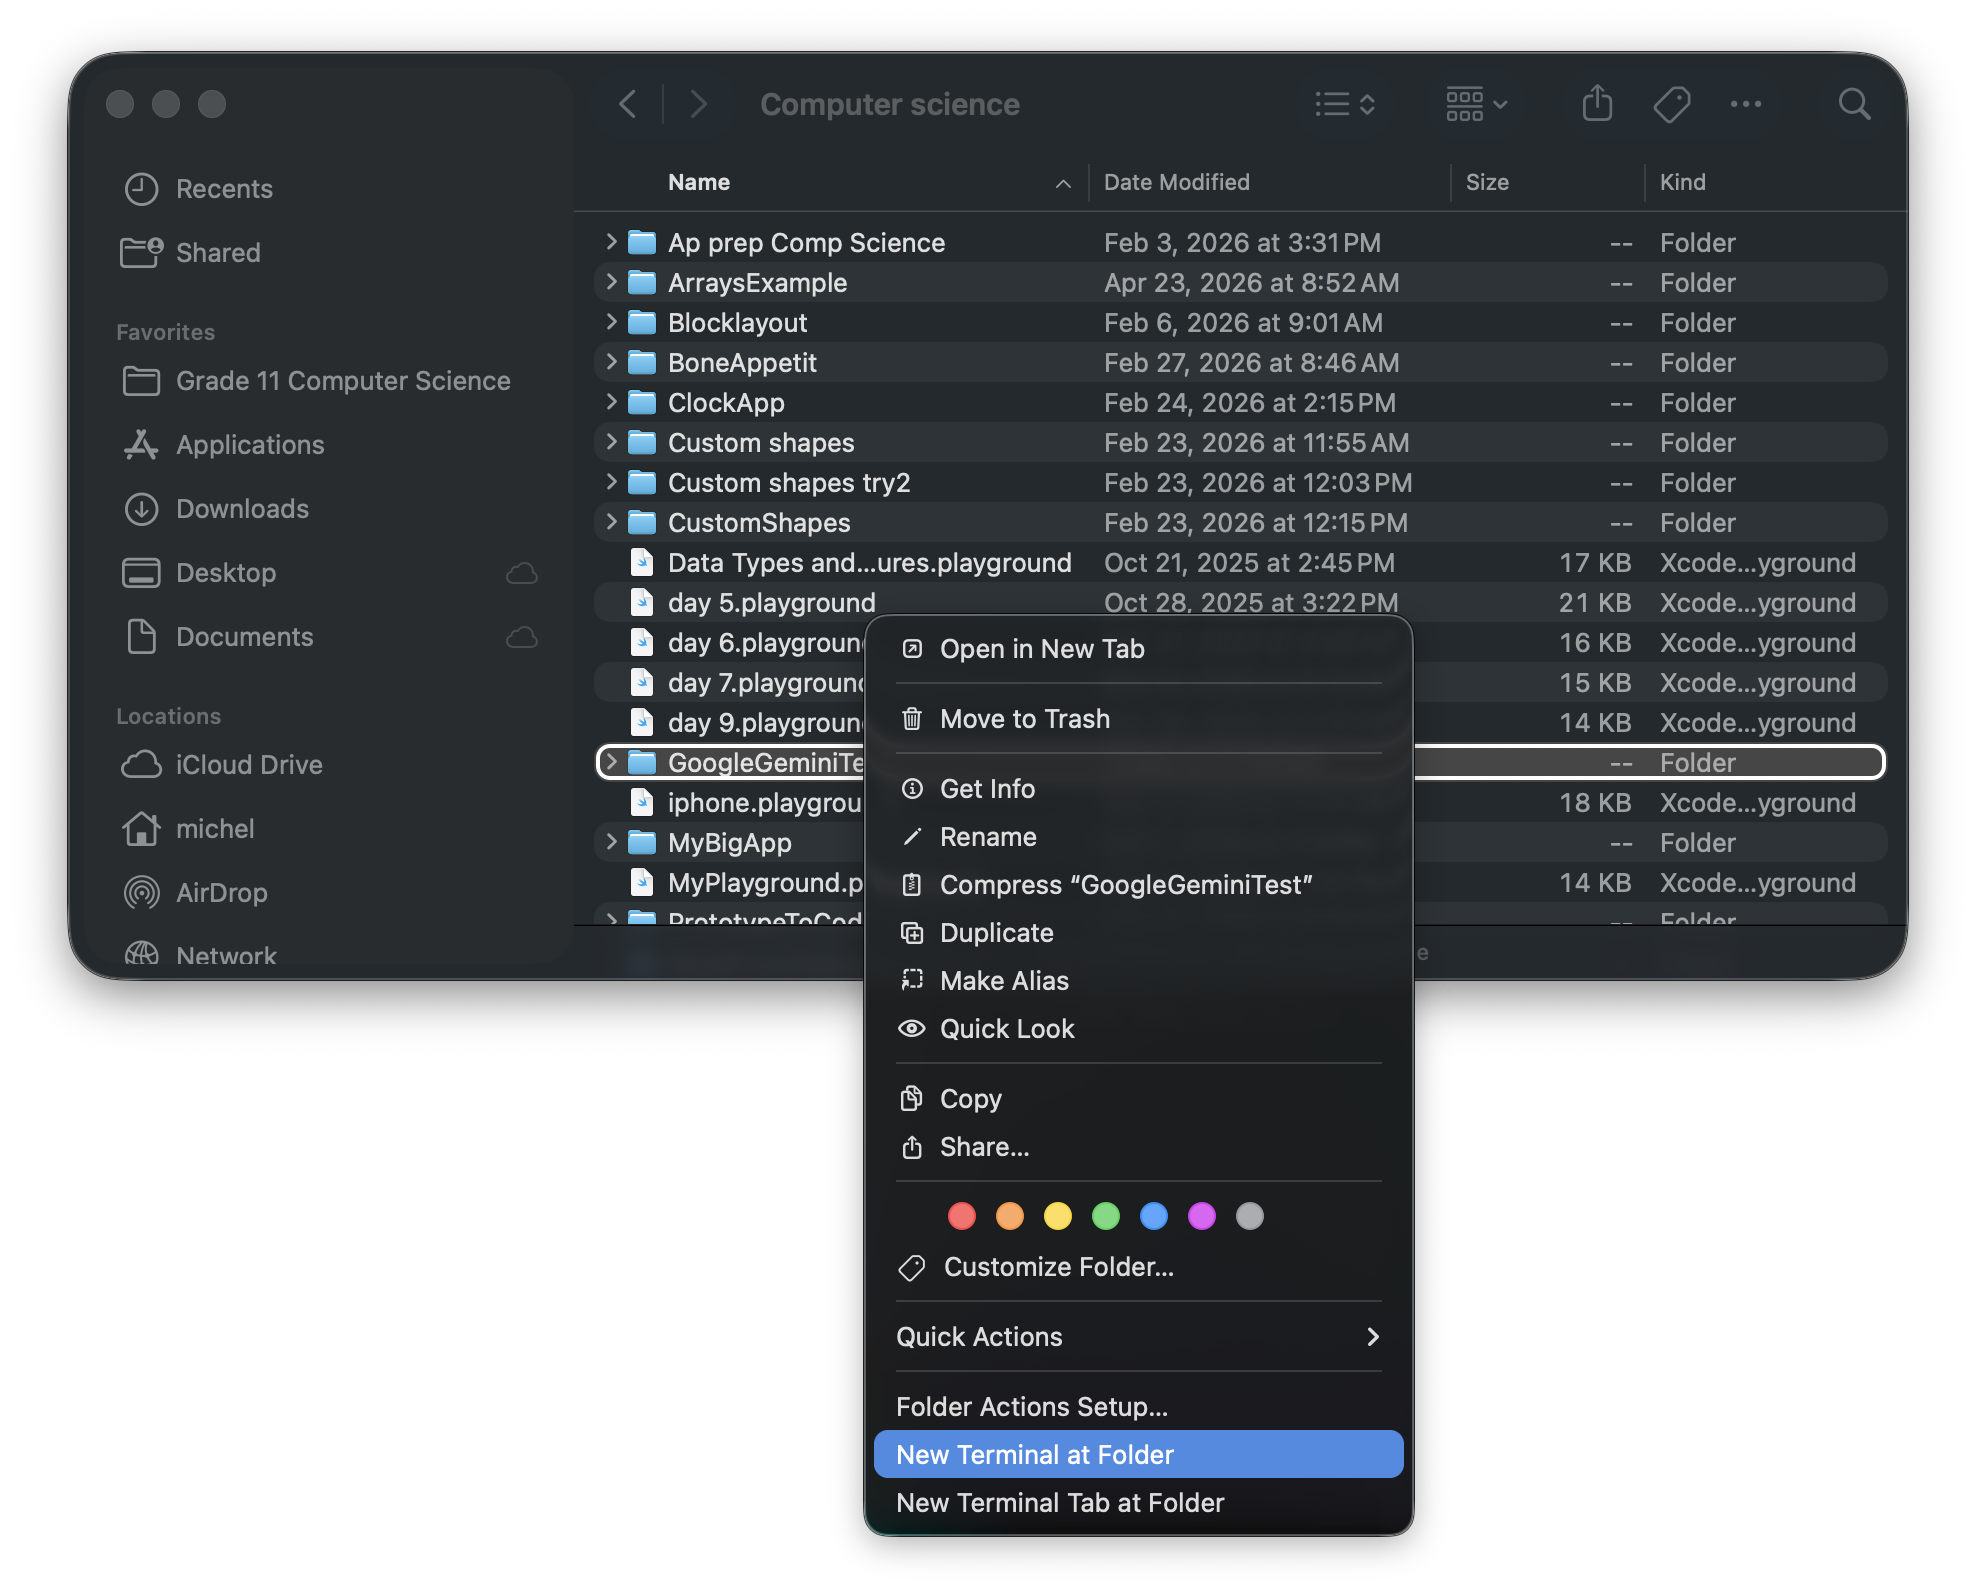
To do this, right-click or two-finger tap on the blue project file, and choose Show in Finder:
.png)
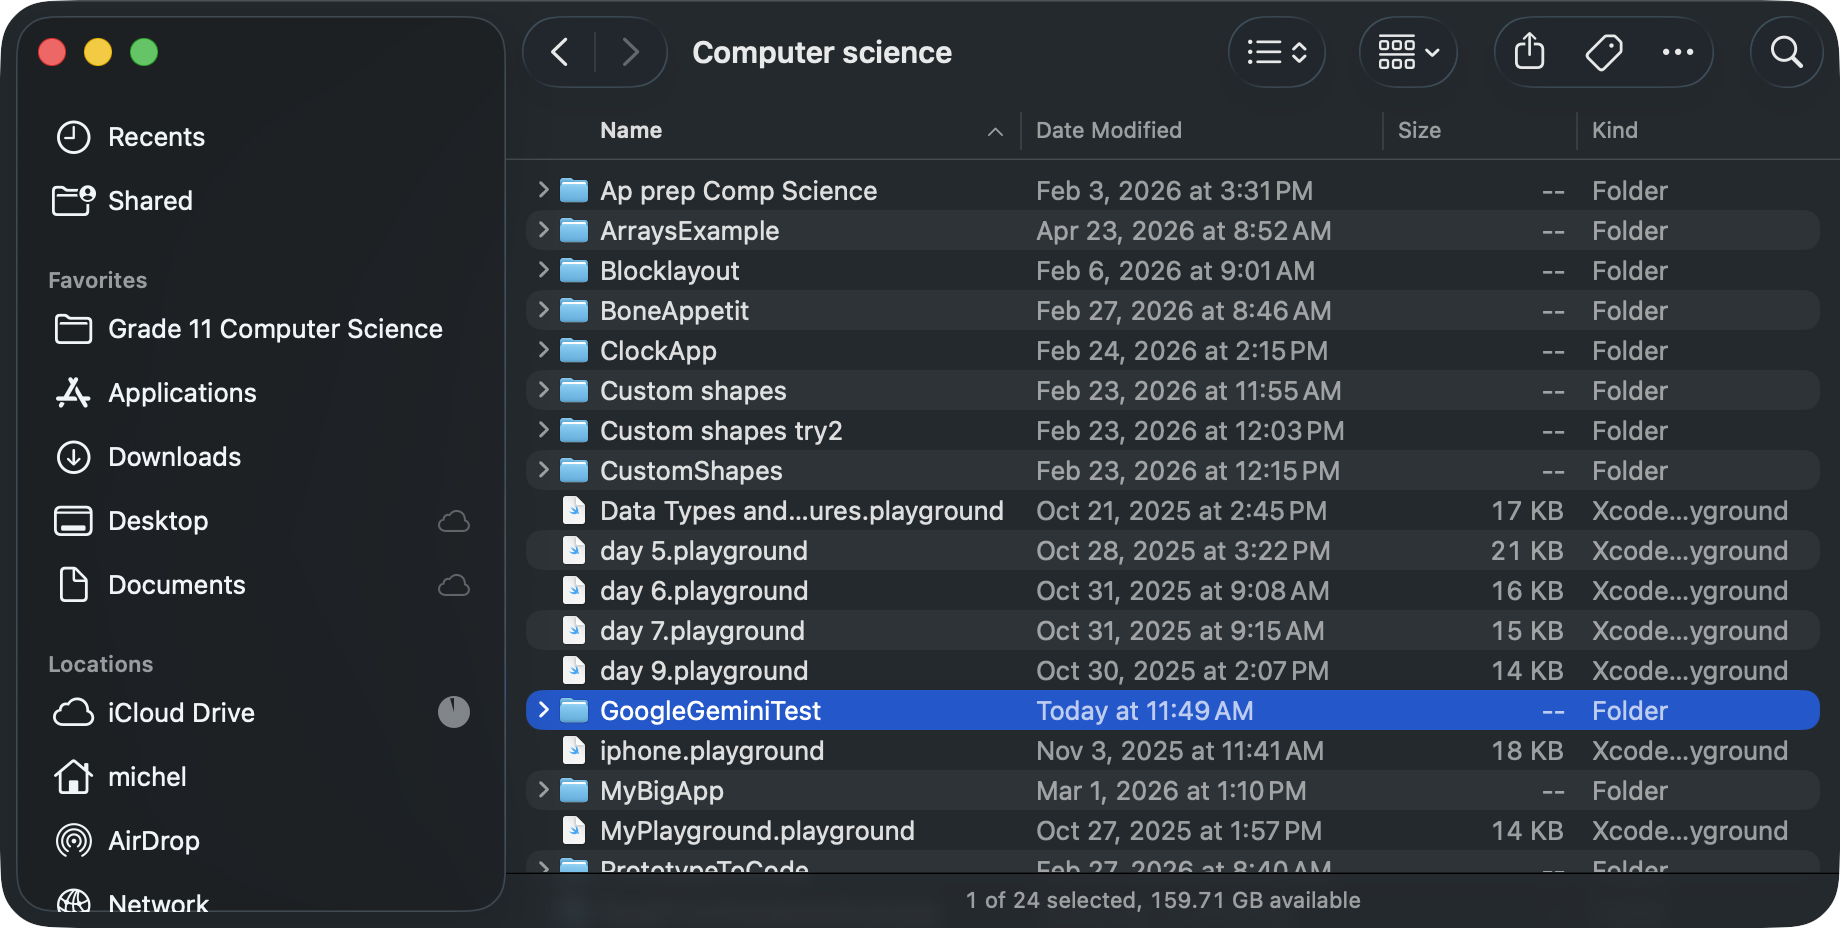
You should see a Finder window, like this:
Click on the window, then press Command-⬆️ on your keyboard – that’s the Command key, at the same time as you press the Up arrow on your keyboard.
You should then be one folder higher up in your filesystem, with the GoogleGeminiTest folder highlighted:
Two finger tap or right-click on that folder, and choose New Terminal at Folder, like this:
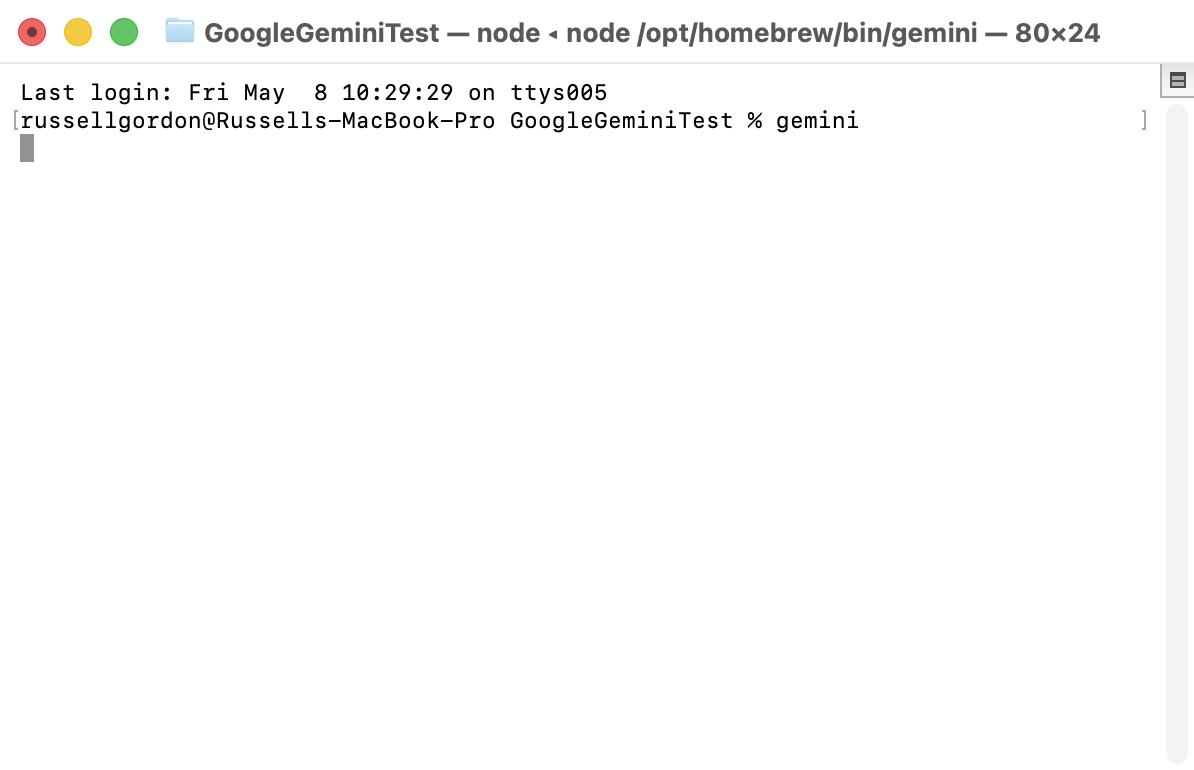
You will then have a command prompt inside that same GoogleGeminiTest folder. At the command prompt, type gemini and then press Return:
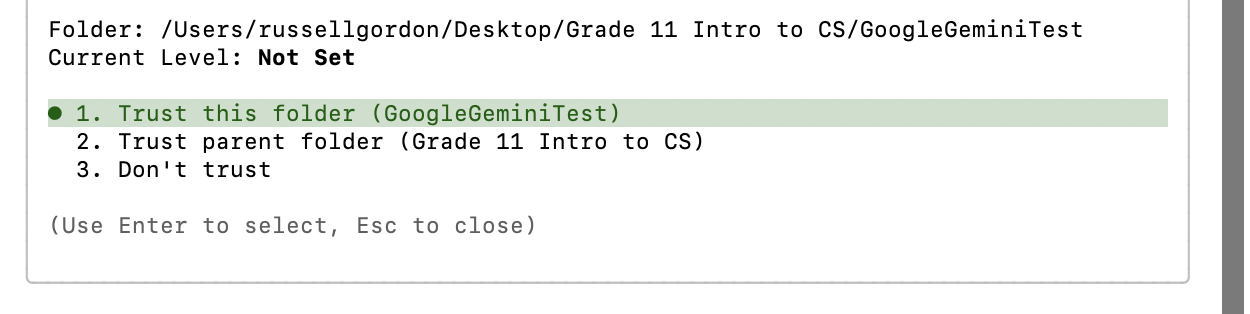
You will be asked whether you trust the folder you ran the gemini command from – choose option 1:
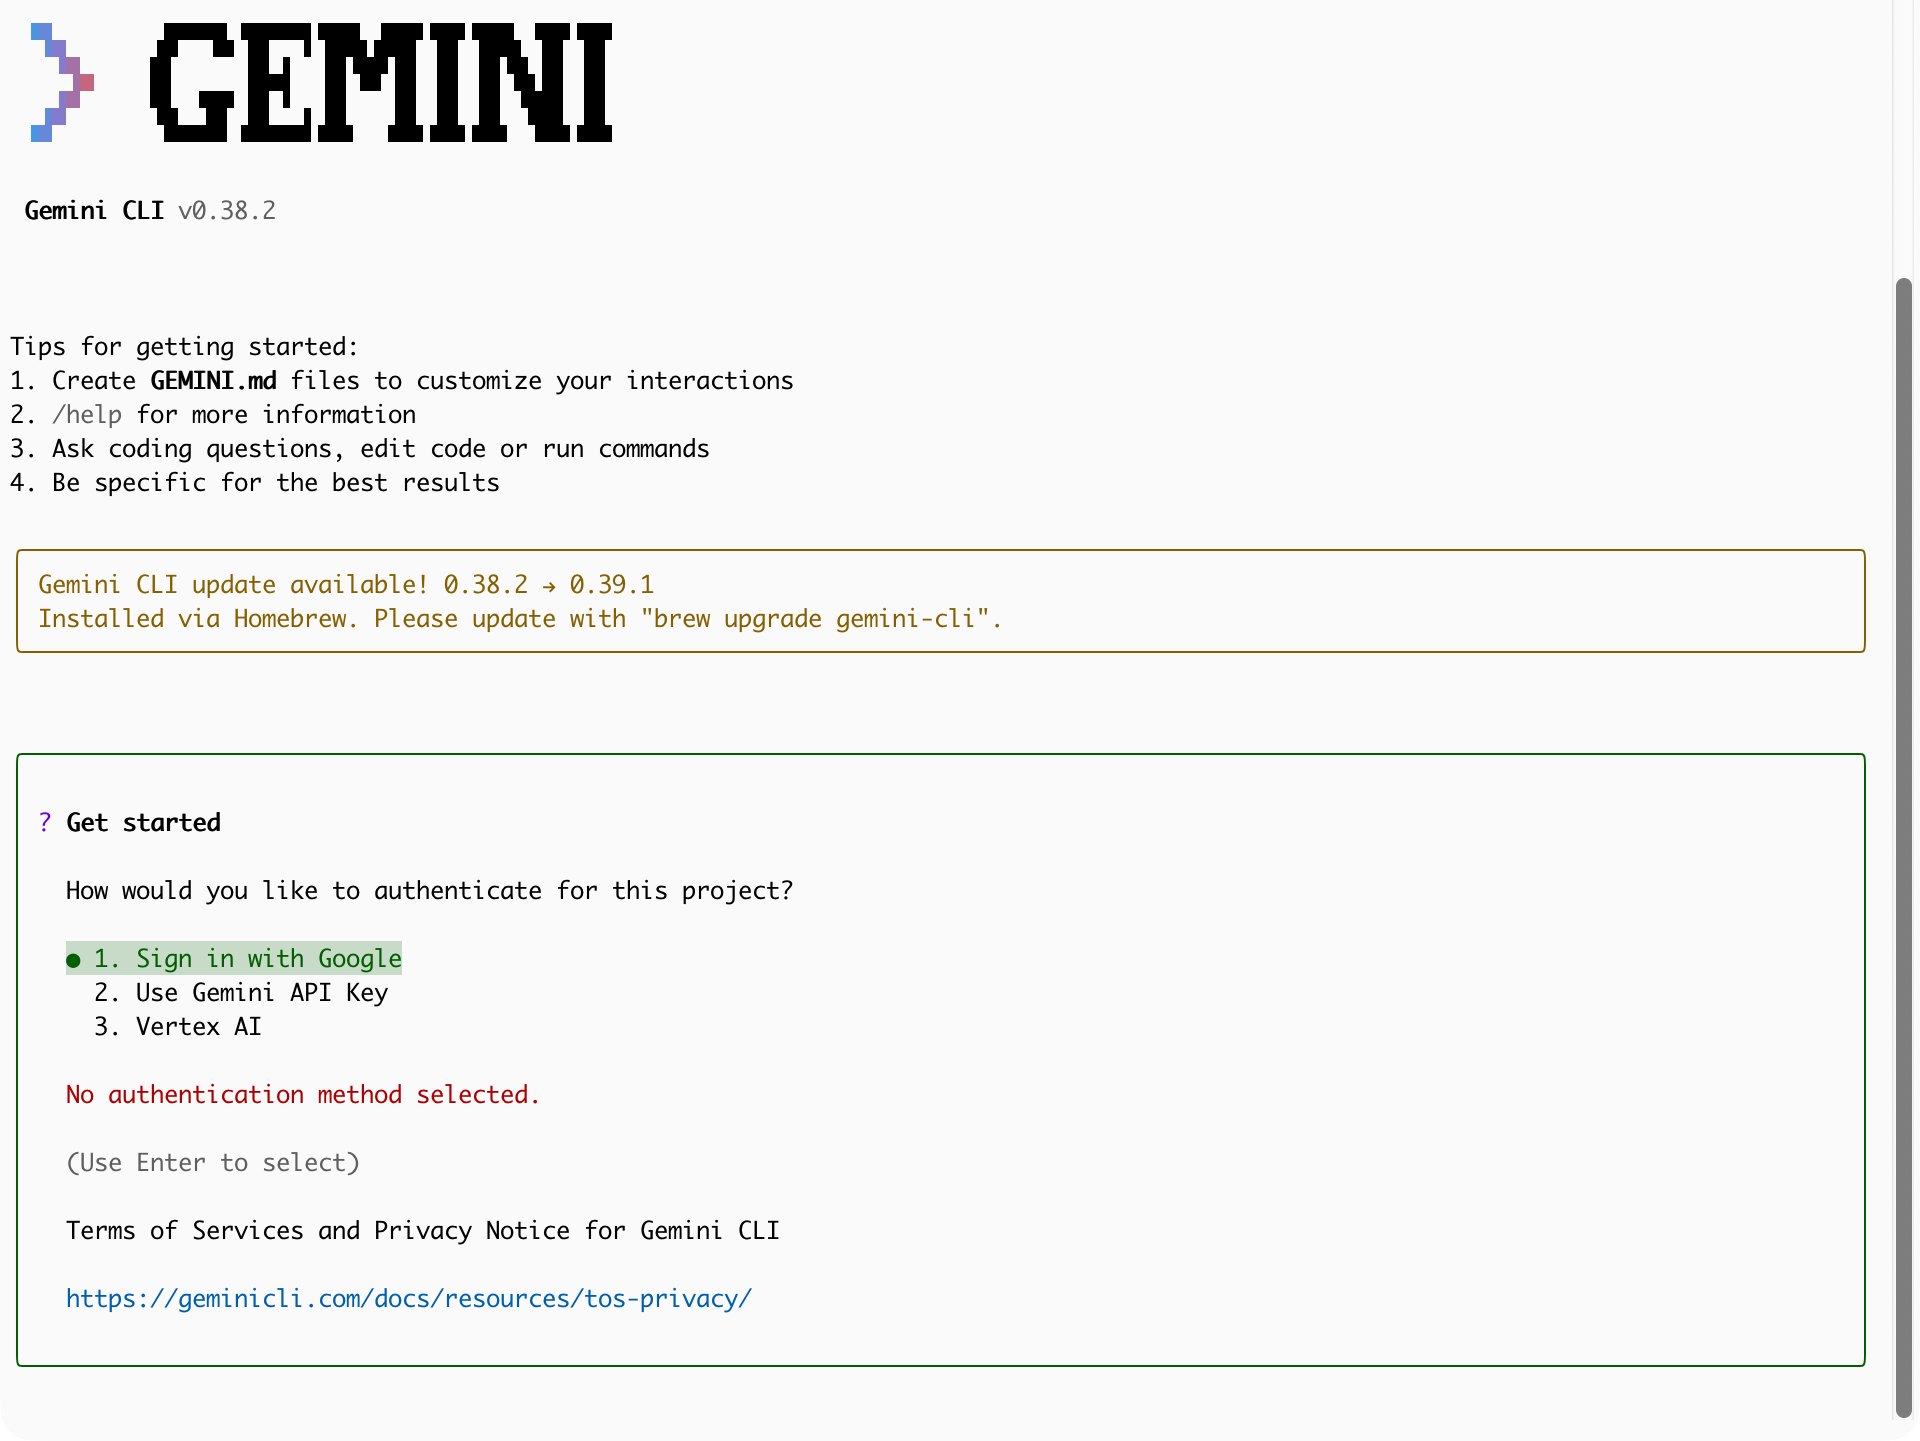
The first time you use the Gemini CLI, you will be prompted to log in – be sure to use your LCS Google account:
You will then need to press the r key to restart gemini after trusting the folder you ran it from.
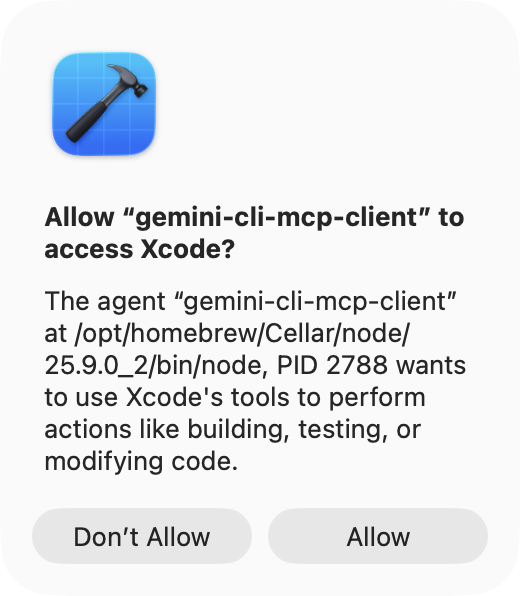
As soon as that happens, Xcode will prompt you, asking whether to allow the gemini-cli-mcp-client to access Xcode – choose Allow:
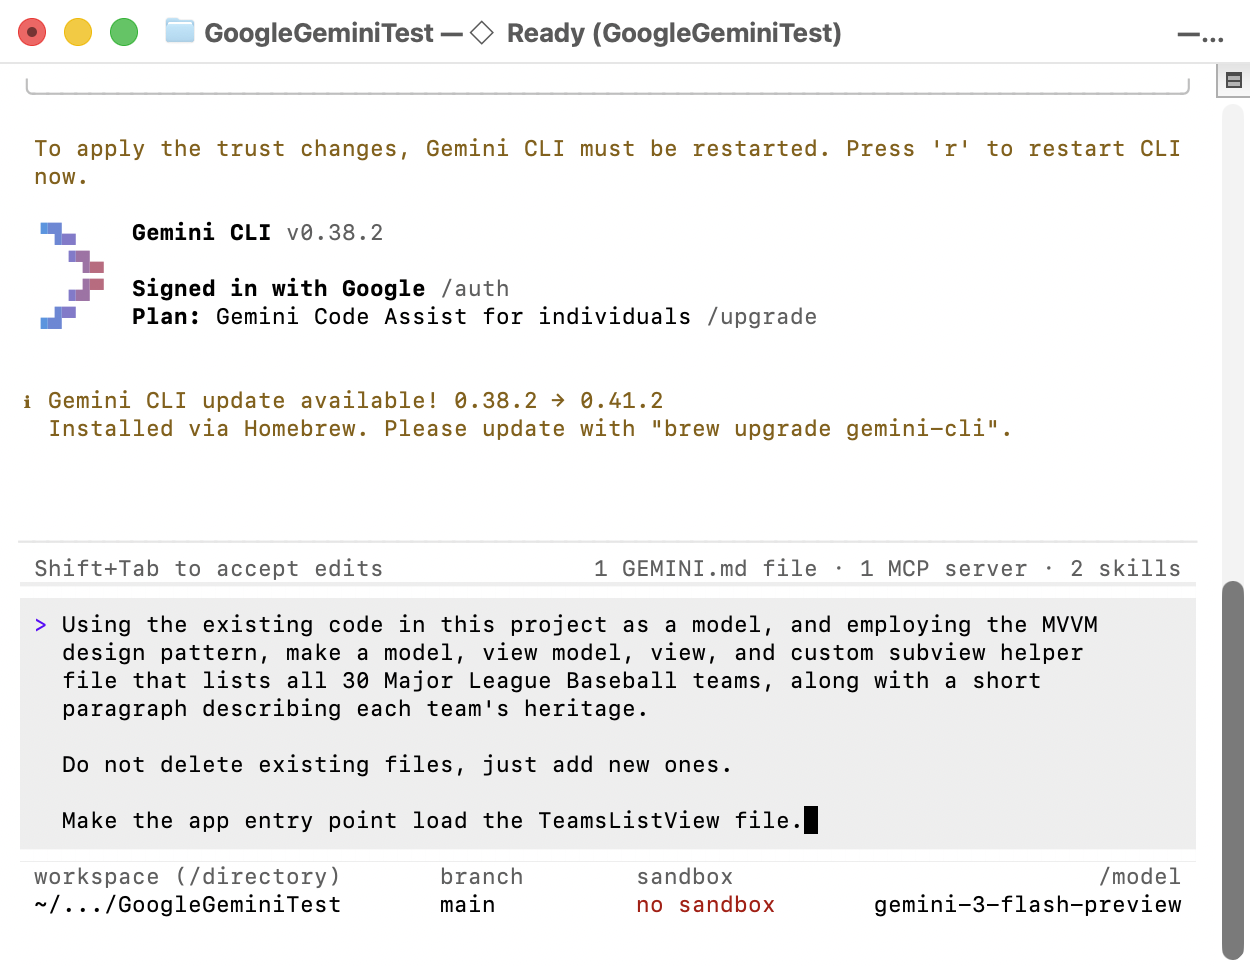
Now you can prompt Gemini, and it will make changes directly to your Xcode project.
Try using the following prompt:
Using the existing code in this project as a model, and employing the MVVM design pattern, make a model, view model, view, and custom subview helper file that lists all 30 Major League Baseball teams, along with a short paragraph describing each team’s heritage.
Do not delete existing files, just add new ones.
Make the app entry point load the
TeamsListViewfile.
… like this:
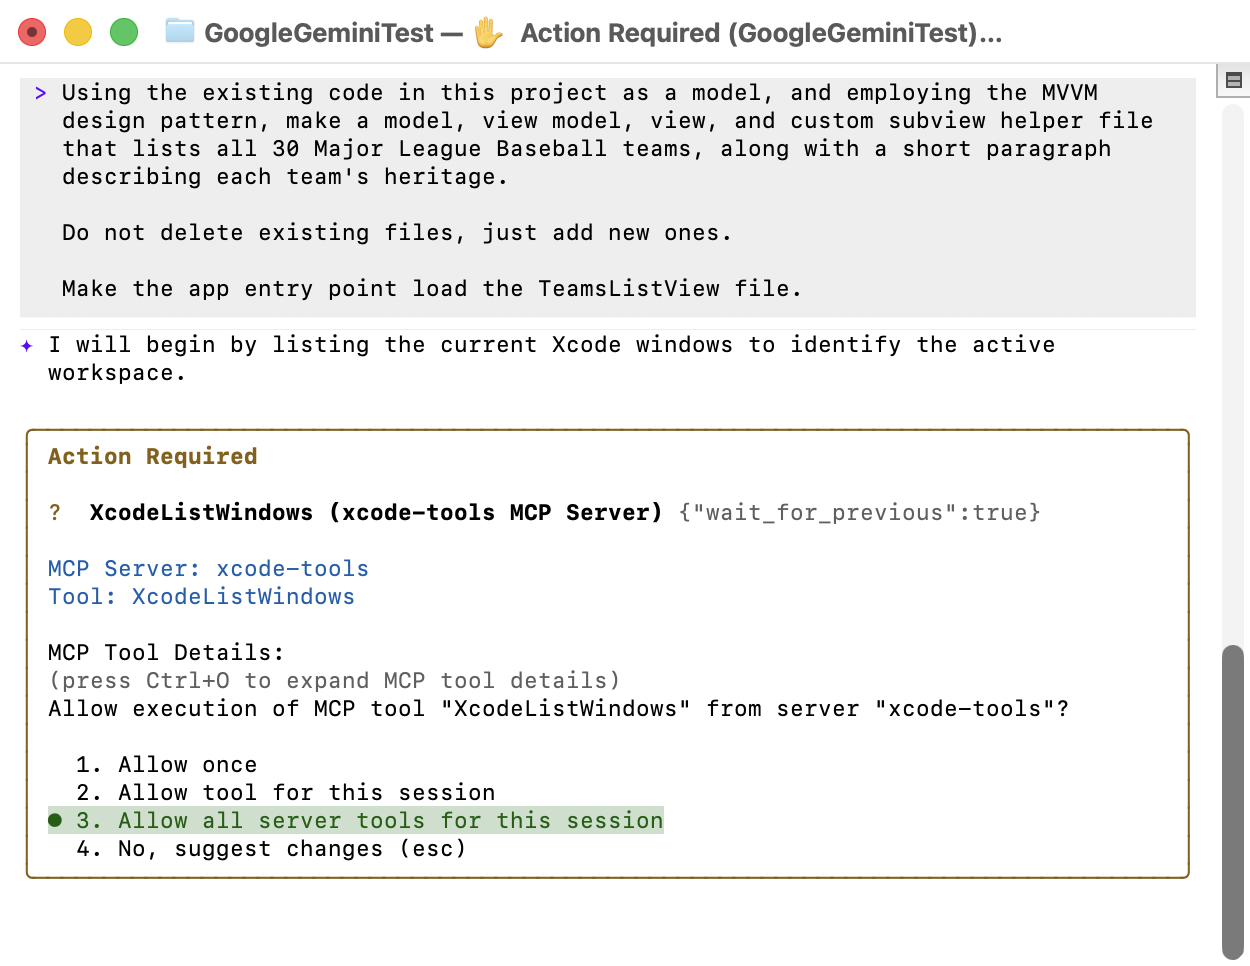
Gemini will start to “think” – you will be prompted to allow it’s various sub-tools to run within this folder – choose option 3:
TIP
The process of analyzing your code will take a little while. Be patient.
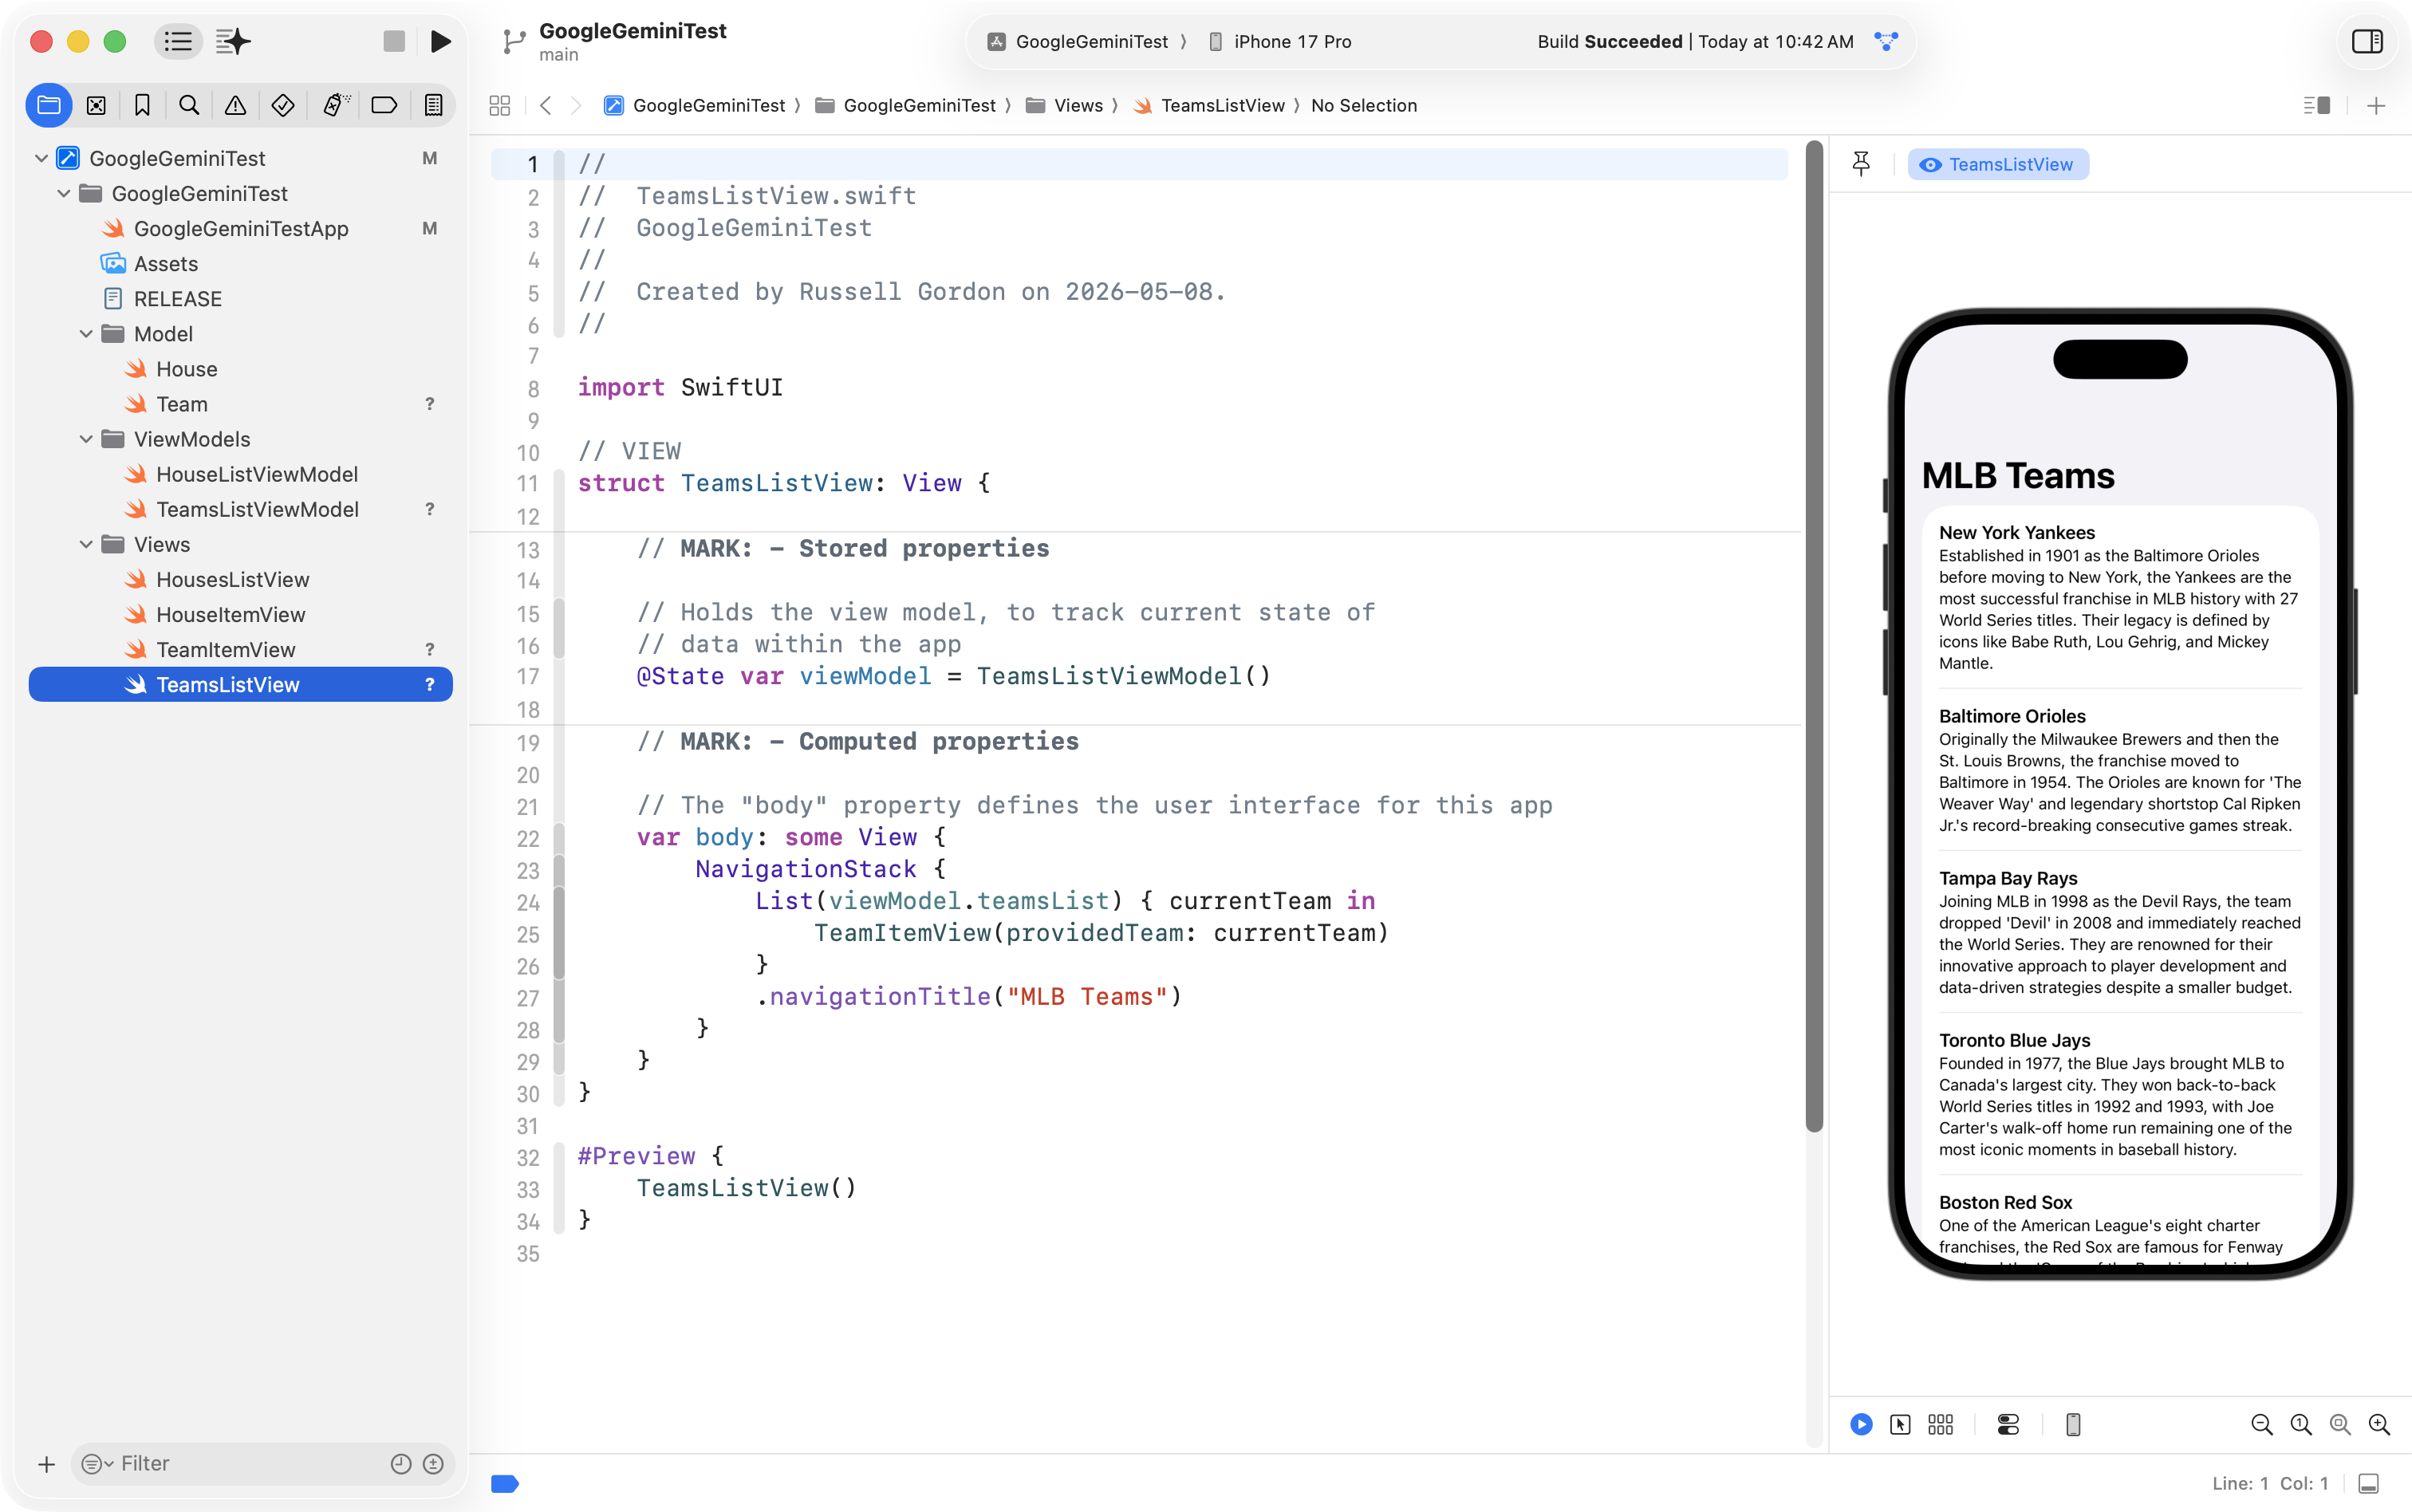
After a few minutes, you will (probably) have something like this:
When you are making changes to a project using Gemini, and you arrive at something you like, be sure to commit and push your work regularly. This ensures that if Gemini makes a change you don’t like, you can easily revert the project back to an earlier state.
Commit your work with this comment:
MLB teams example (created using Google Gemini).