Get organized
To get started with this lesson, please fork and clone the following repository:
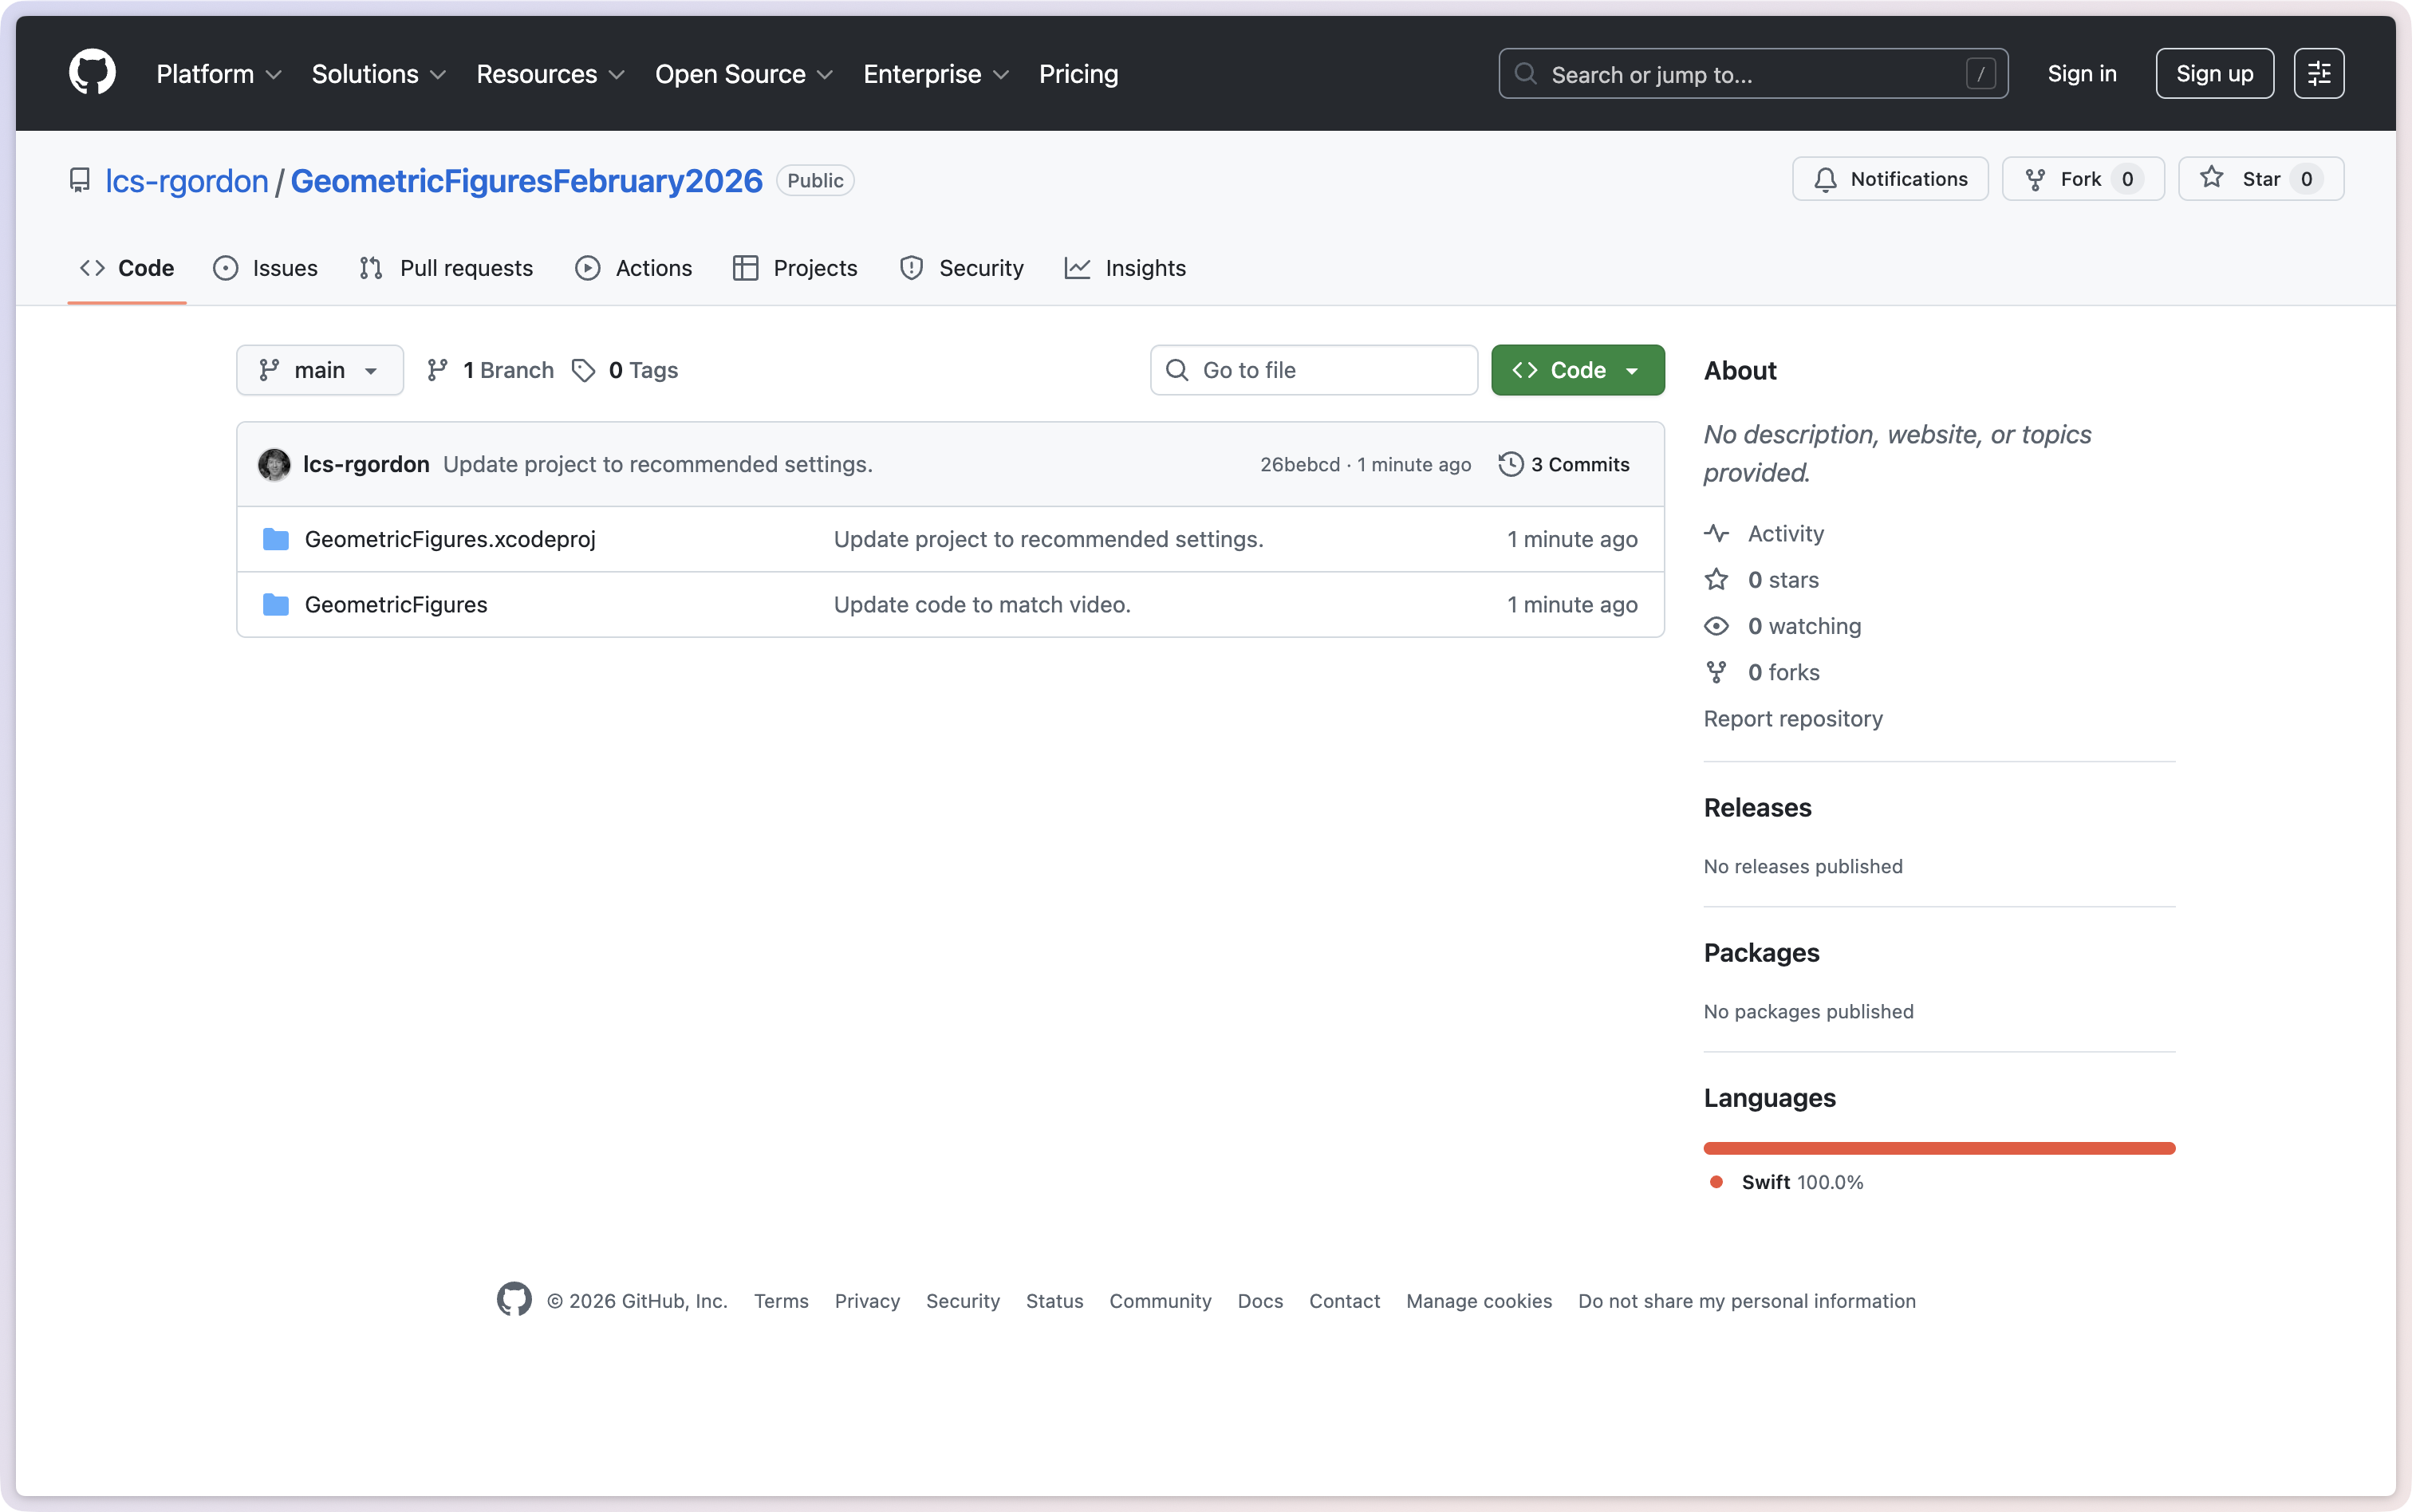
When you have finished making a fork, and then cloning it to your local computer, the project should look something like this:
Video tutorial
There are techniques in this lesson that are hard to convey using screenshots alone.
To complete today’s lesson, please use the project you created above, and follow this short 15-minute video – feel free to watch at a faster speed, if you wish:
TIP
A summary of the key concepts is given below in writing, but this is a day that you should follow the video as well, to learn how to use some key shortcuts in Xcode.
Concept summary
Context
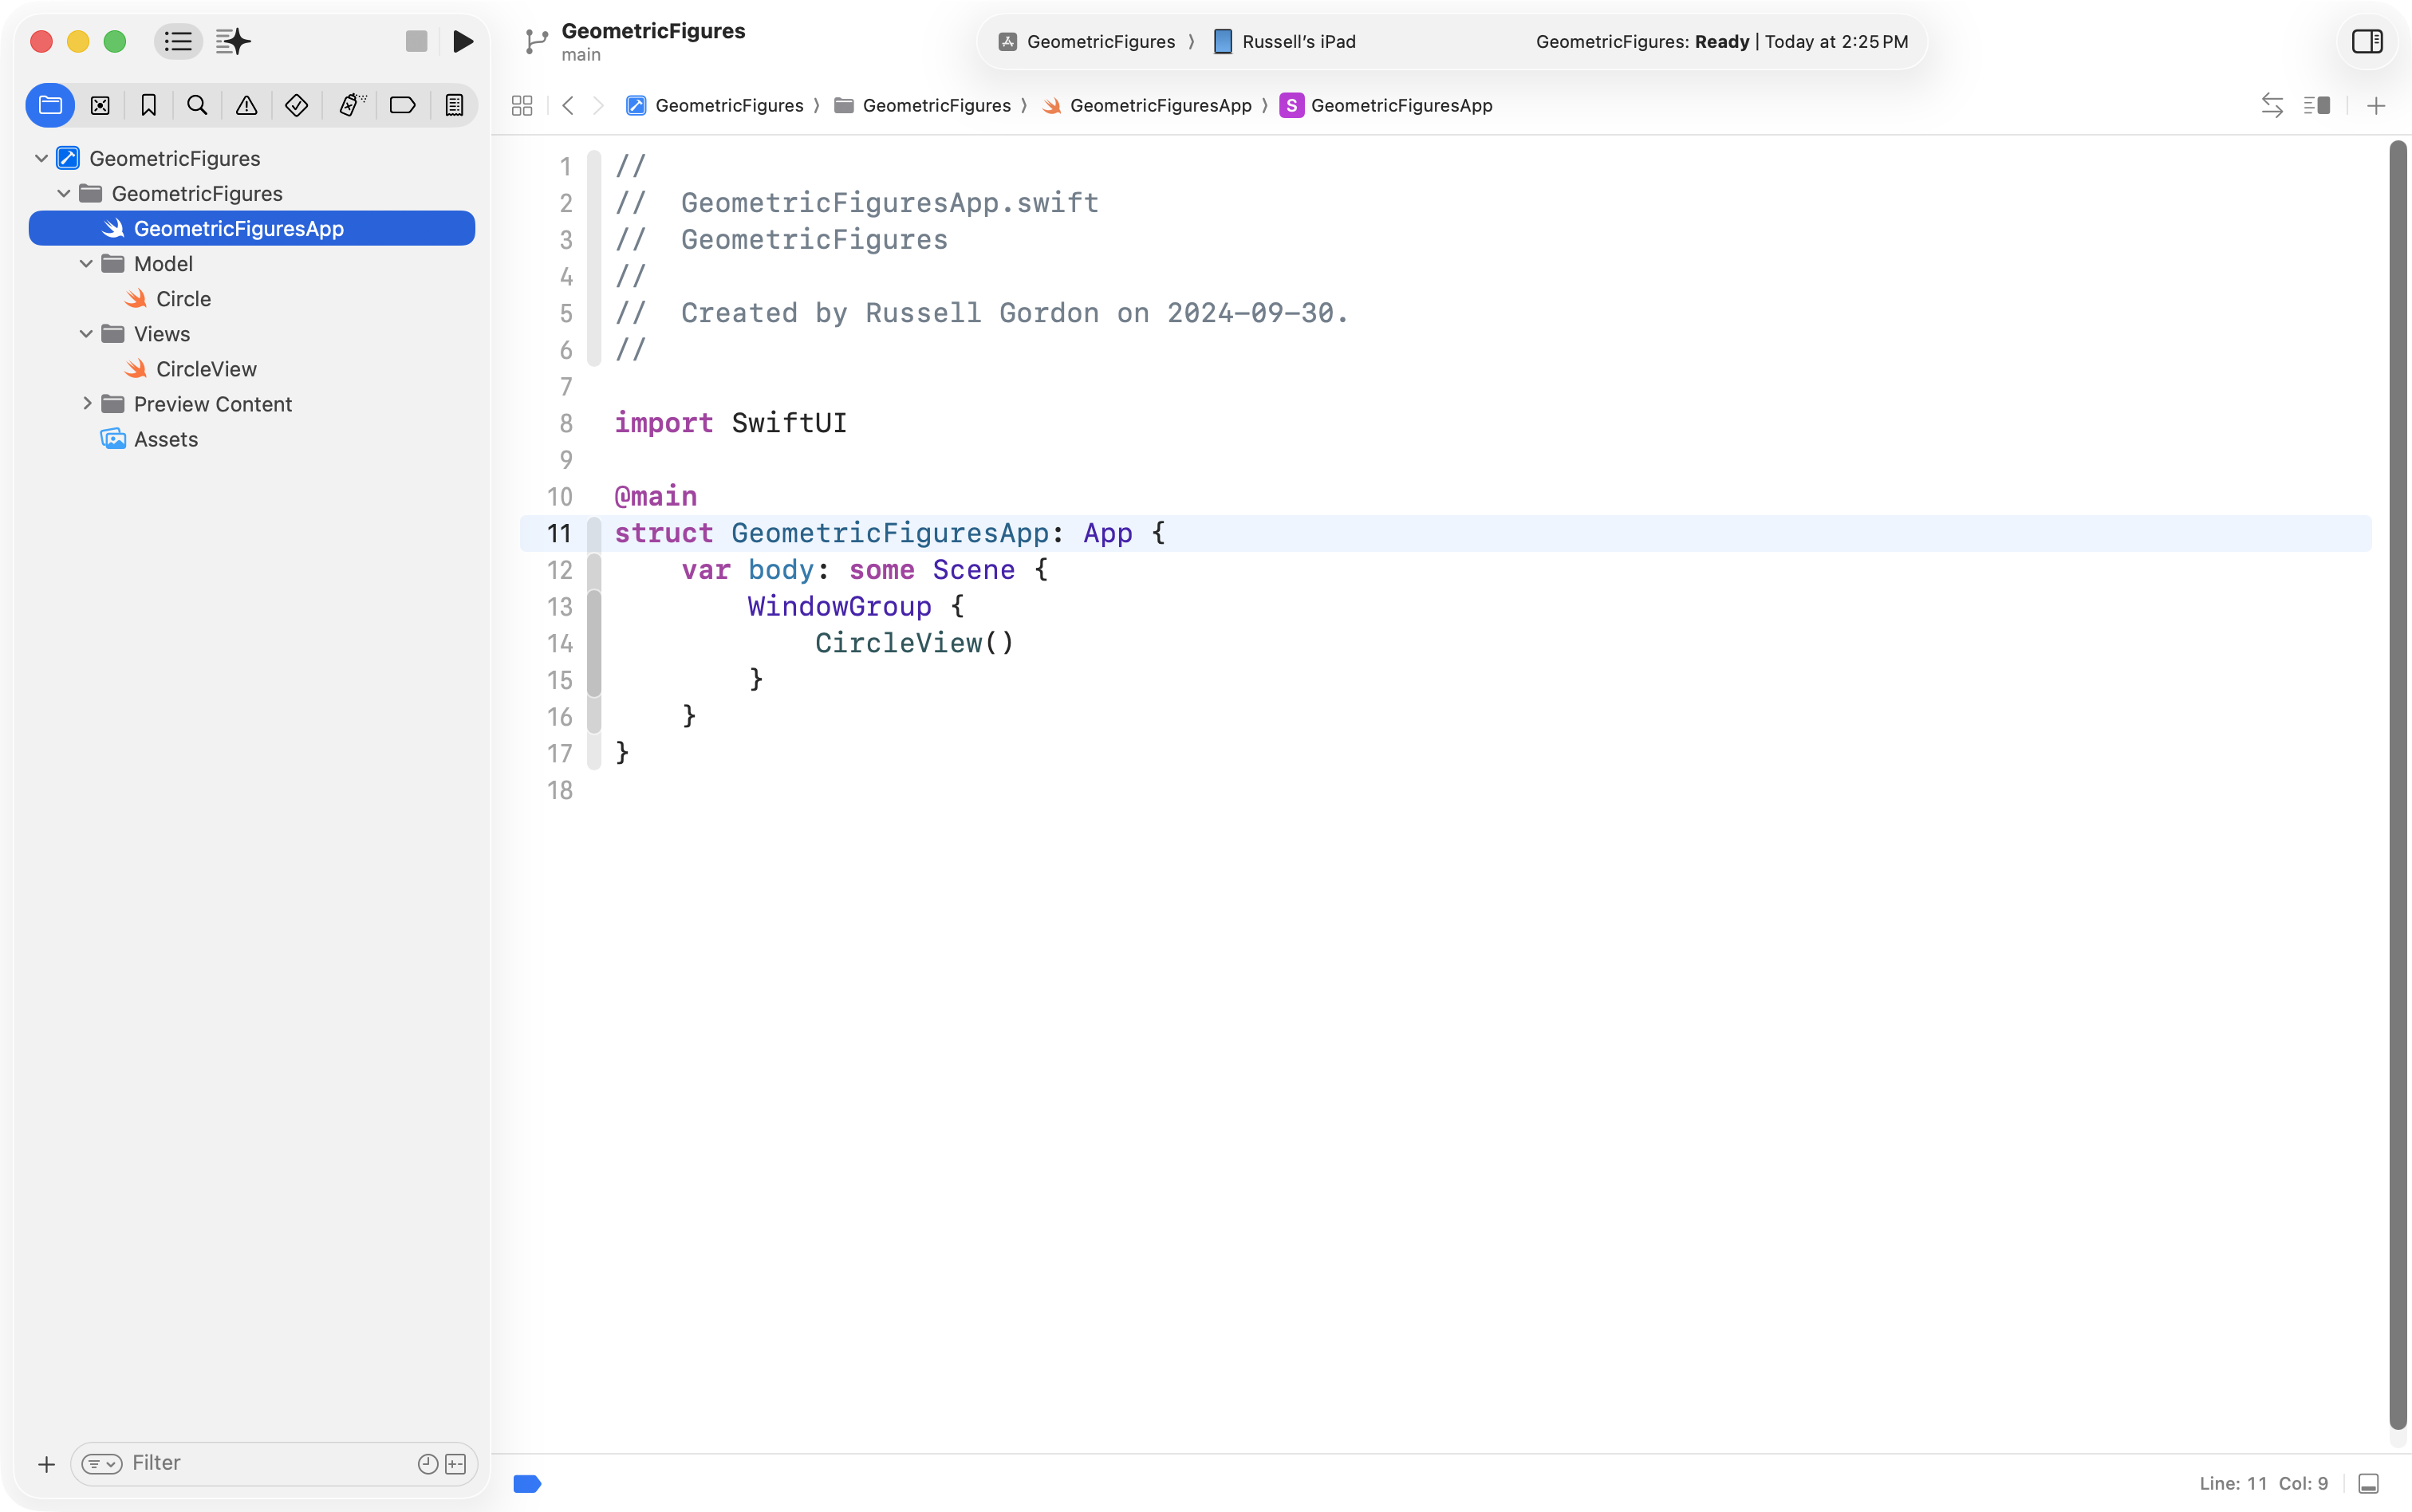
The project starts where every SwiftUI app starts: the app entry point. The structure marked with @main conforms to the App protocol, and its body returns a WindowGroup. Inside that WindowGroup, we decide which view the app should show first. In this case, the app creates an instance of CircleView.
It’s worth keeping the bigger picture in mind: CircleView is the user interface, and the Circle structure in the model file holds the stored property (the radius) and computed properties (diameter, area, circumference). The view reads from, and writes to, that model.
DRY
The motivation for this lesson is the idea behind DRY: Don’t Repeat Yourself.
When you look at the user interface, you can spot a repeated pattern: a label and a displayed value, repeated for diameter, area, and circumference. The code mirrors that repetition. The layout for each of those sections is essentially the same, and the only differences are:
- what the label says
- which value is being displayed
Repeated structure like that is a strong hint that it’s time to generalize.
Repetition
In the original view code, each “label + value” block is built using the same layout pieces (a VStack containing HStacks and Text views). The view looks fine, but the implementation is repetitive.
This is the key moment: when you can describe several parts of your interface as “the same shape of code with different details,” you have an opportunity to apply abstraction.
Extract subview
Xcode can help you take a repeated chunk of view code and turn it into a custom subview. The workflow is:
- identify the repeated code
- highlight it
- use Xcode’s “Extract Subview”
At first it can feel like the code “disappeared”, because the original block is replaced by a new view call. But the extracted code is placed lower in the file as a new SwiftUI view structure.
Scope
After extracting, you immediately hit a common issue: the new subview can no longer “see” variables from the parent view. That’s what the error cannot find currentCircle in scope is showing you.
This is the point of a subview: it should not reach up into its parent and grab data. Instead, the parent should provide what the subview needs.
Inputs
To make the subview usable, you define stored properties inside it. These are the “questions” the subview needs answered.
In this example, there are two:
- a
label(aString) - a
value(also aString, because we ultimately show text)
The subview’s body uses those stored properties to build the layout. The parent view provides arguments when it creates an instance of the subview.
This is the same pattern you’ve seen throughout SwiftUI: views are structures, and we configure them by answering their questions.
Call sites
Once the subview requires arguments, Xcode will show missing-argument errors at the call site. Fixing those errors is just a matter of passing the right values:
- pass the appropriate label text (for example,
"Diameter") - pass the formatted display string you were already showing before extraction
With that done, the preview returns, and the interface looks the same as before.
That “no visible change” is a good sign: abstraction is about improving the design of your code without changing what the user sees.
The win
The real benefit shows up when you reuse the new subview.
Instead of maintaining three nearly identical blocks of layout code, you create three instances of the same custom view. Each instance gets different arguments:
label: "Diameter",value: ...label: "Area",value: ...label: "Circumference",value: ...
You delete the repeated layout blocks and replace them with short, readable call sites. The user interface is unchanged, but the code is shorter and easier to maintain.
Naming
After extracting, the generated name (for example, ExtractedView) is not very meaningful. Renaming is part of finishing the job.
Using refactoring tools, you rename the subview to something that describes its purpose. A name like InfoDisplayView tells you what the view is for: it displays a label and a value in a consistent format.
One per file
As projects grow, keeping multiple view structures in one file makes navigation harder. A clean convention is: one view per file, with the file name matching the view name.
Xcode can help here too. Using “Extract to File” moves the helper view into its own Swift file in the same folder. Now you have:
CircleViewinCircleView.swiftInfoDisplayViewinInfoDisplayView.swift
This keeps the project easier to scan and easier to maintain.
Previews
When a view lives in its own file, you only see a preview if the preview code is present in that file.
For a helper view that requires arguments, the preview must supply “fake” values just to let the view render. That preview isn’t part of the app logic; it’s just a quick way to see what the helper view looks like in isolation.
Abstraction
The core idea is simple: abstraction in SwiftUI often looks like creating a custom subview that captures a repeated UI pattern.
You aren’t changing what the app does. You’re improving how the code is organized:
- less duplication
- clearer intent at the call site
- easier future changes (update formatting once, and every instance improves)
That’s the purpose of generalizing: same interface for the user, better structure for the developer.
Exercise
In the Interactive Apps lesson, the suggested exercises were to create a view for your own shape (e.g.: cone, sphere, parallelogram).
For this lesson, the exercise is to look for repeated code in the view you created for your own shape, and try to apply abstraction by creating a subview. You can use the same techniques you learned today using the example project above.