To run applications you write in Xcode on your iPhone or iPad, a few one-time-only setup steps are required.
NOTE
These instructions were written for Xcode 16, using a phone running iOS 17.
Screenshots may differ slightly for newer versions of Xcode and iOS, but the process remains largely the same.
Mr. Gordon will circulate to help out.
Open Devices and Simulators
First, be sure Xcode is open.
Select the menu sequence Window → Devices and Simulators.
Establish trust
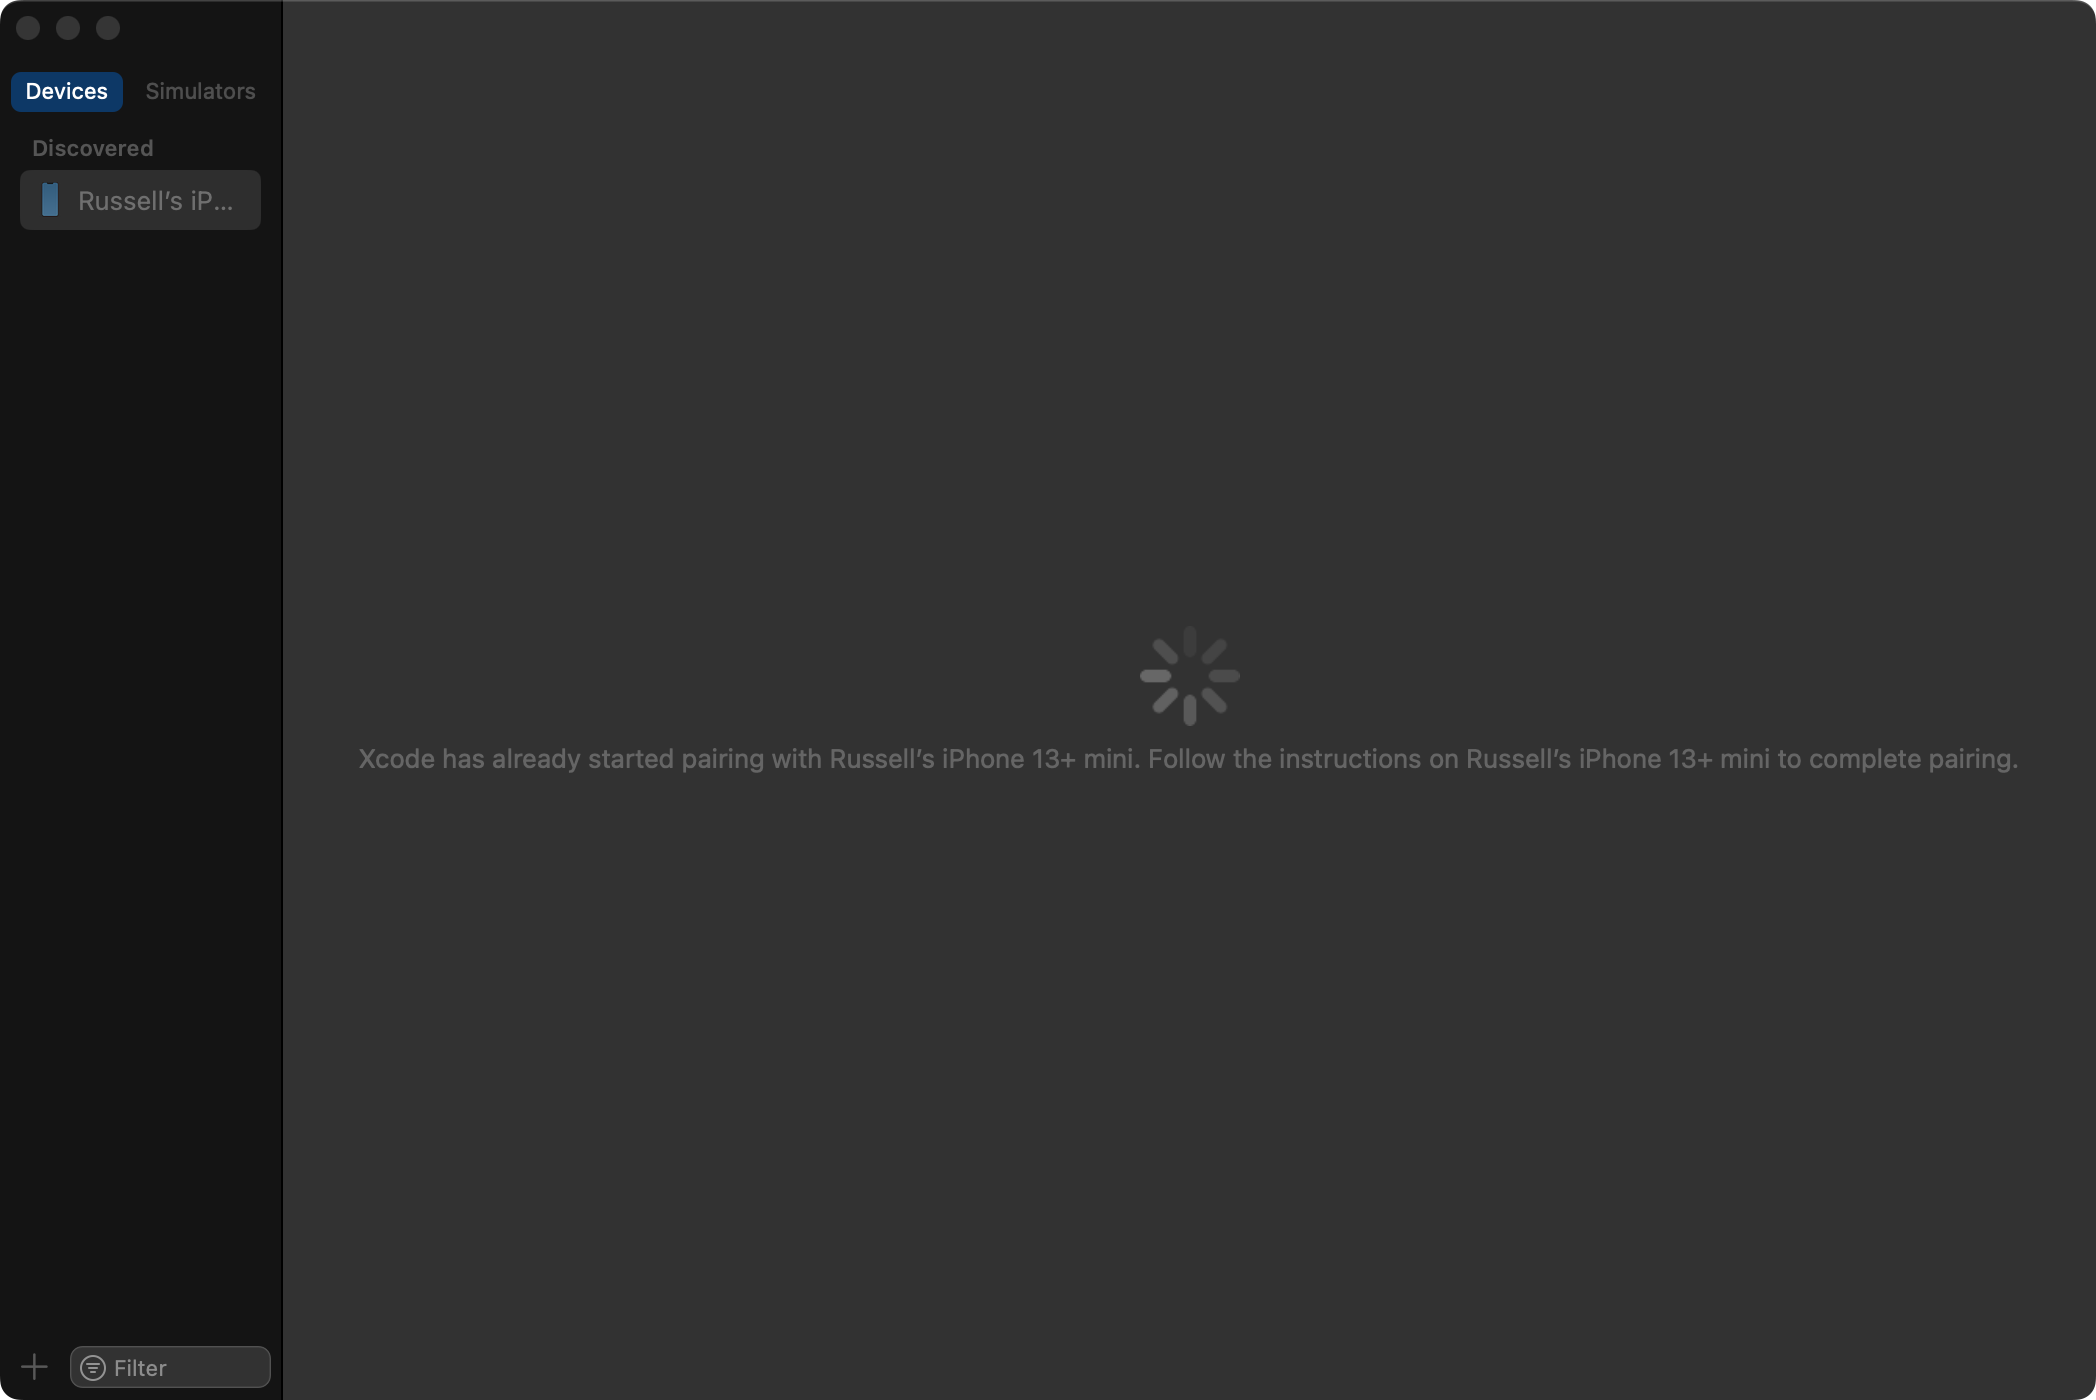
Now connect your iPhone or iPad to your Mac using a cable.
The first time you do this, you will see an image something like this:
On your phone, you may see the following message:
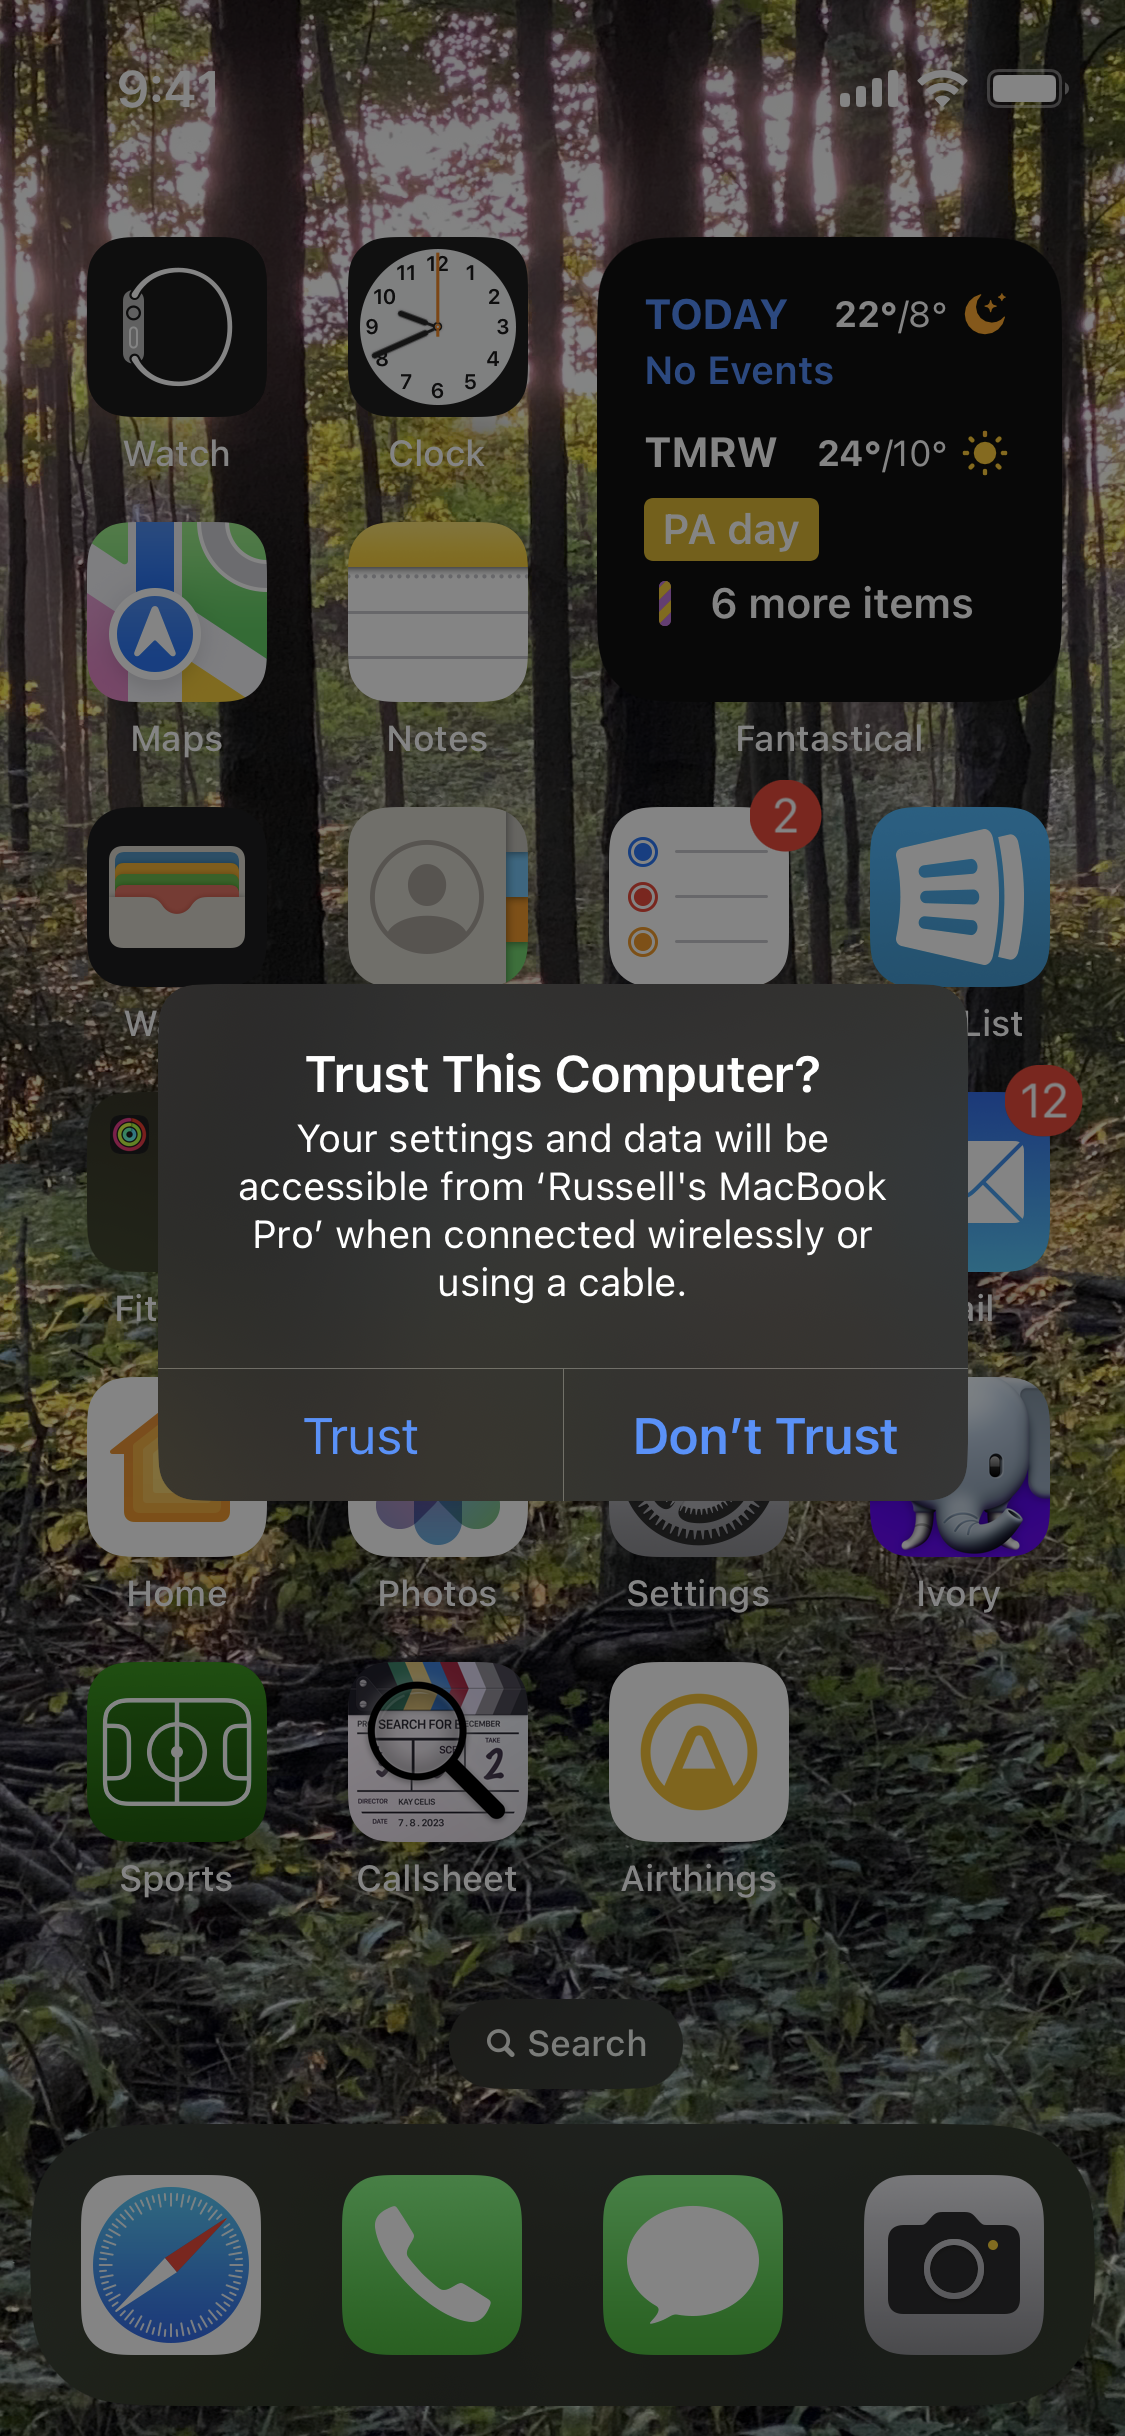
If you do, select the Trust option.
You might also see the following message:
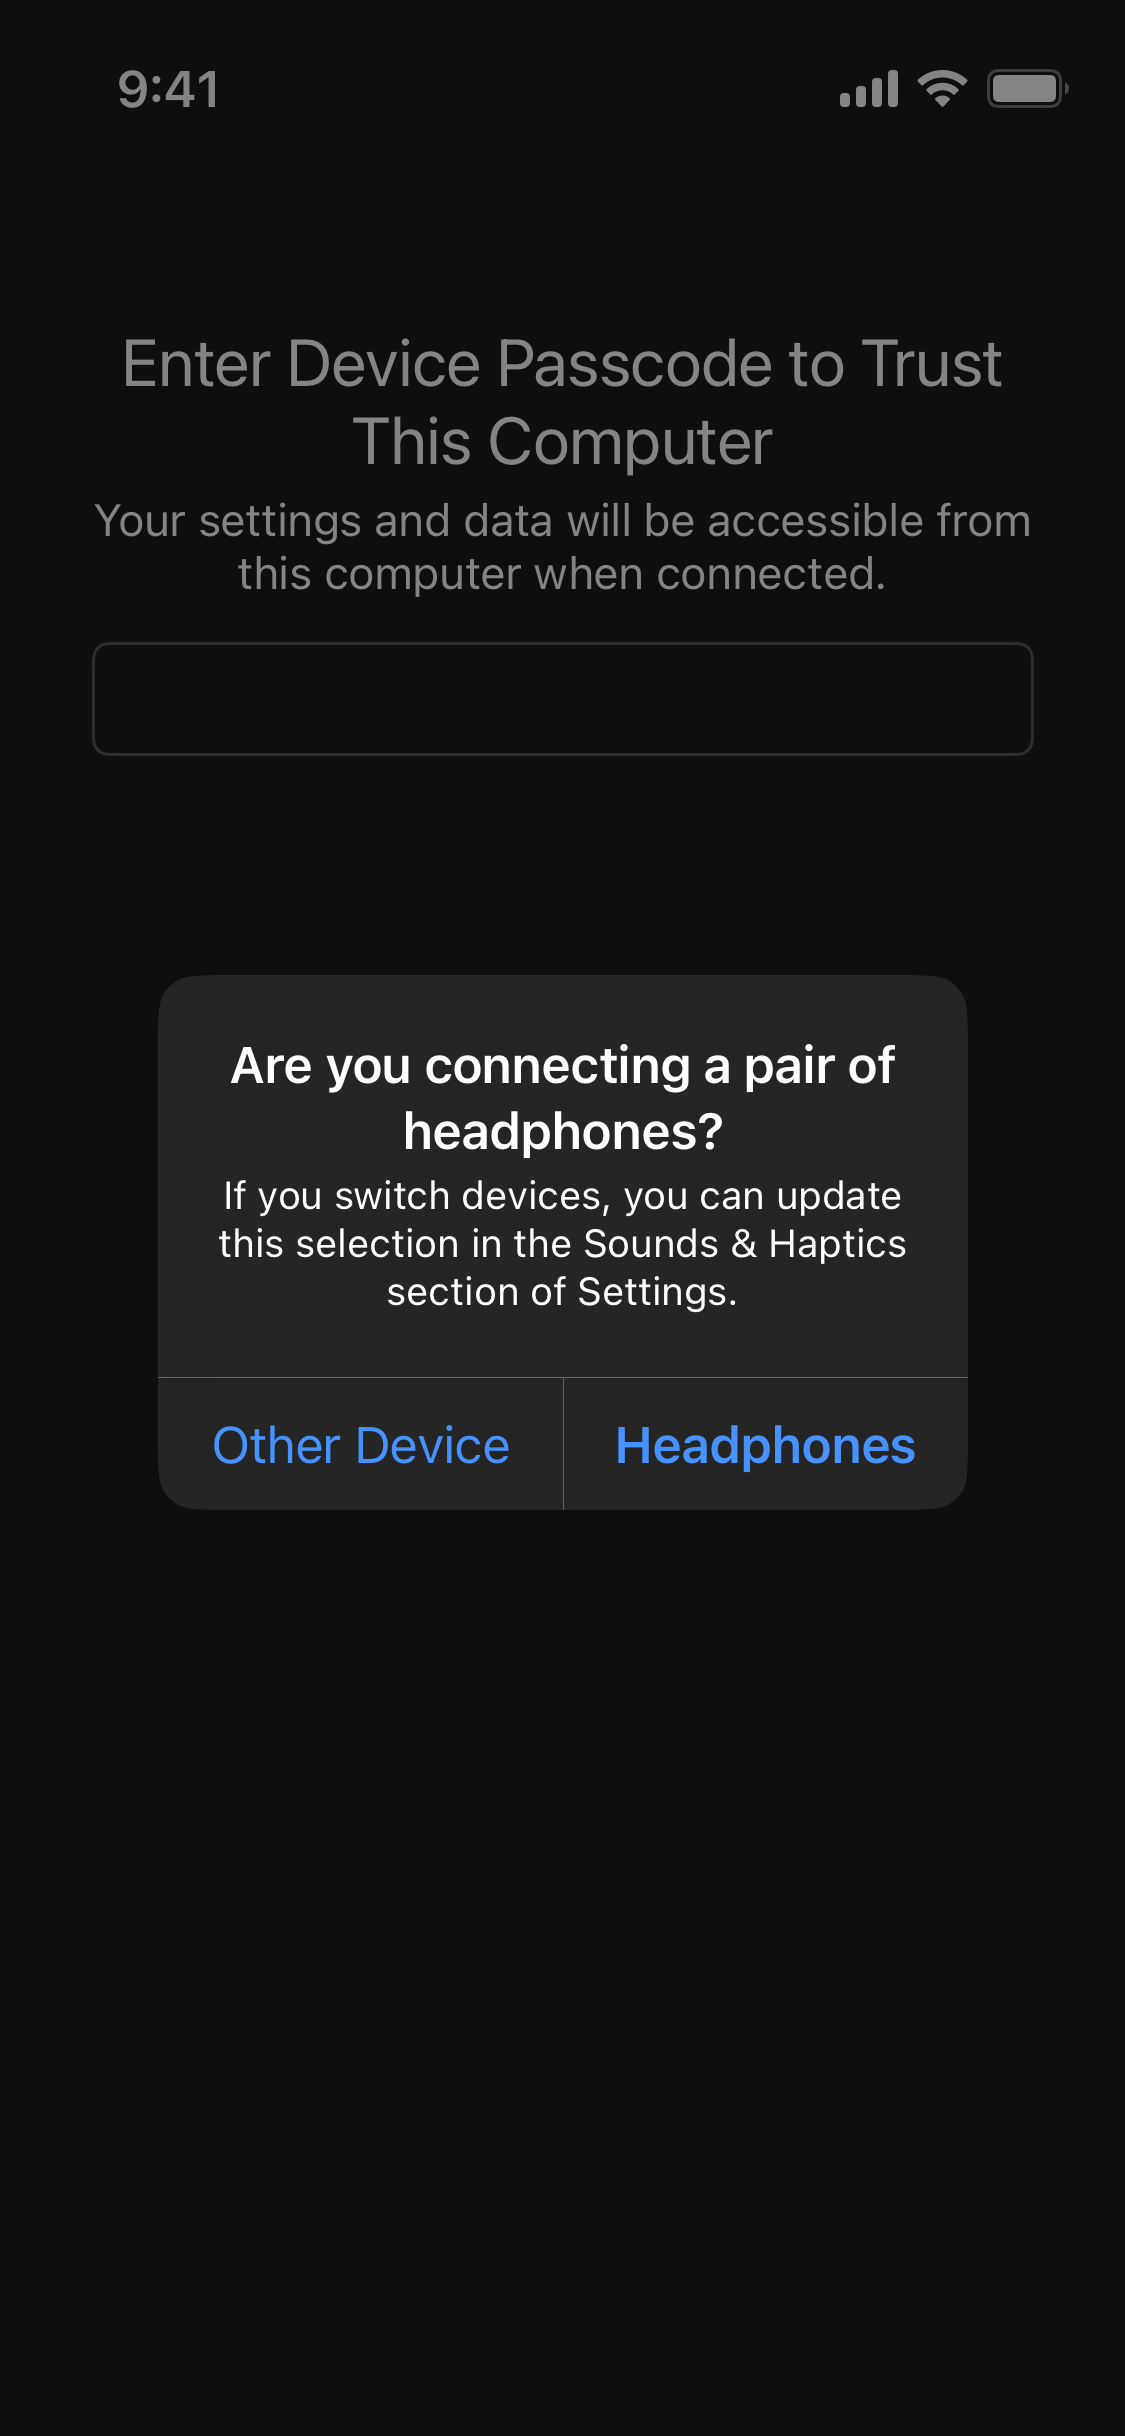
If you do, select the Other Device option.
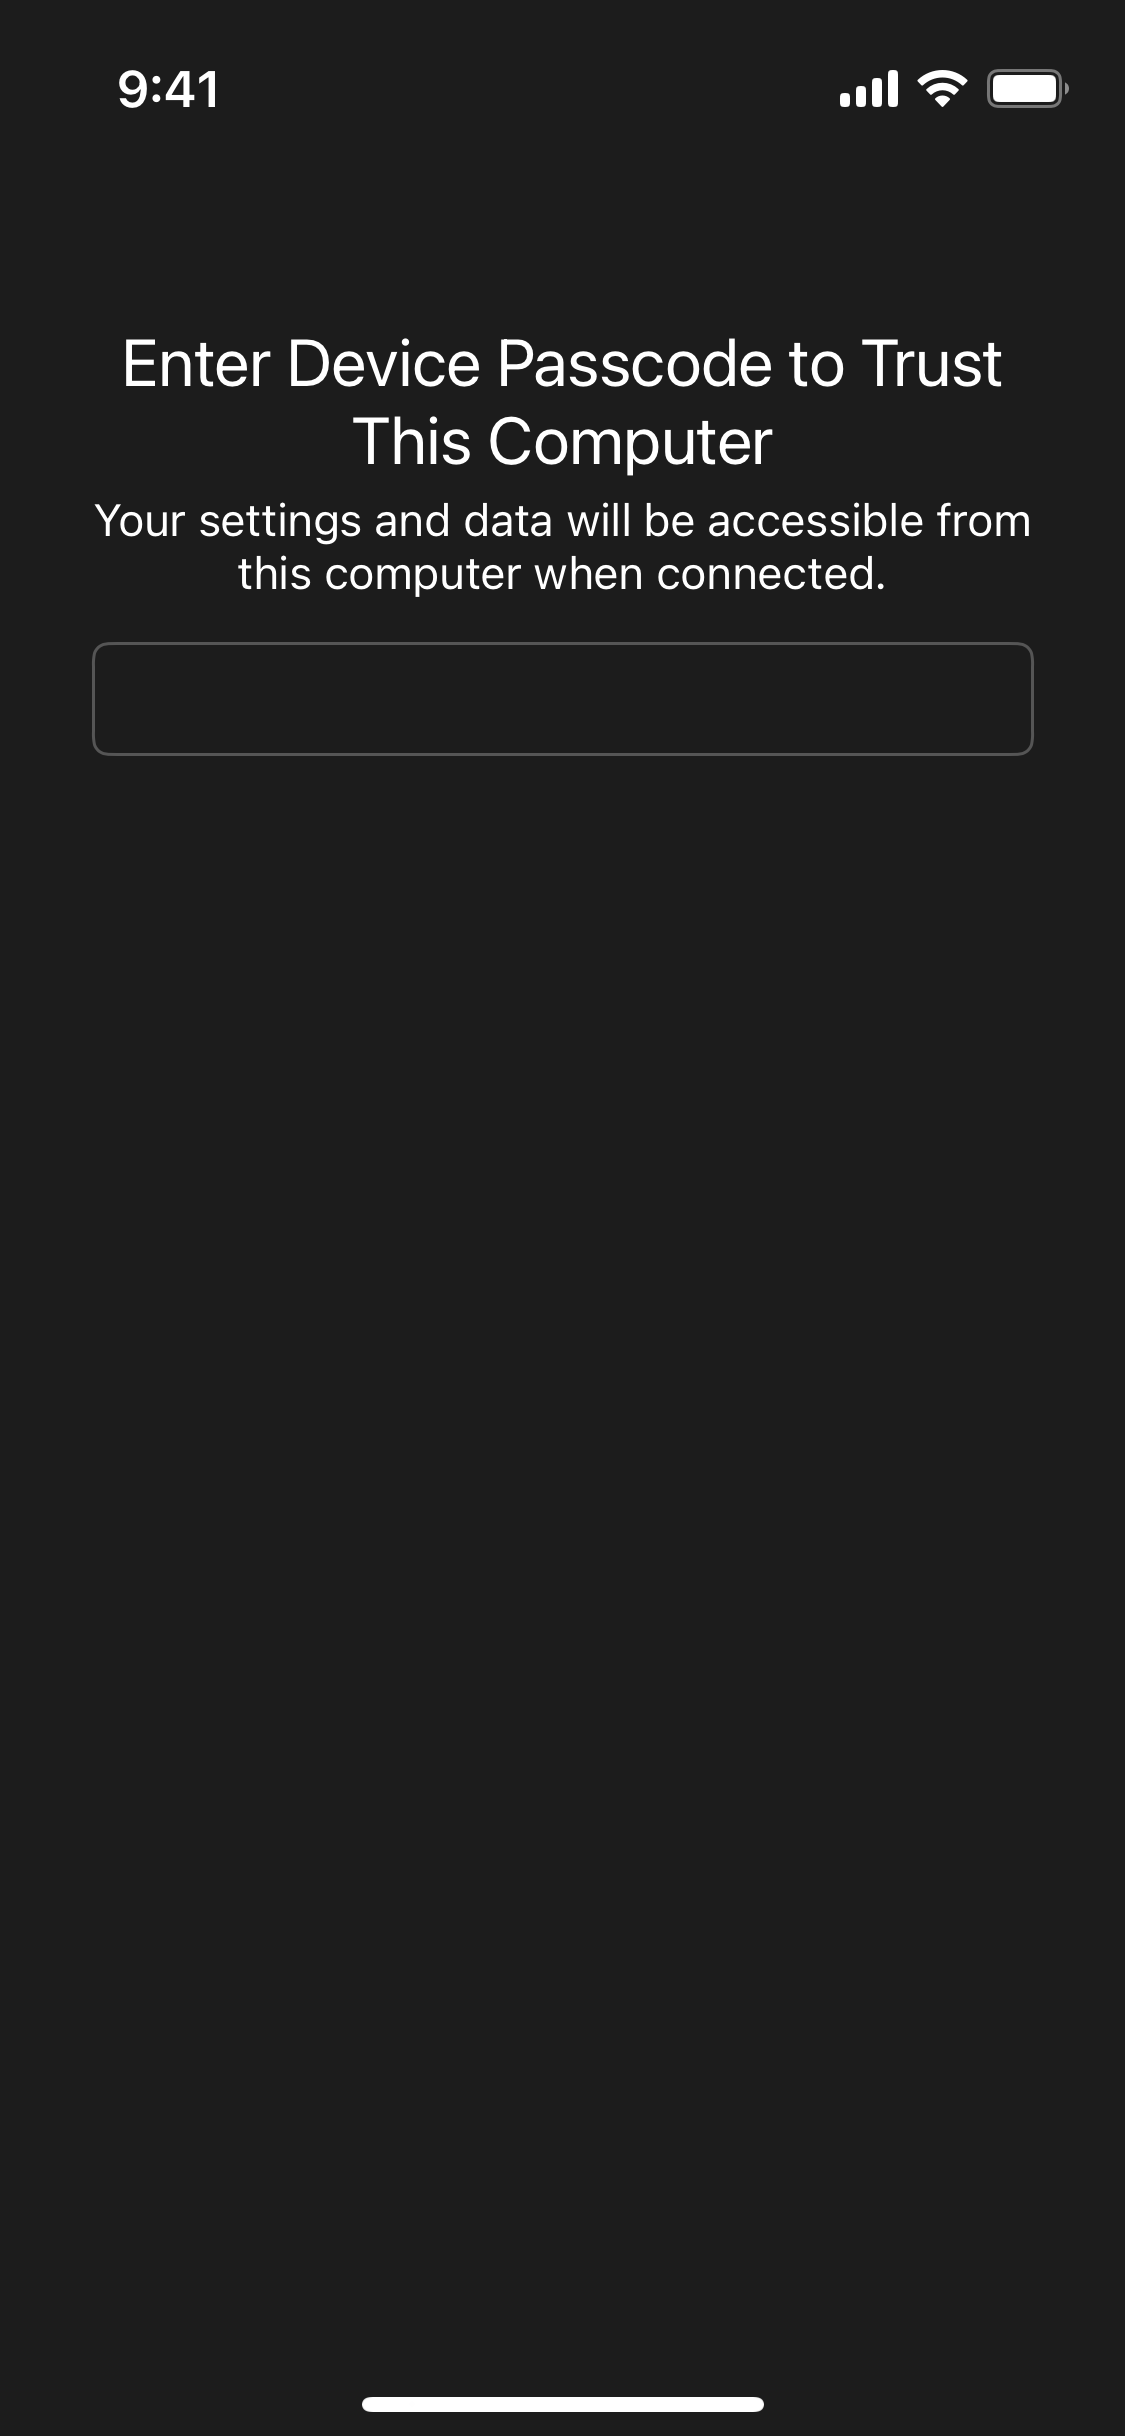
Finally, when prompted, be sure to enter your device passcode so that your phone trusts your Mac:
Enable Developer mode
To test applications you write on your iPhone or iPad it must be in developer mode.
Back in Xcode, you will see a window something like the following:

NOTE
The instructions that follow are for iOS 17.
If you have a later version of iOS on your phone, screenshots may differ.
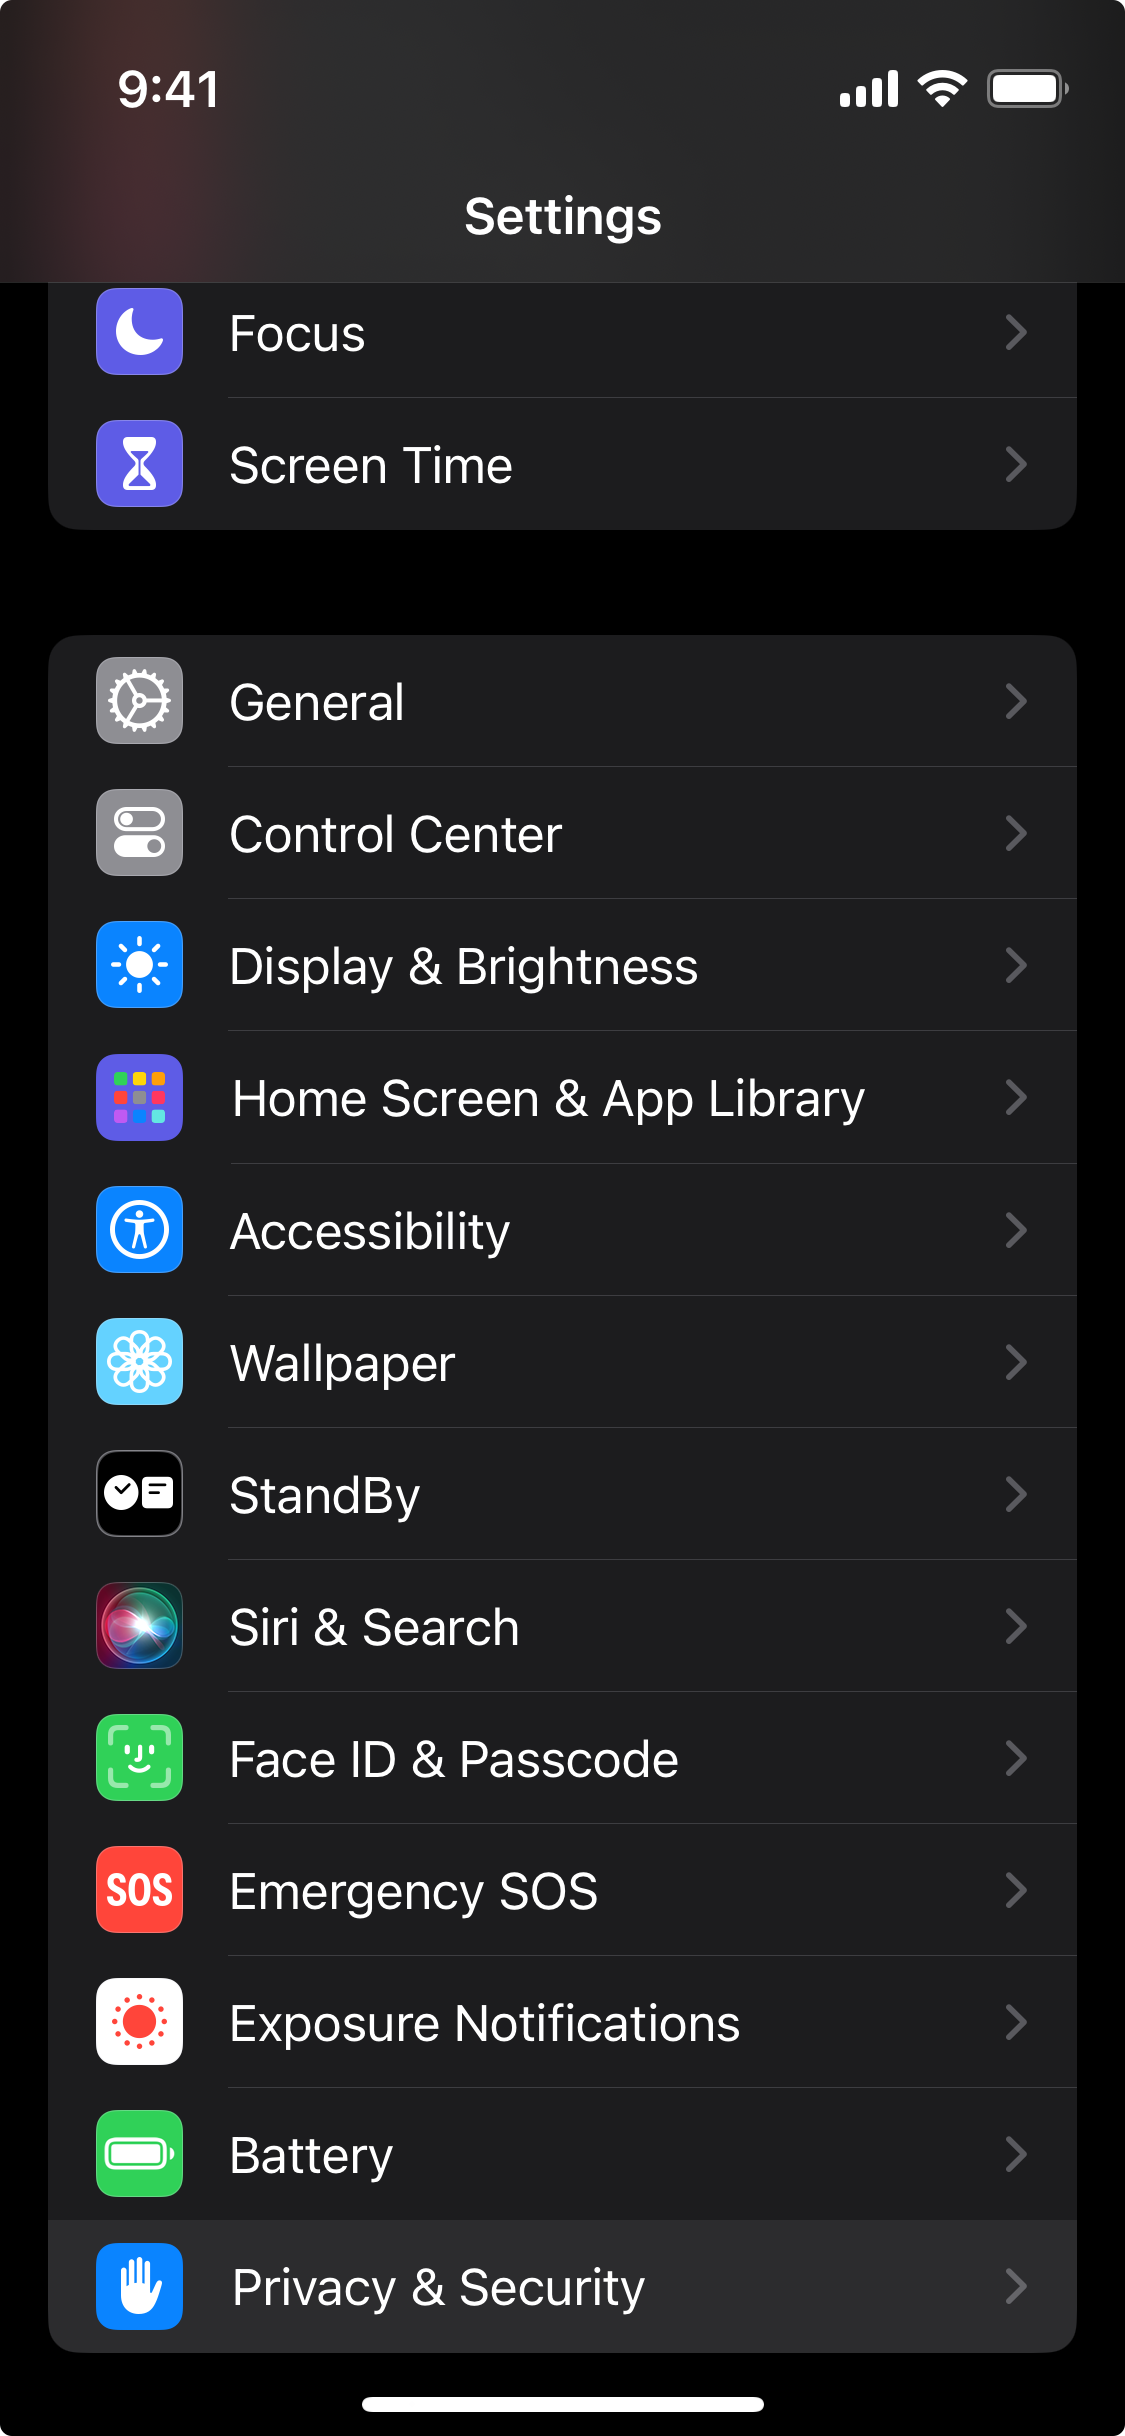
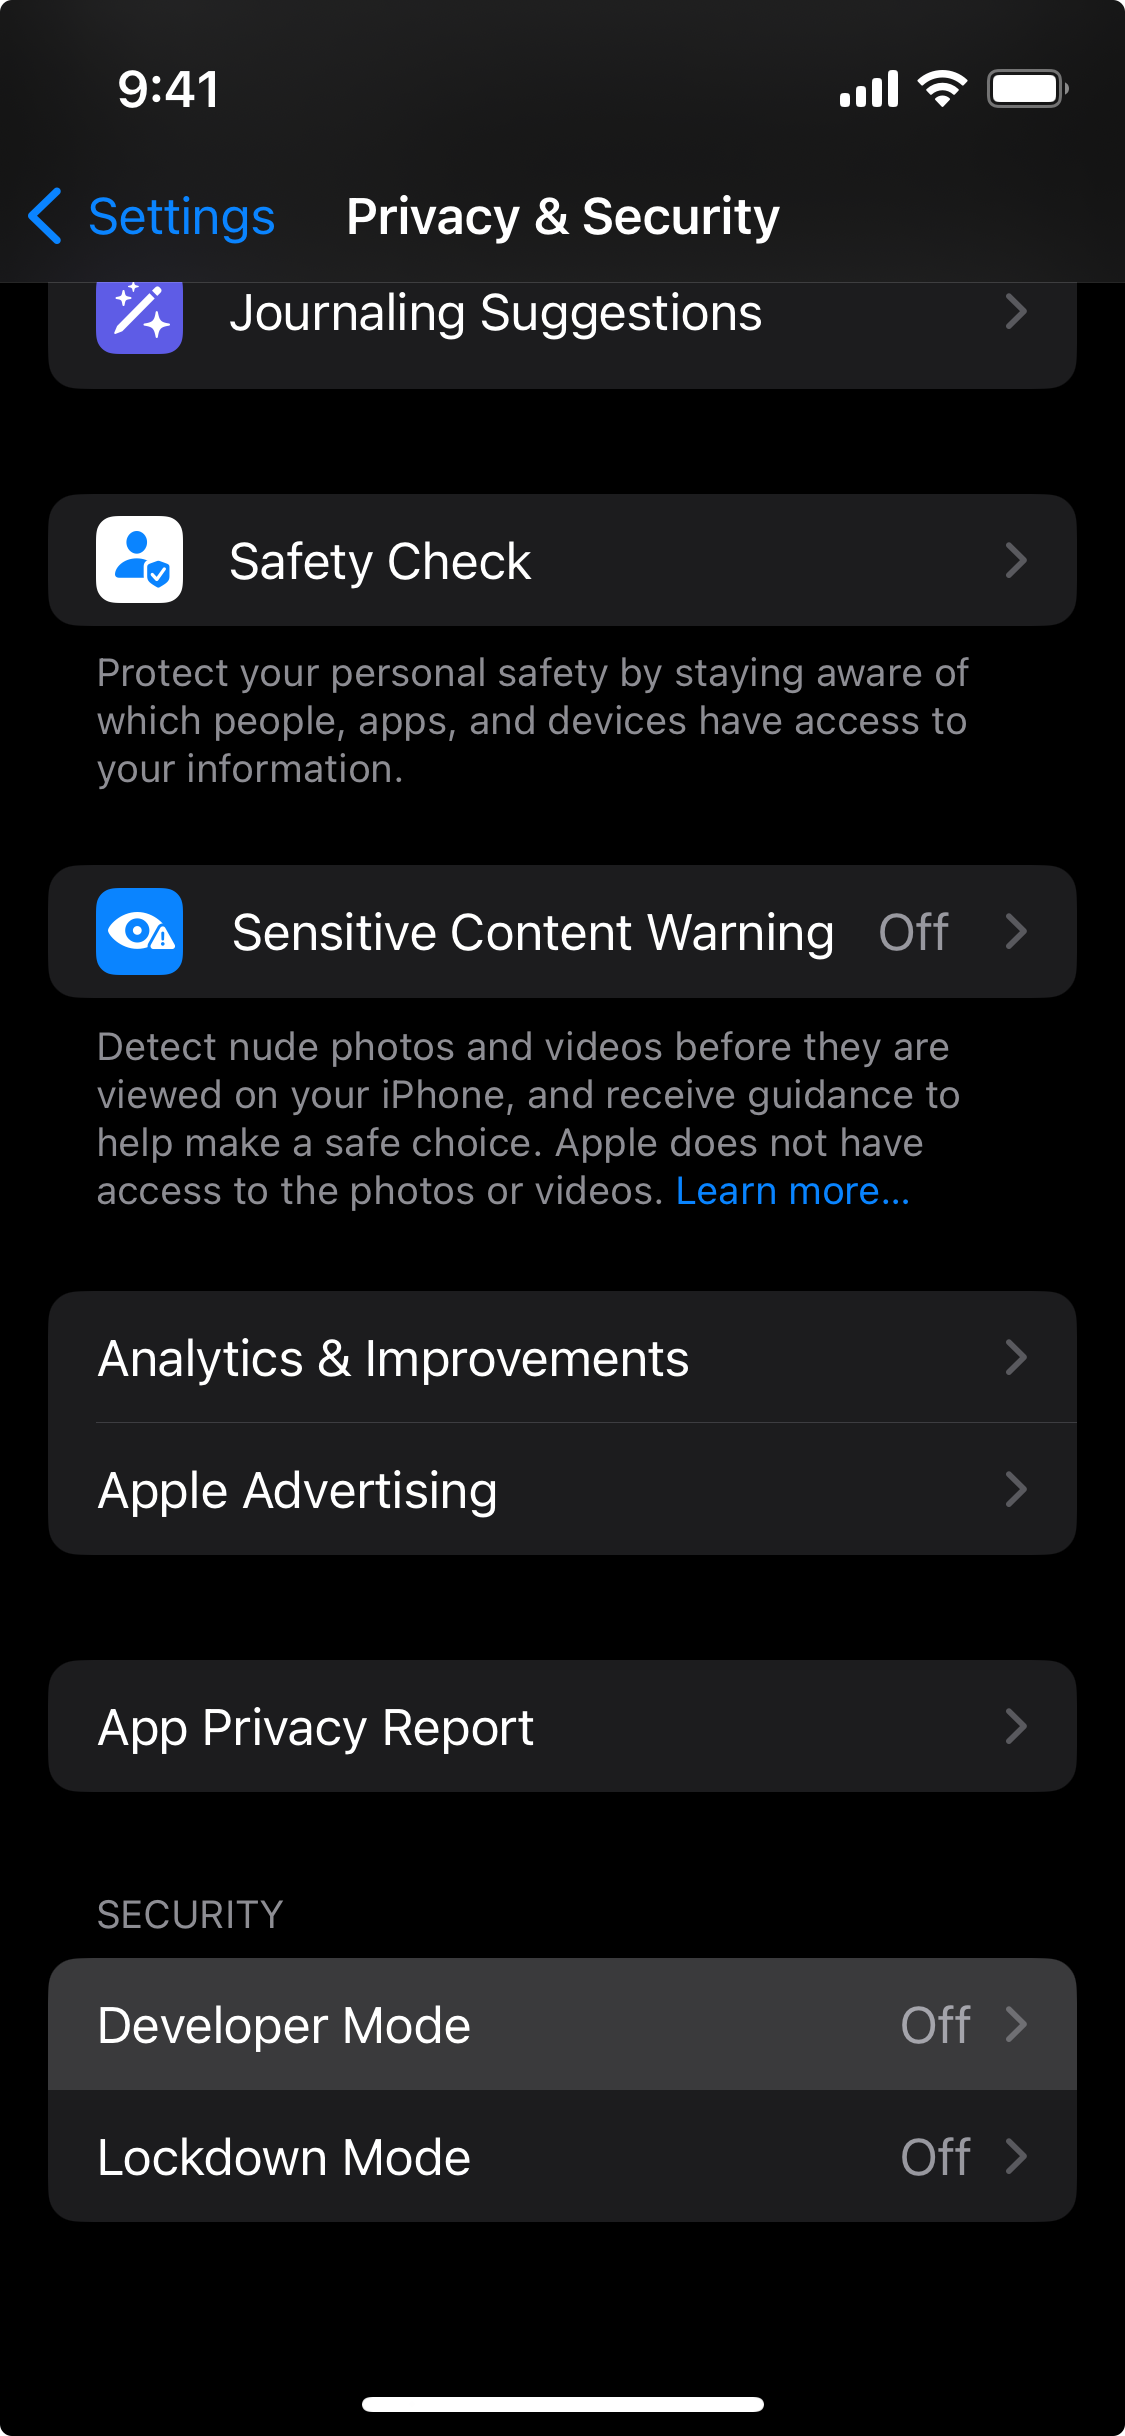
To do this, first open the Settings app, then select Privacy & Security:
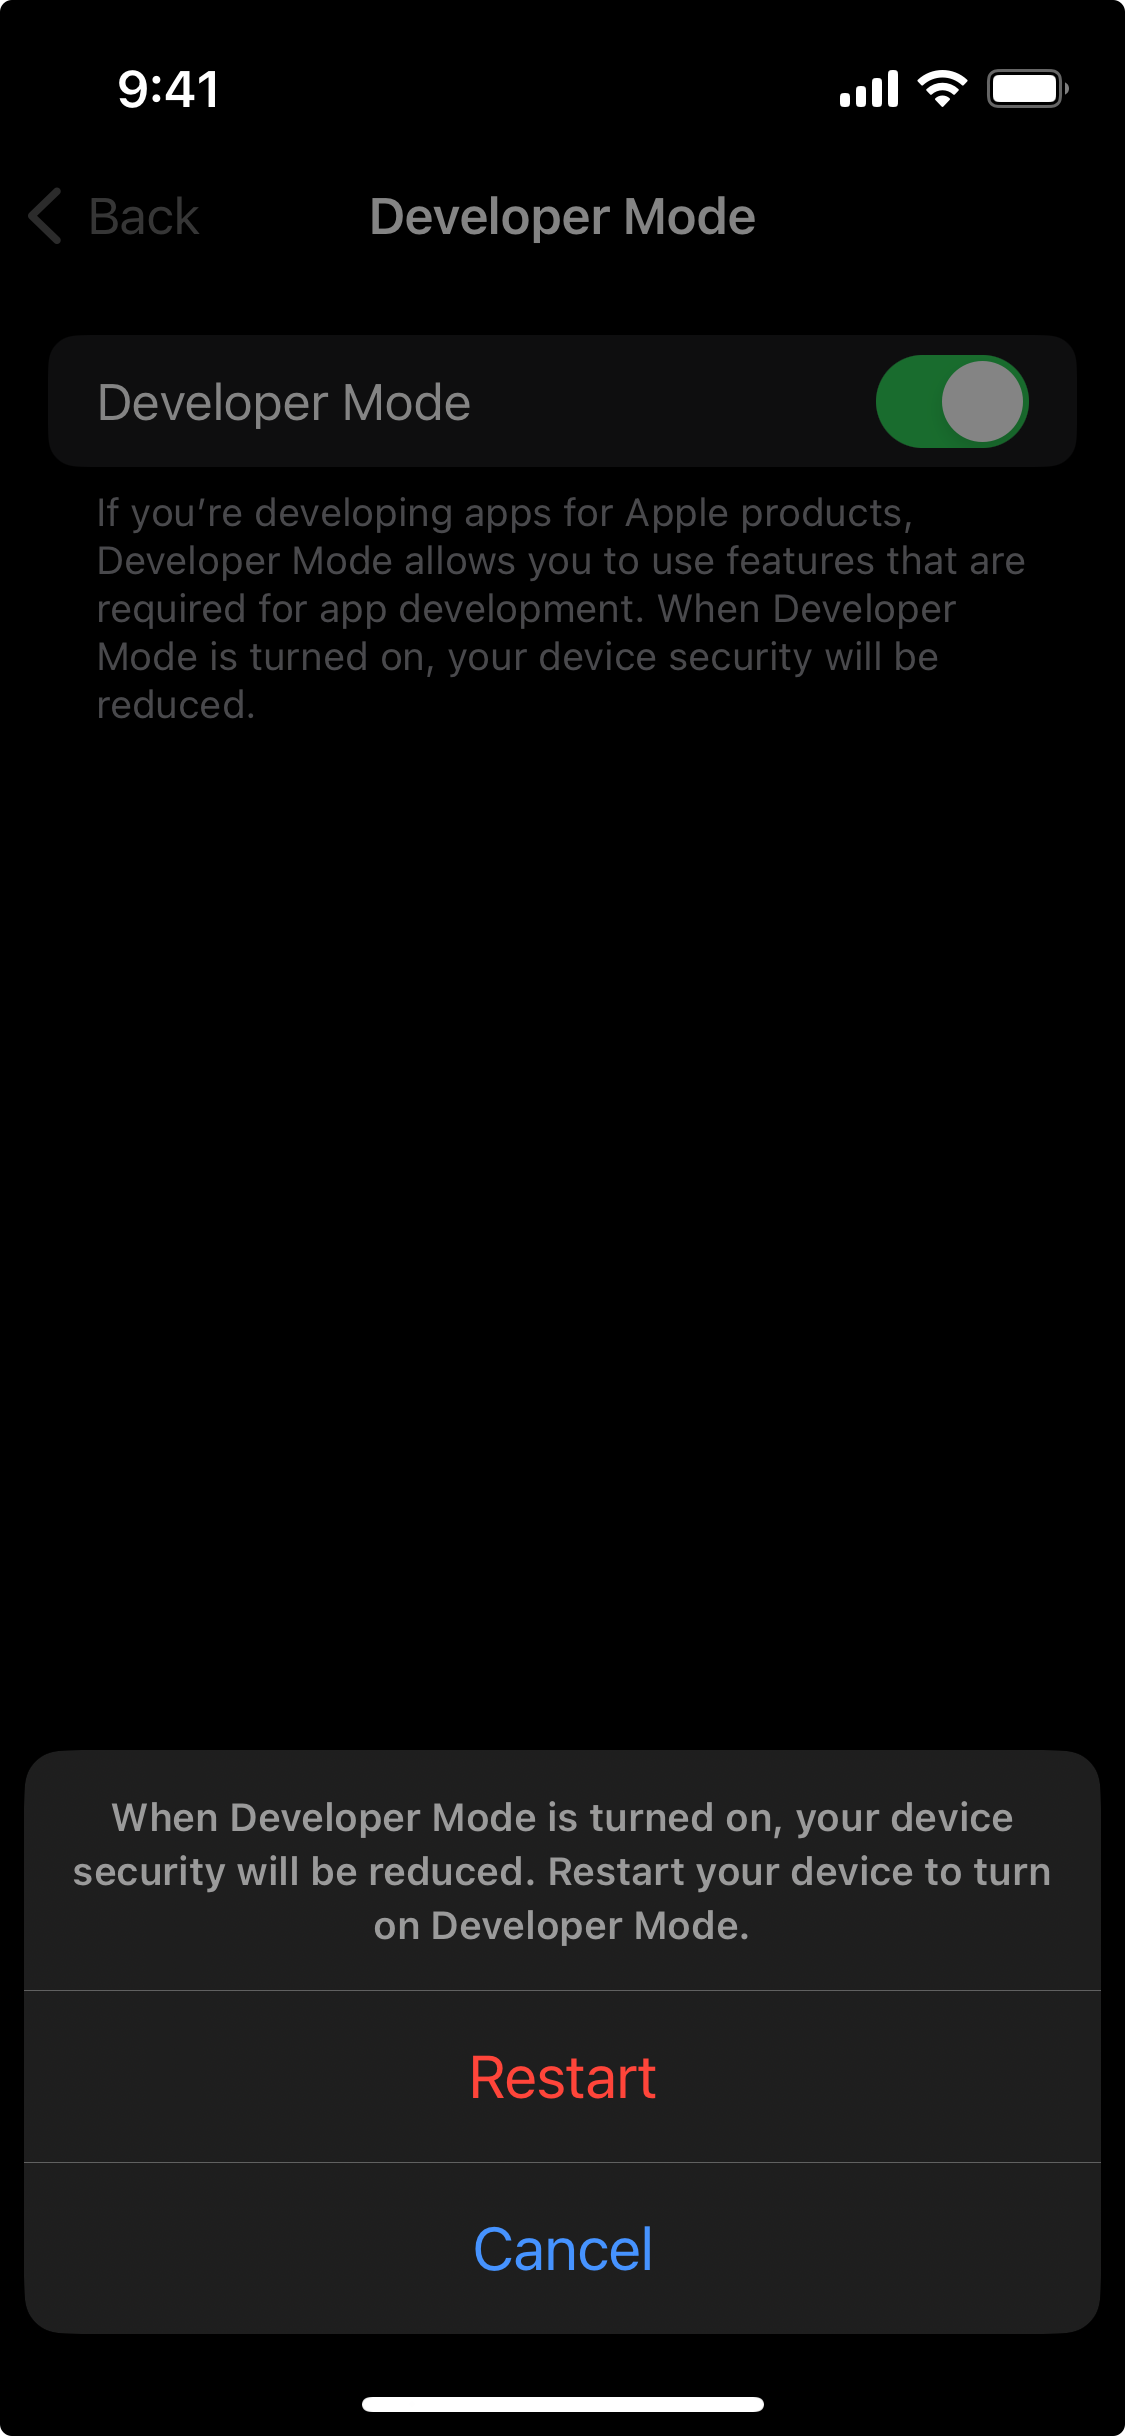
Then select Developer Mode:
Turn on Developer Mode, then restart your iPhone:
NOTE
Despite the warning about reduced device security, know that an application cannot be loaded on to your phone unless it is unlocked and you have explicitly indicated that you trust the developer who wrote the app.
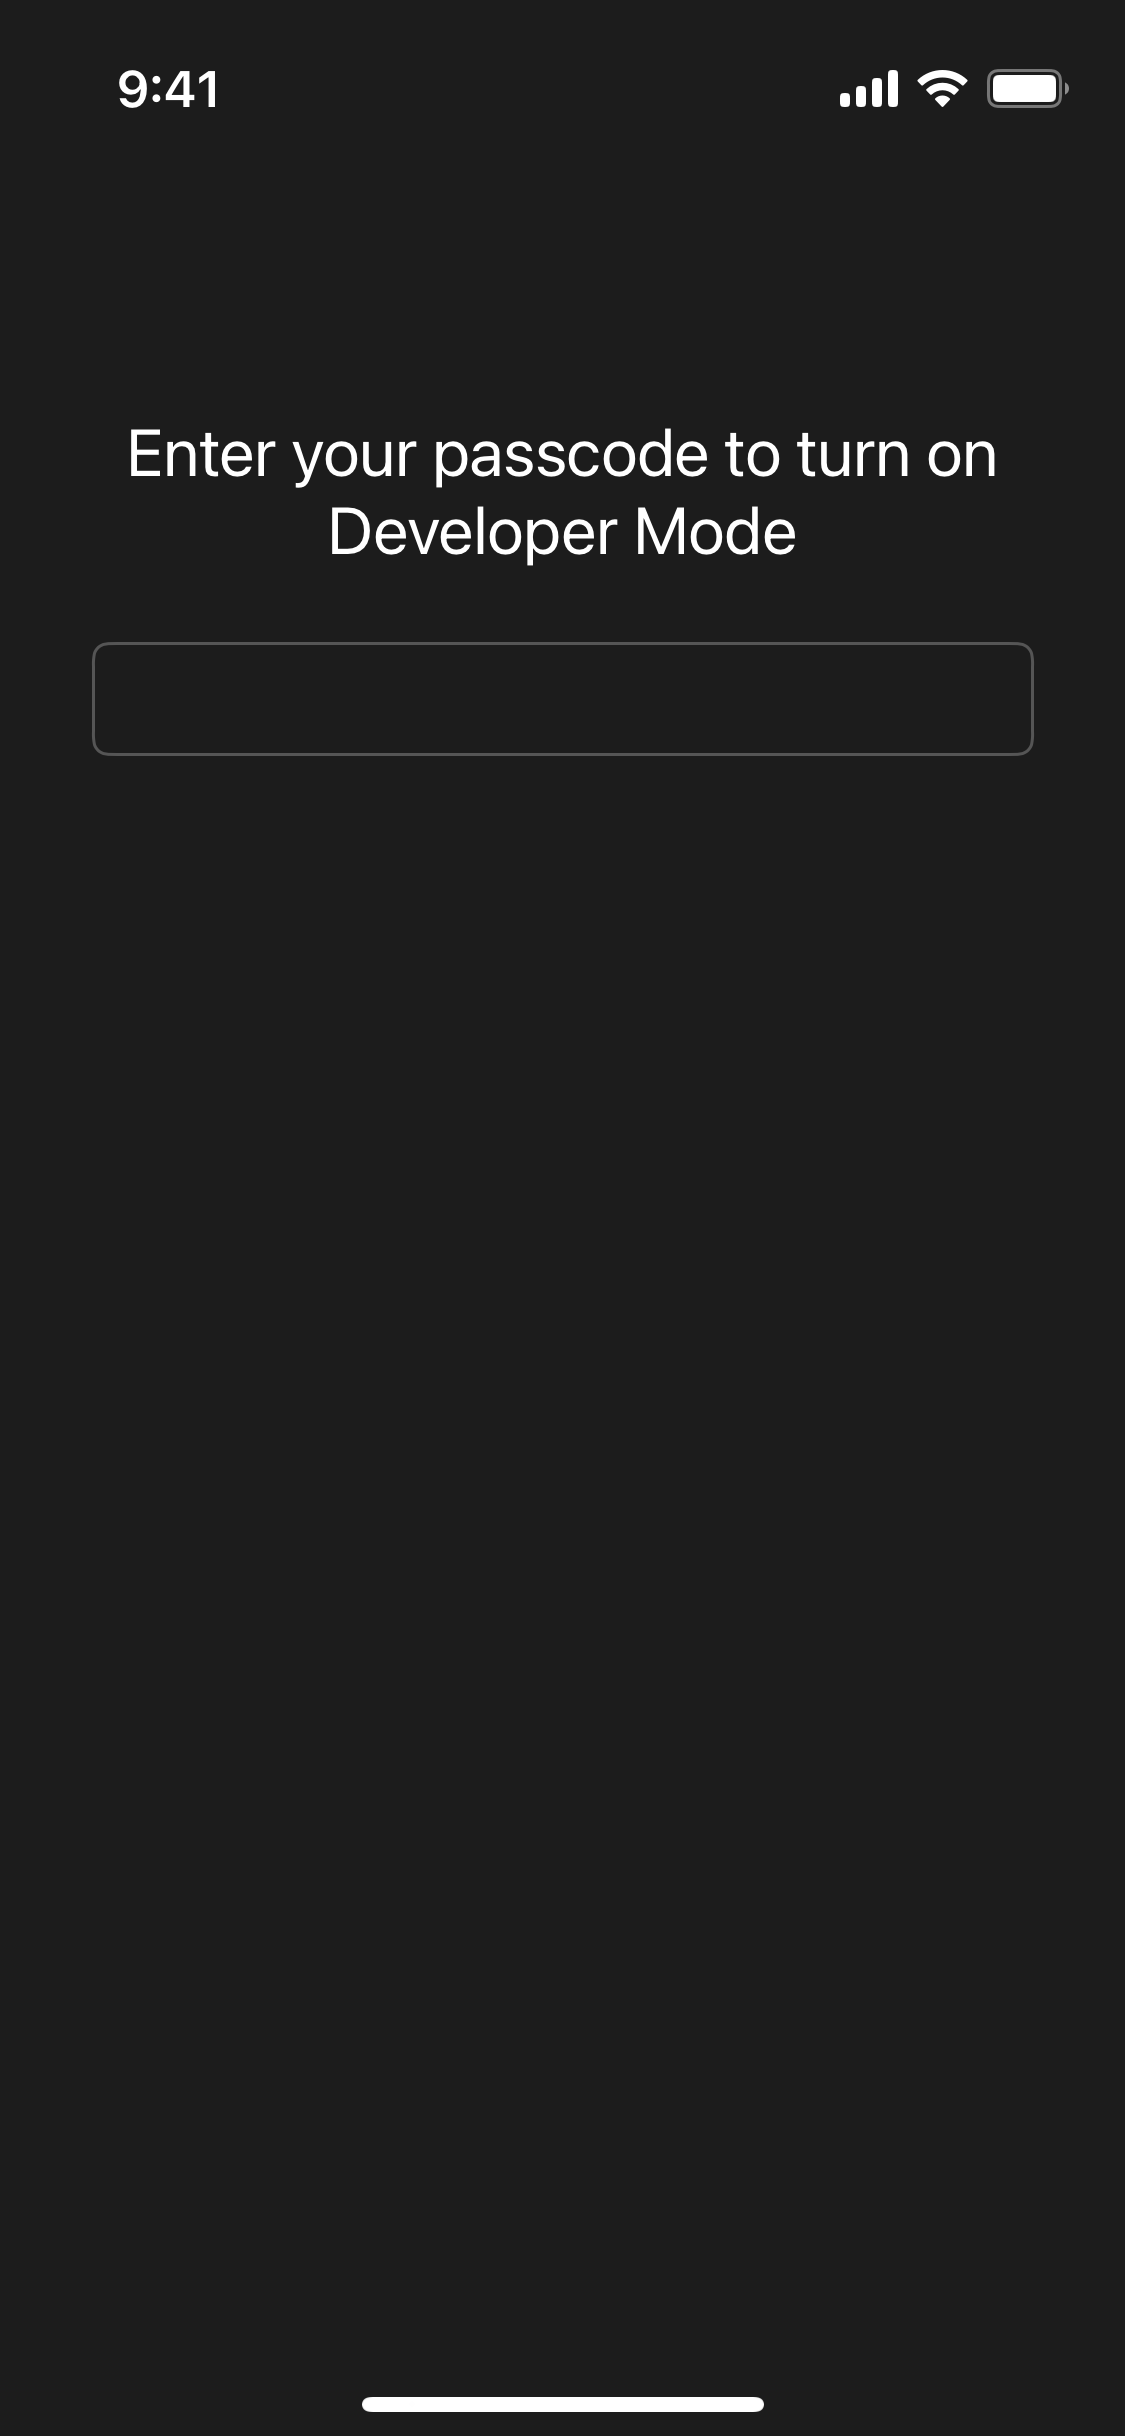
After restarting your phone, you will see this message appear – select Turn On:

You will need to provide your device passcode:
Wait for files to copy
Now, unplug the cable connecting your phone to your Mac, and wait a few seconds.
TIP
Really. Be sure you unplug the cable, then plug it back in again! 🙂
Then, plug the cable connecting your phone to your Mac back in again.
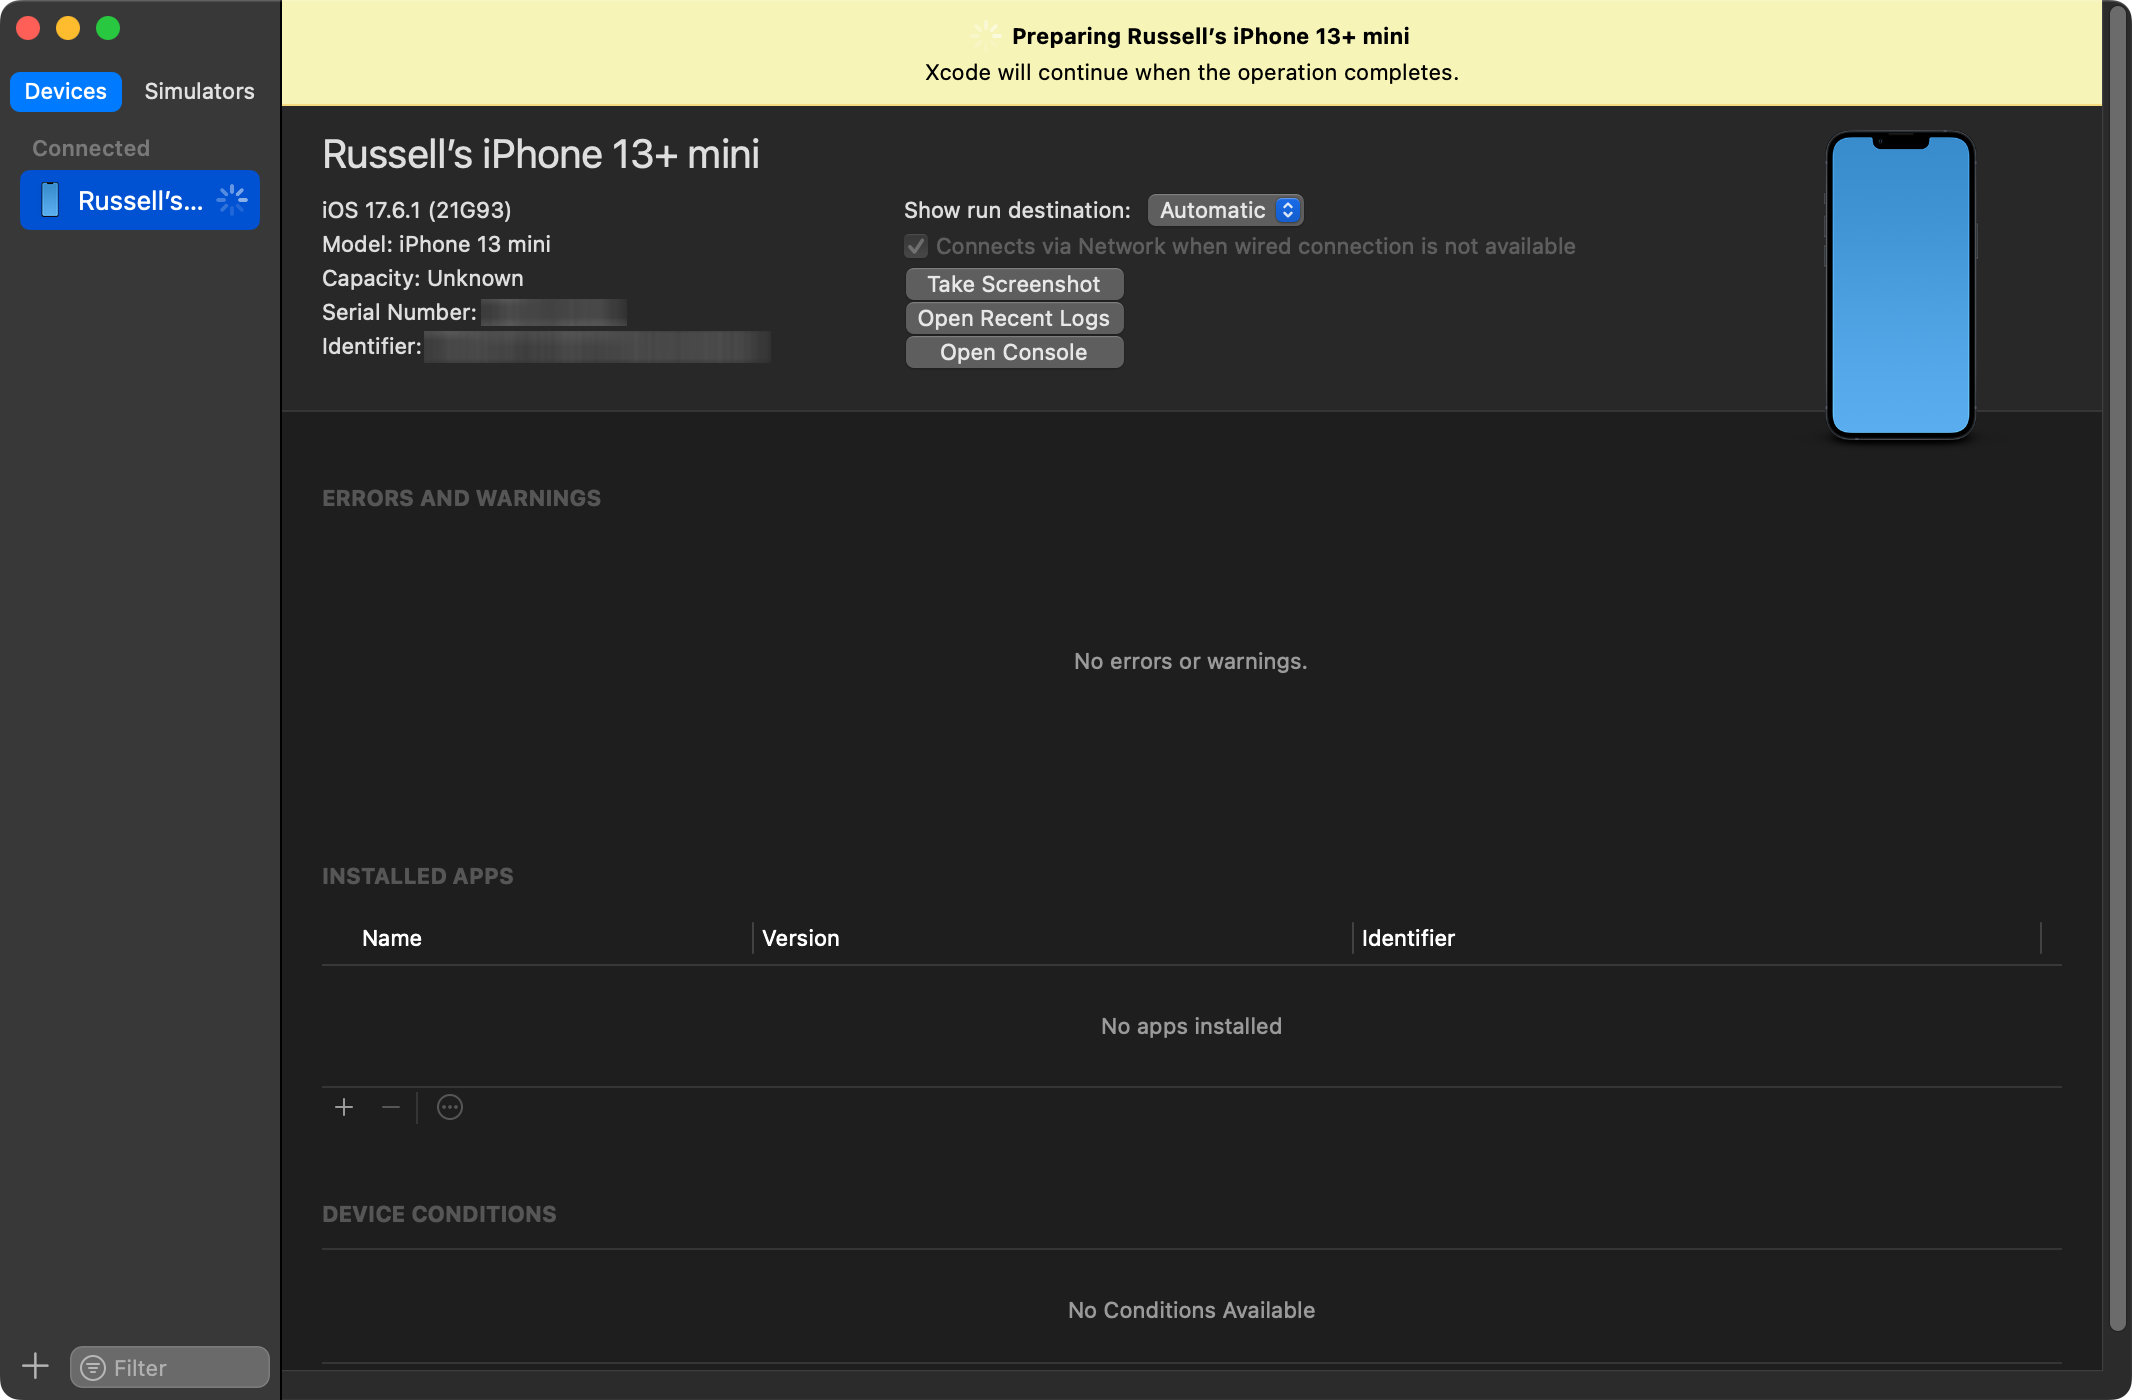
After a few moments, you should see the “Preparing…” message in the Devices and Simulators dialog:
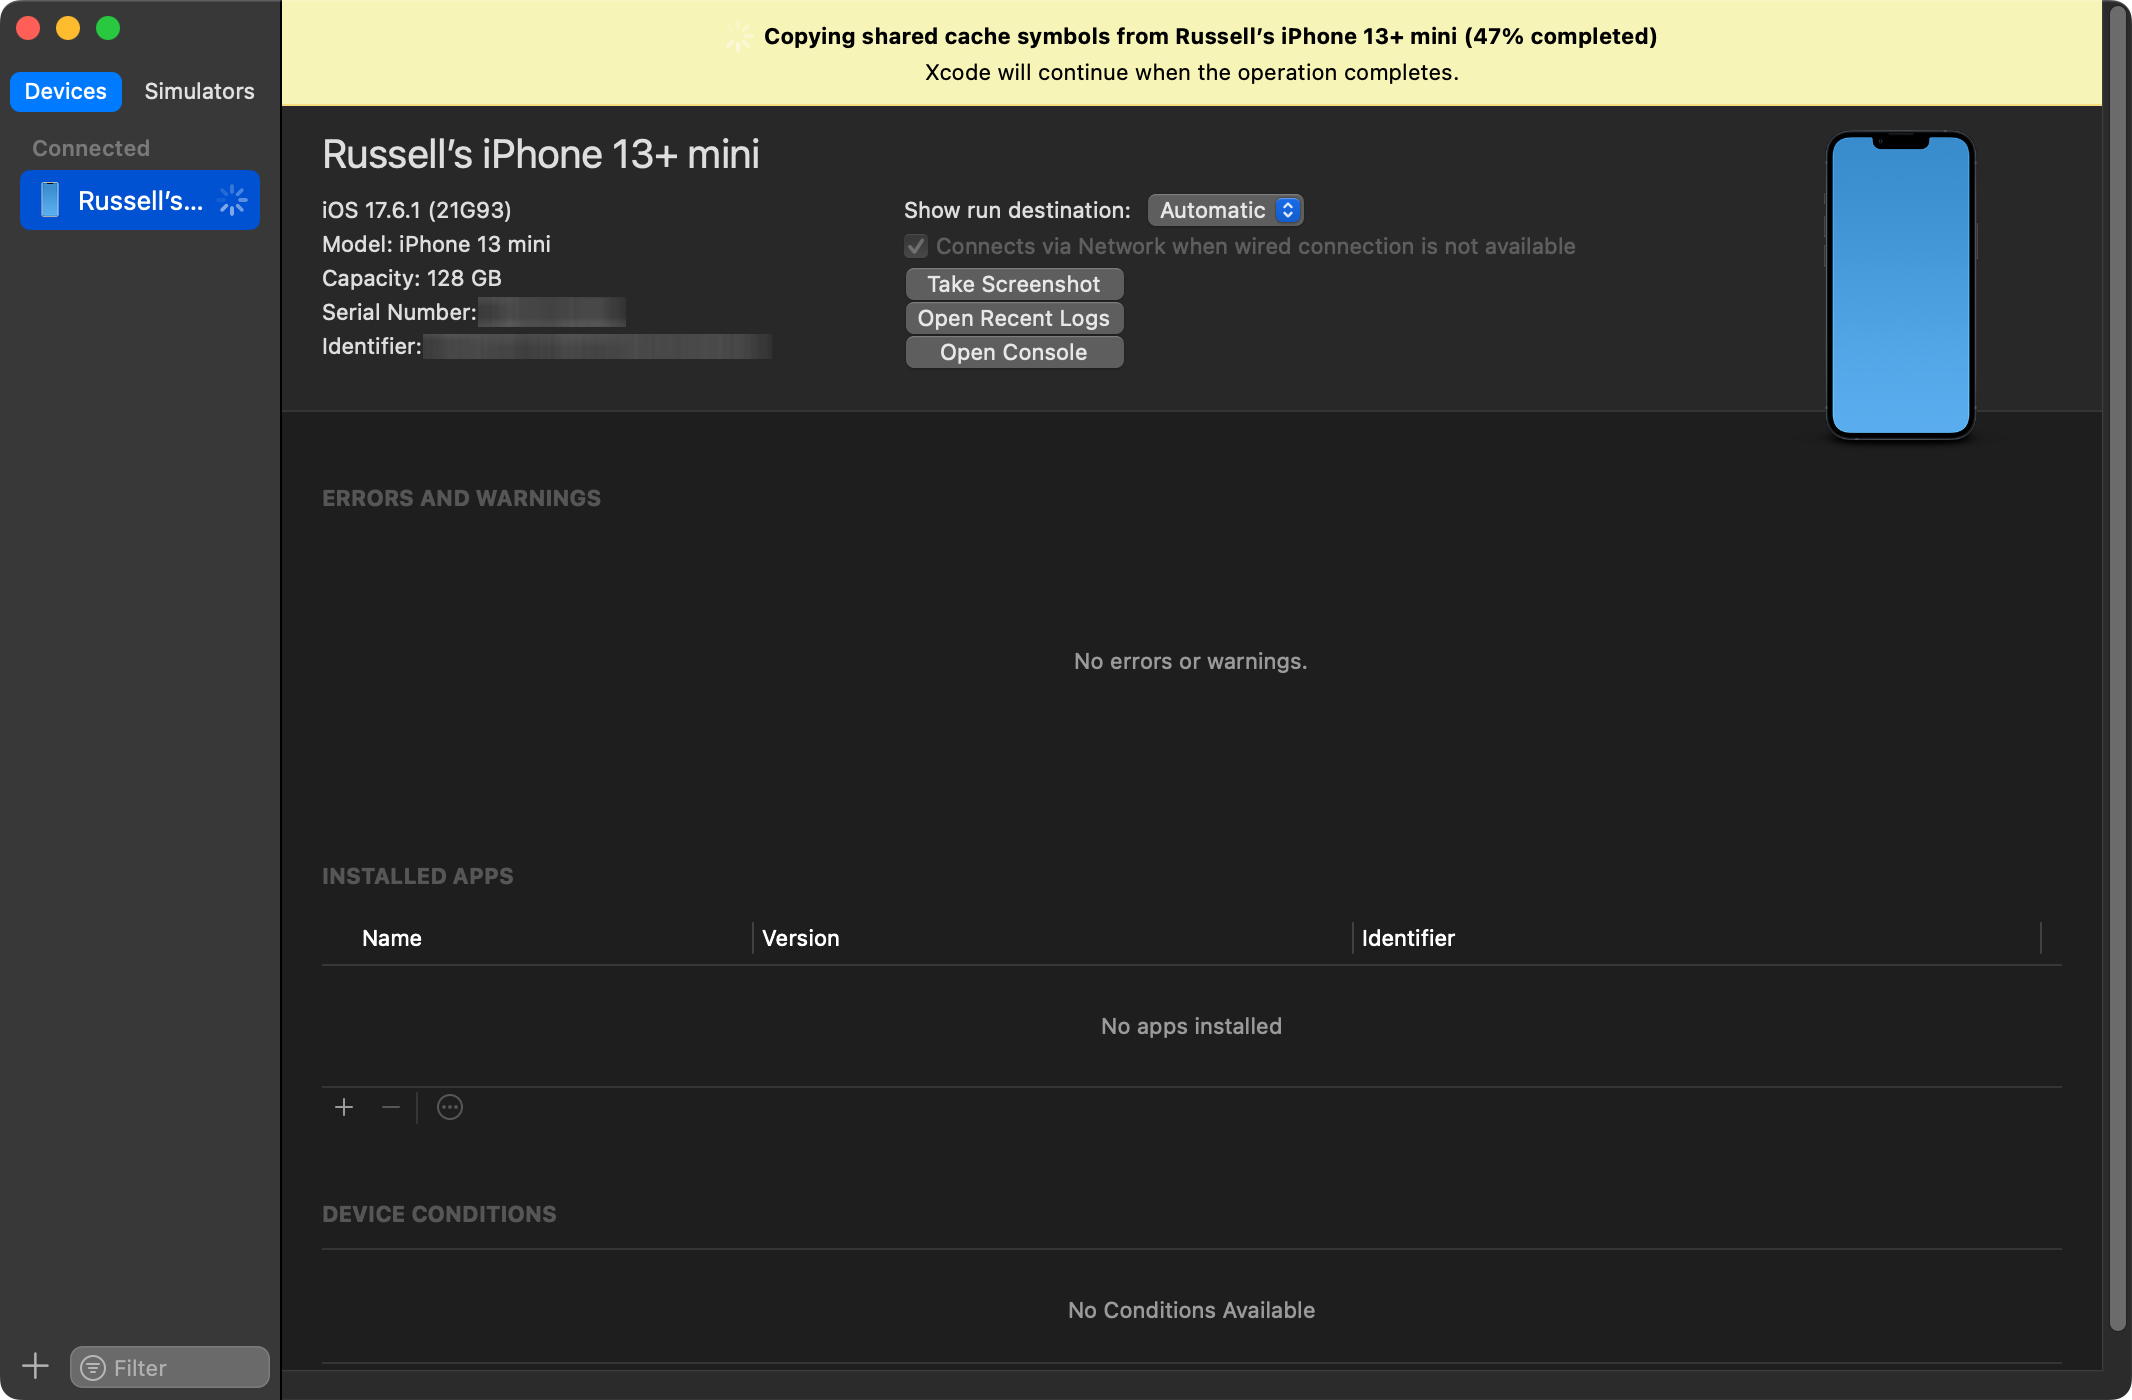
Then, this message will appear, indicating that some files are being copied from your phone to your Mac:
TIP
This process – of copying necessary files from your phone to your computer – may take a few minutes to complete; be patient.
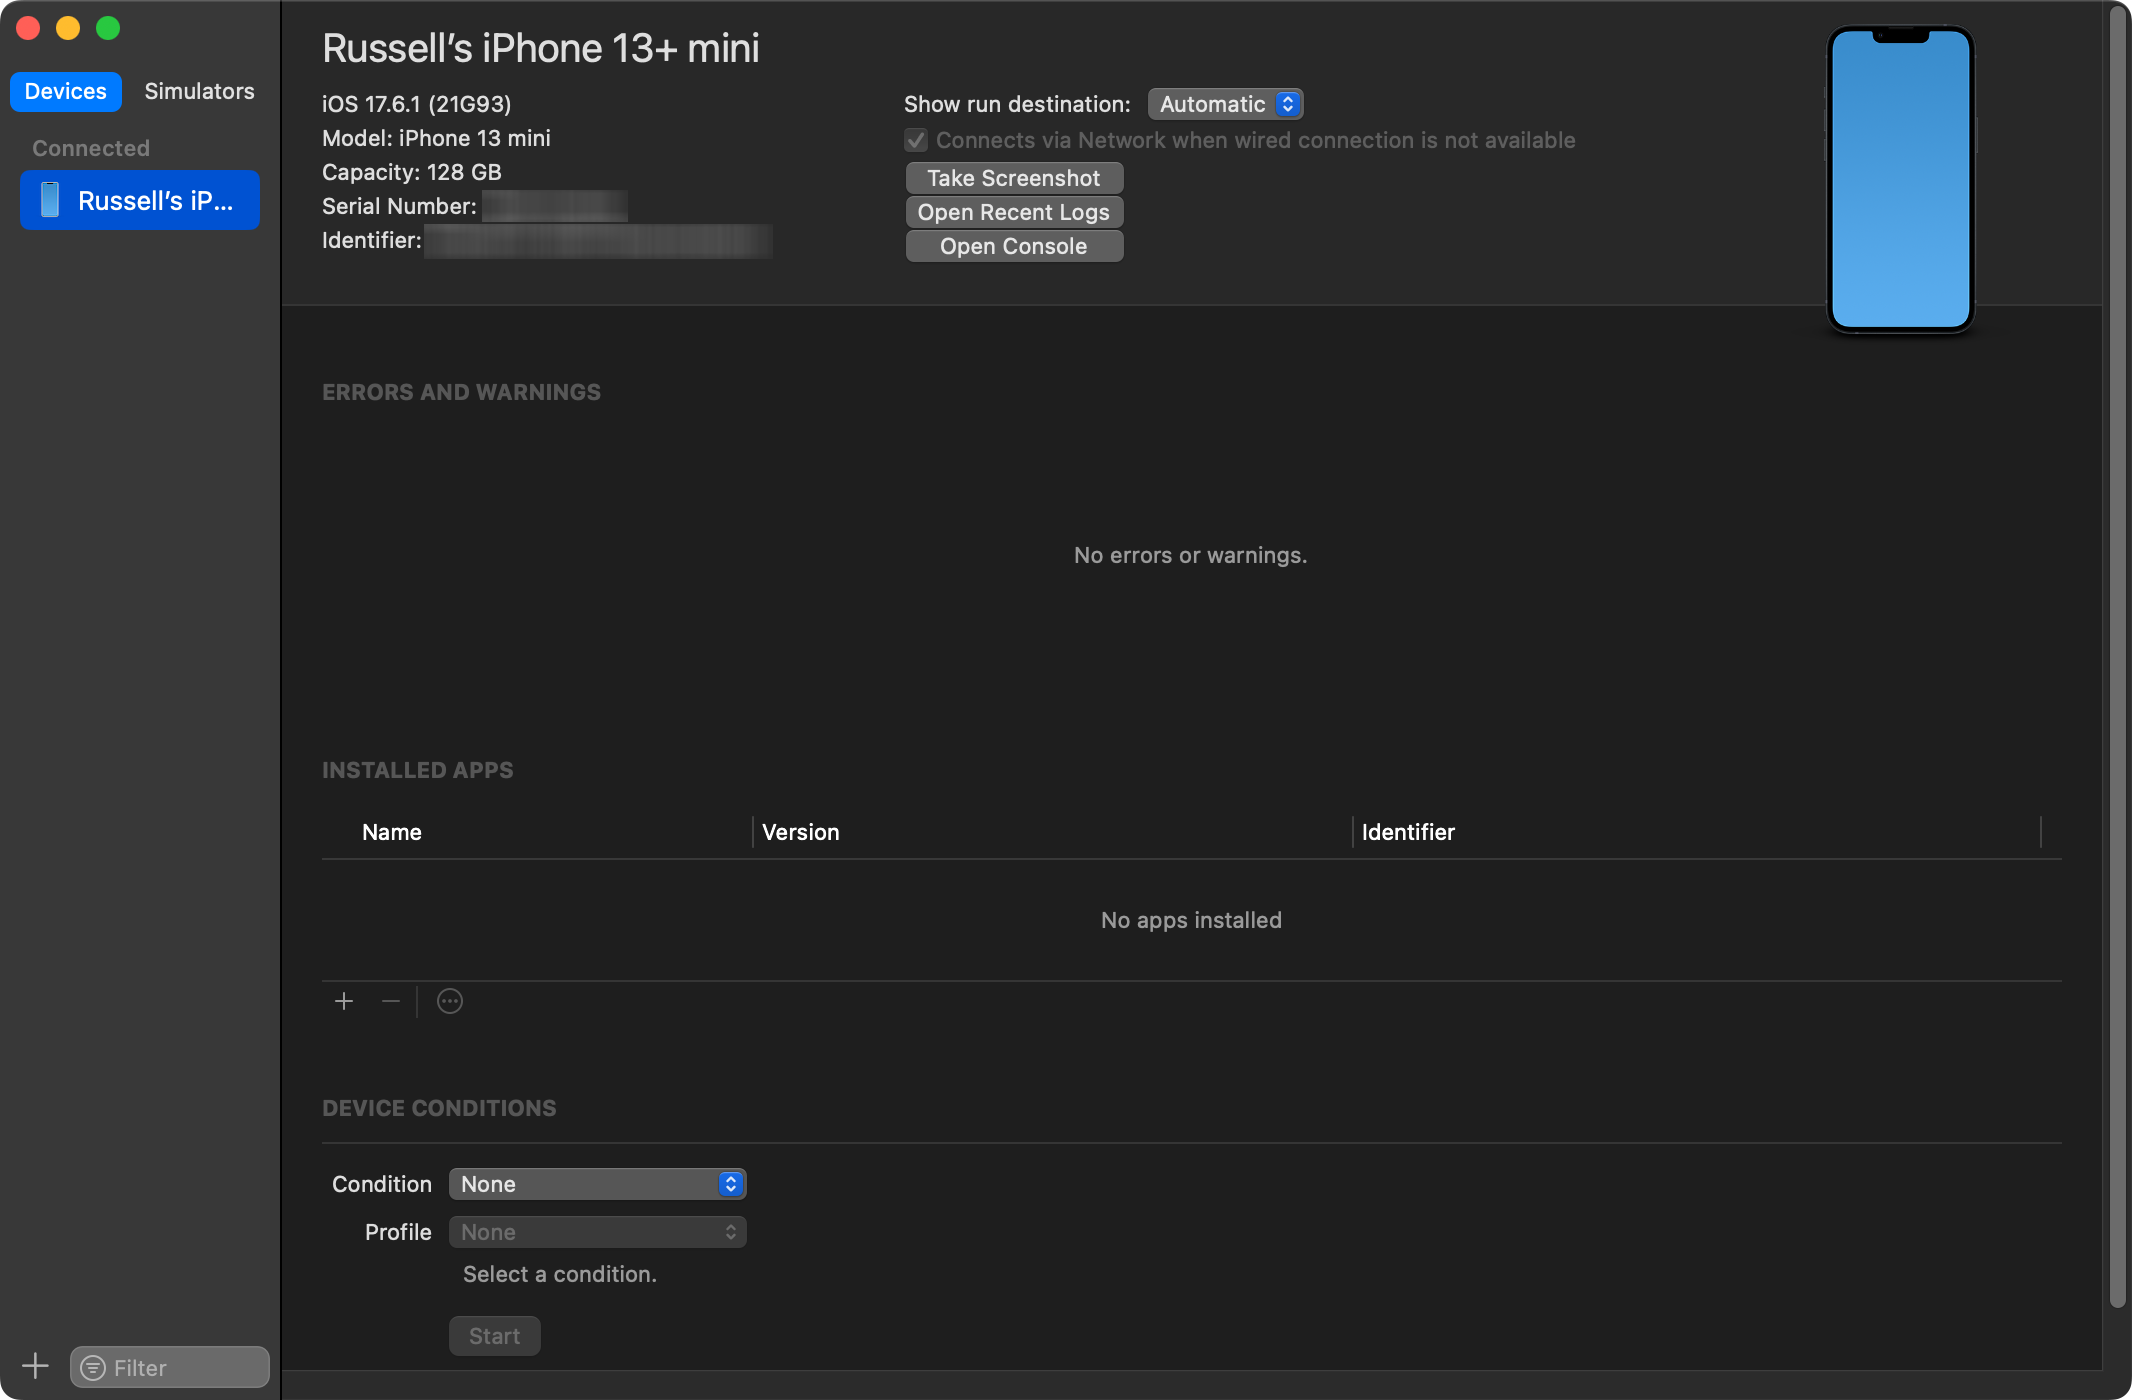
When it is finished, the yellow banner will disappear.
IMPORTANT
After required files have finished copying over, you may see a message in Xcode about “development services” needing to be enabled. Wait another minute or two, and that message should go away.
When all is said and done, you will see just the following – no more yellow banners:
Select a run destination
Now, you can select the device you’ve connected as a run destination.
At the top of the primary Xcode window, click the list of devices (1), then select your device from the list (2):

Change deployment target
You may not be able to select your device (as pictured) because Xcode notes that the “OS version is lower than deployment target”.
That means that the phone itself is running a version of iOS that is older than the version of iOS the Xcode project is configured to run on. In this example, Mr. Gordon’s phone is running iOS 17, but the project is configured to run on iOS 18.
So long as you are not using any iOS 18-specific features in your project, you can simply change the deployment target. Here is a super short 37-second video showing how to do this:
Now you will be able to select your device from the list:

Select a development team
You must have a valid Apple Developer Program (ADP) membership to load an app onto your phone. You will have previously accepted the invitation Mr. Gordon sent you for the ADP. Recall that your ADP membership is tied to the Apple ID you created using your LCS email address.
Follow the steps shown in this 19-second video to select a development team:
Build the application
Make sure your phone is unlocked. Now, build the application:

Next, you may see a message indicating that Xcode cannot run the application on the device, because, essentially, your iPhone or iPad currently does not “trust” the Mac that you are developing on to install applications upon it:
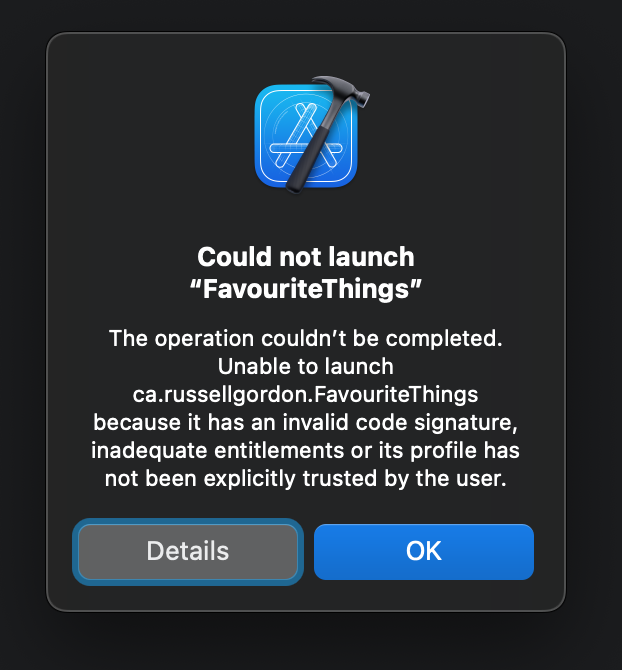
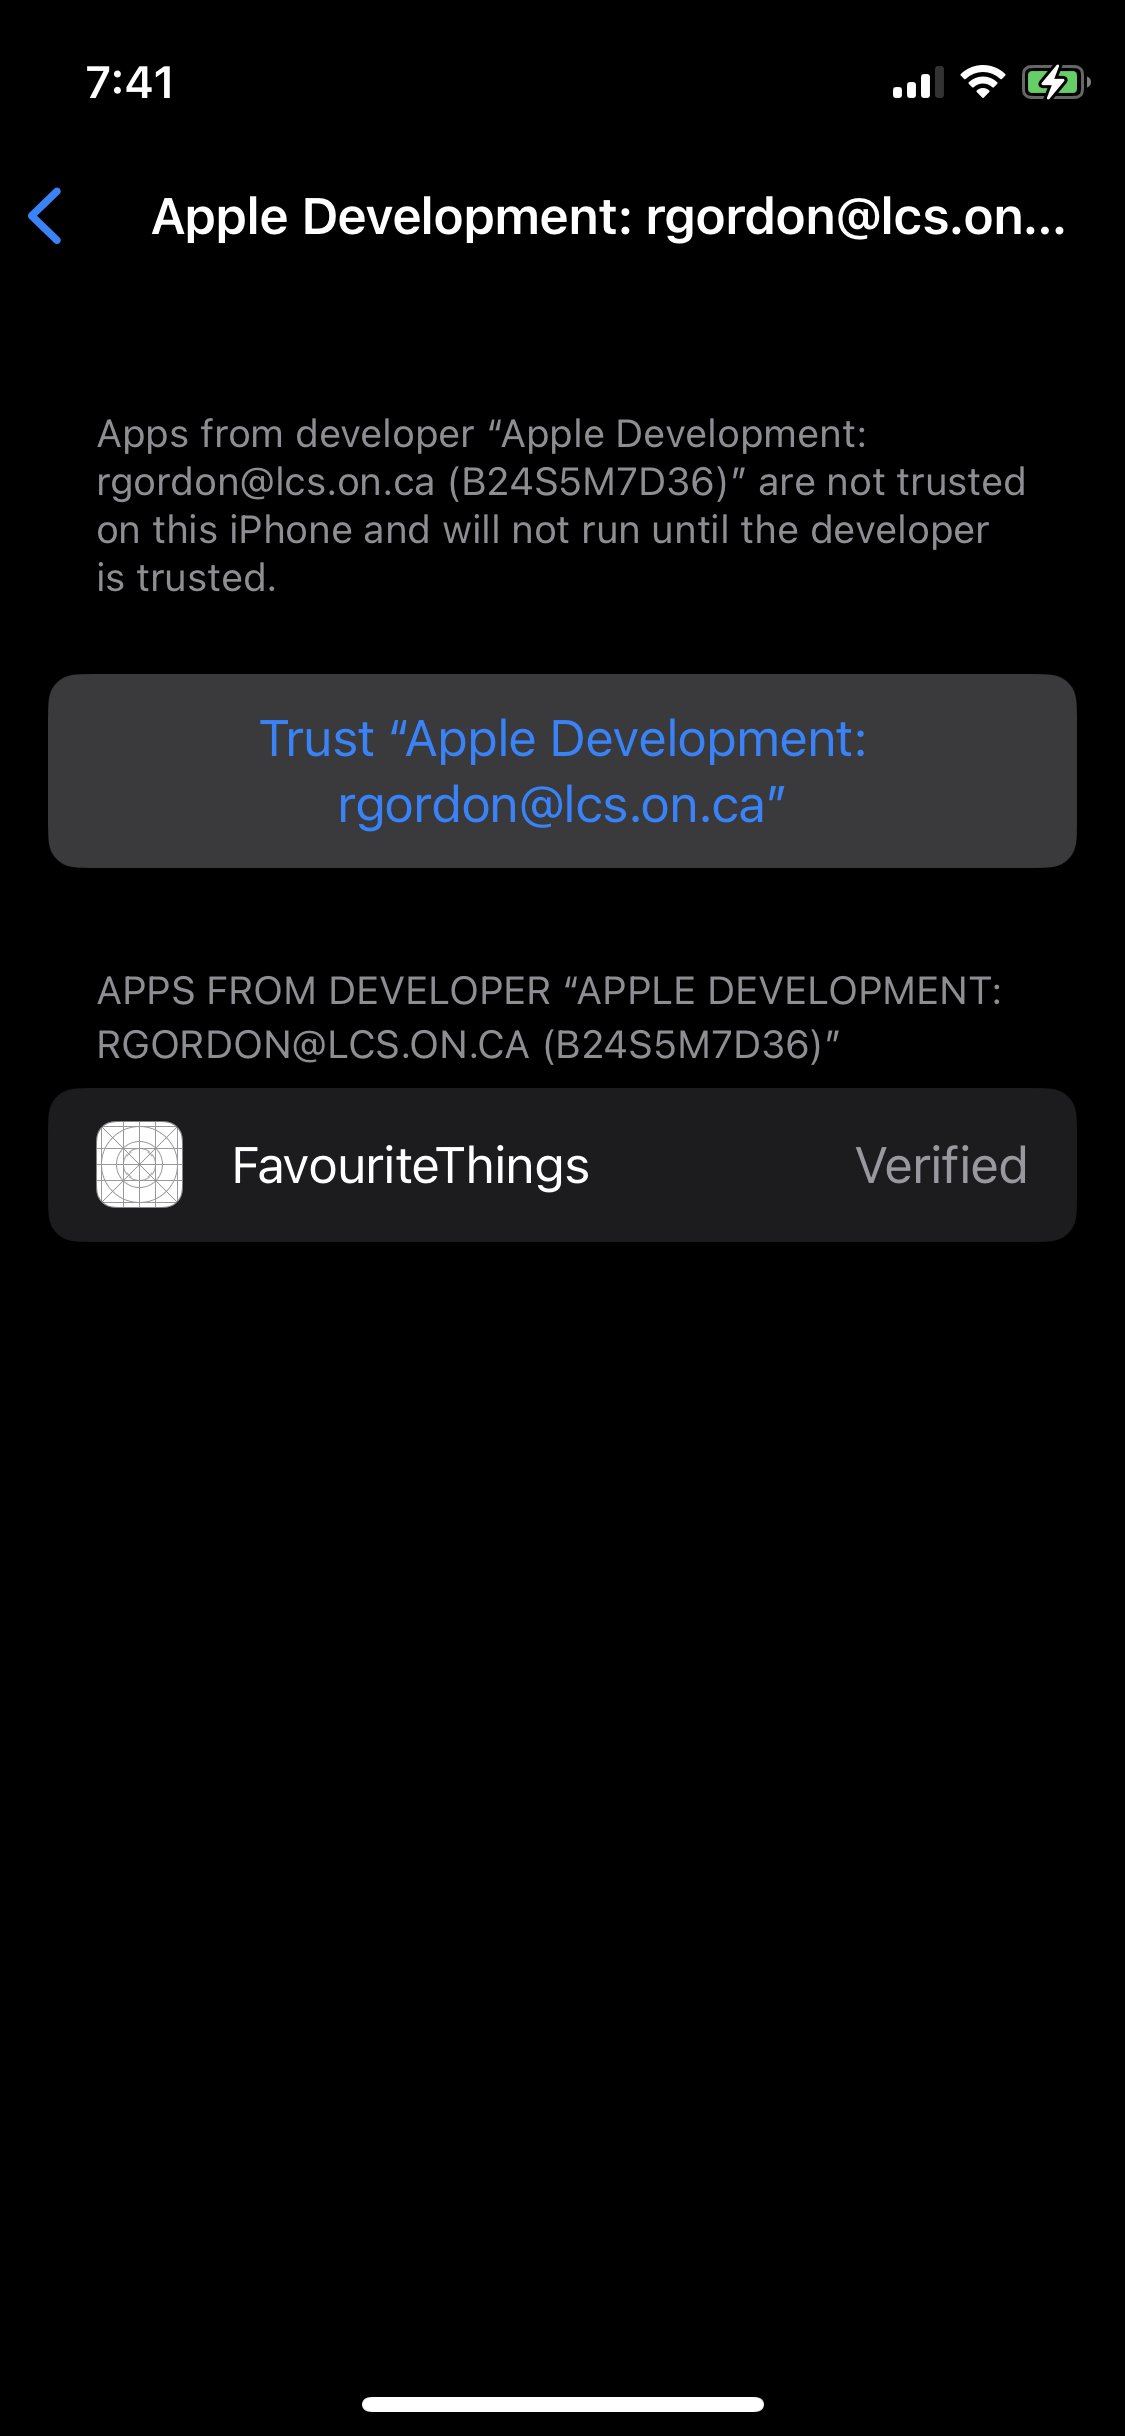
On your phone, you will see a message like this:
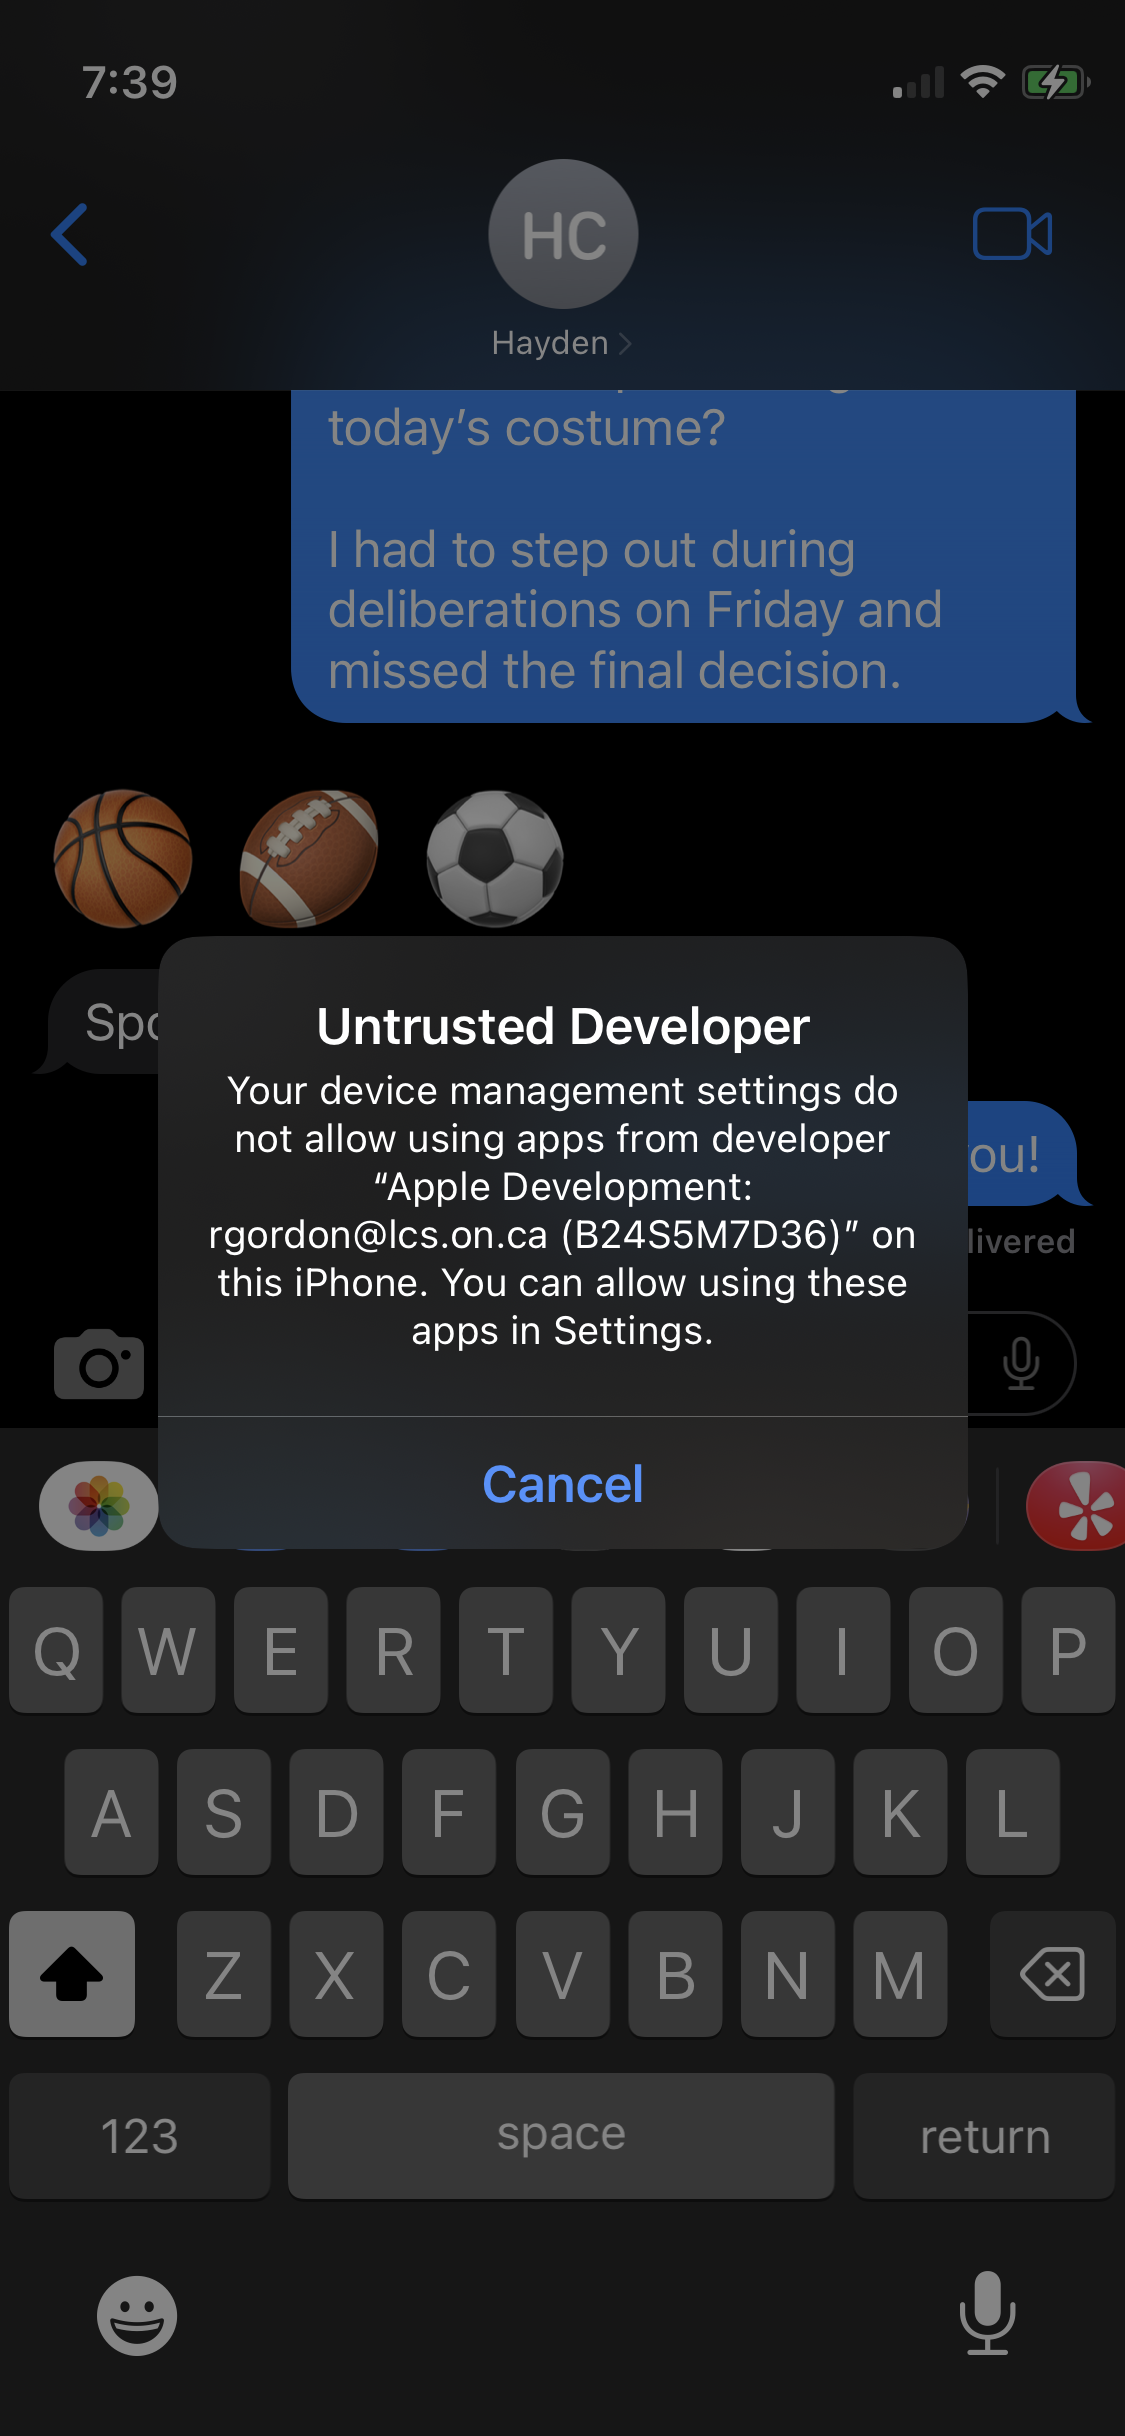
To create the necessary trust, follow these steps.
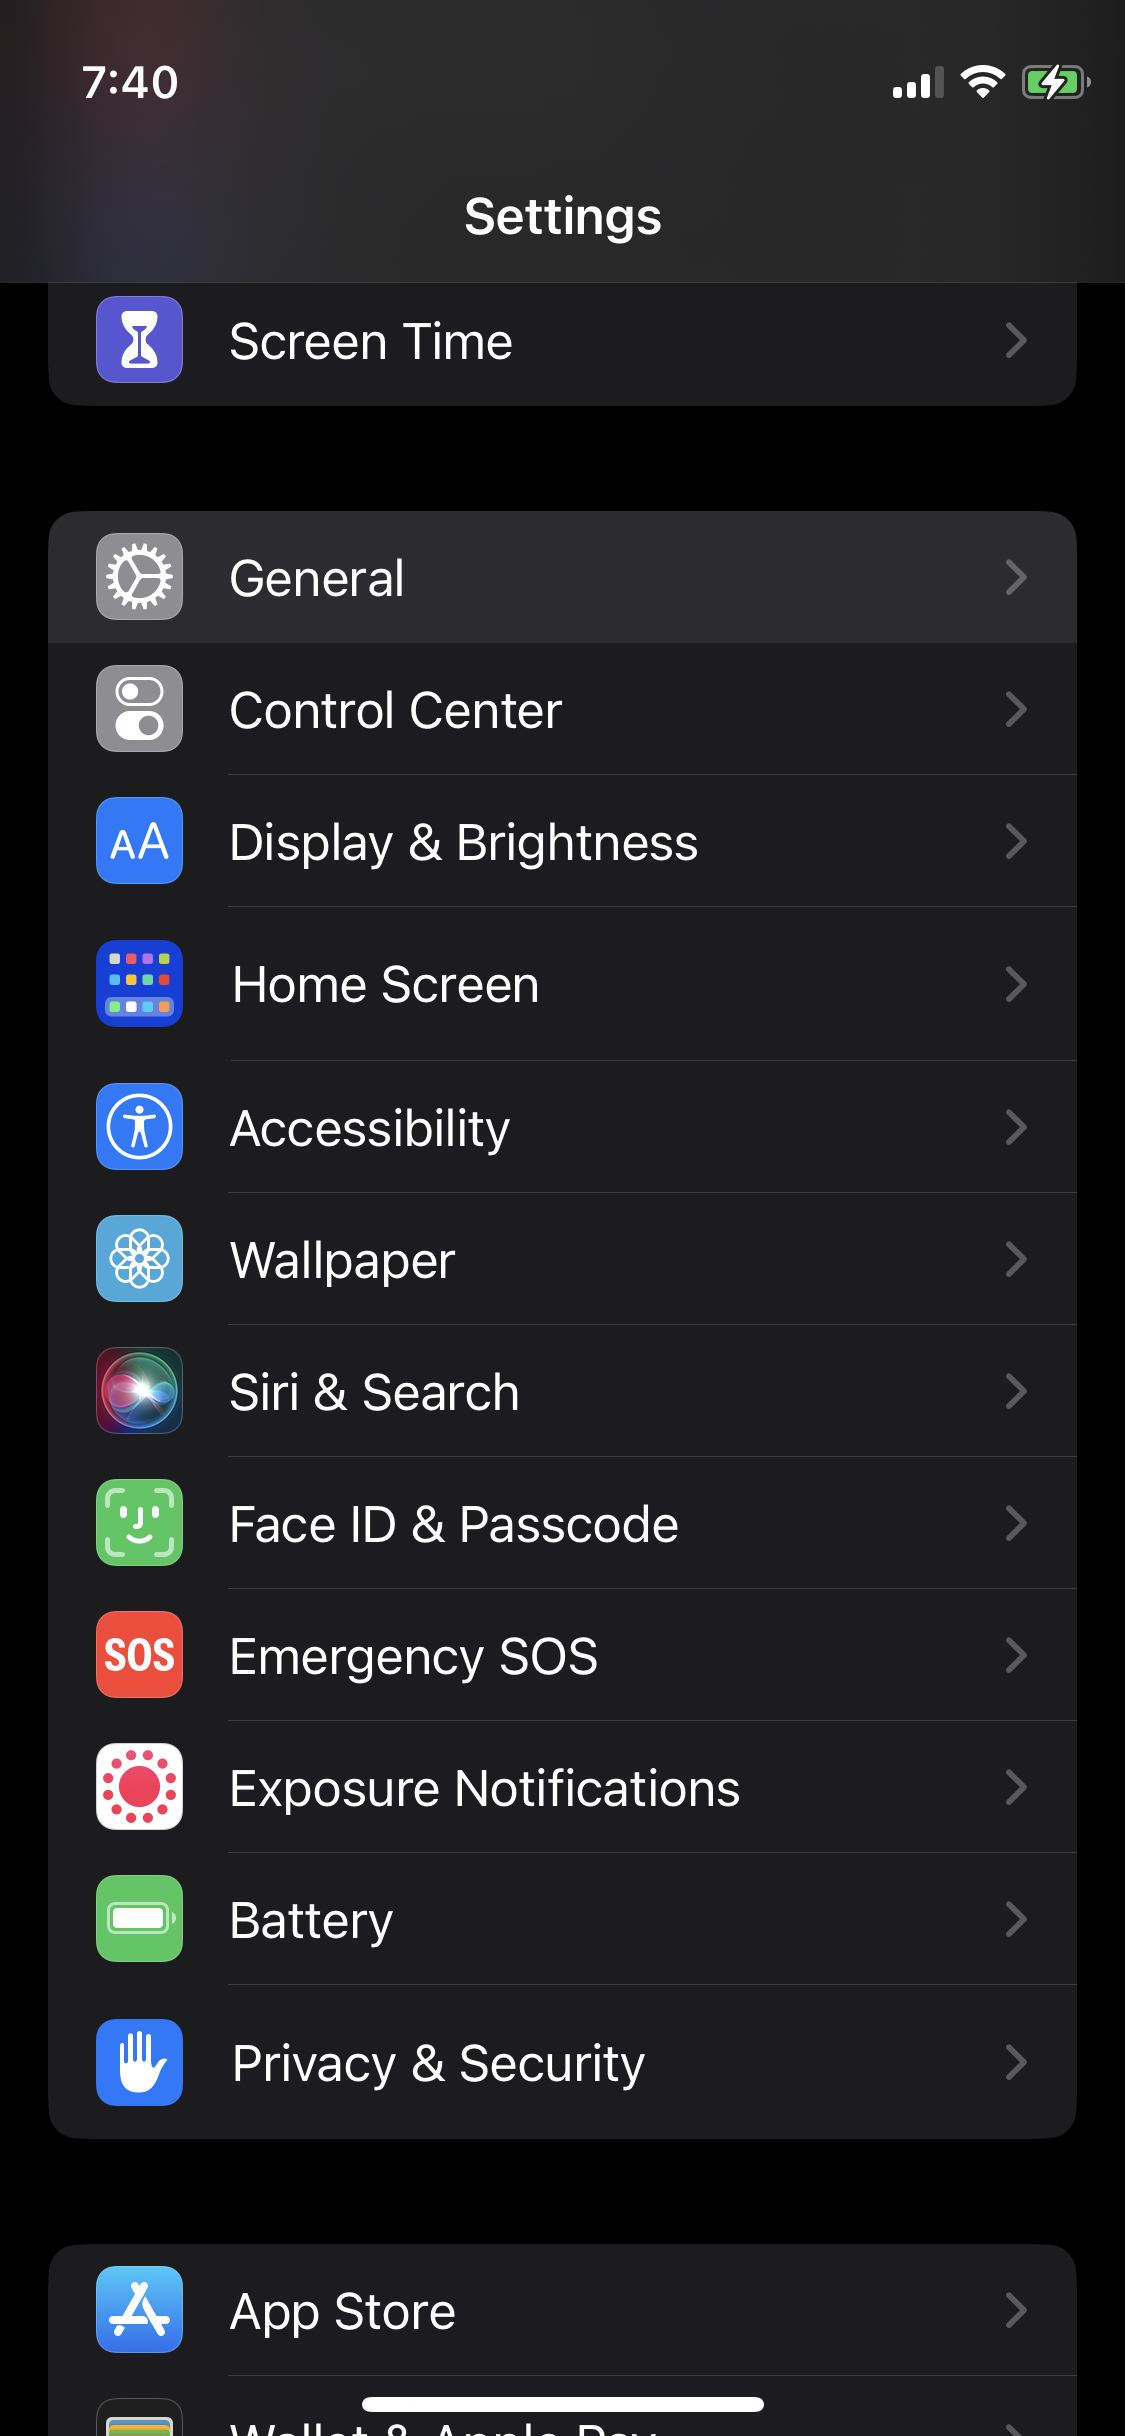
Open Settings again, and choose General:
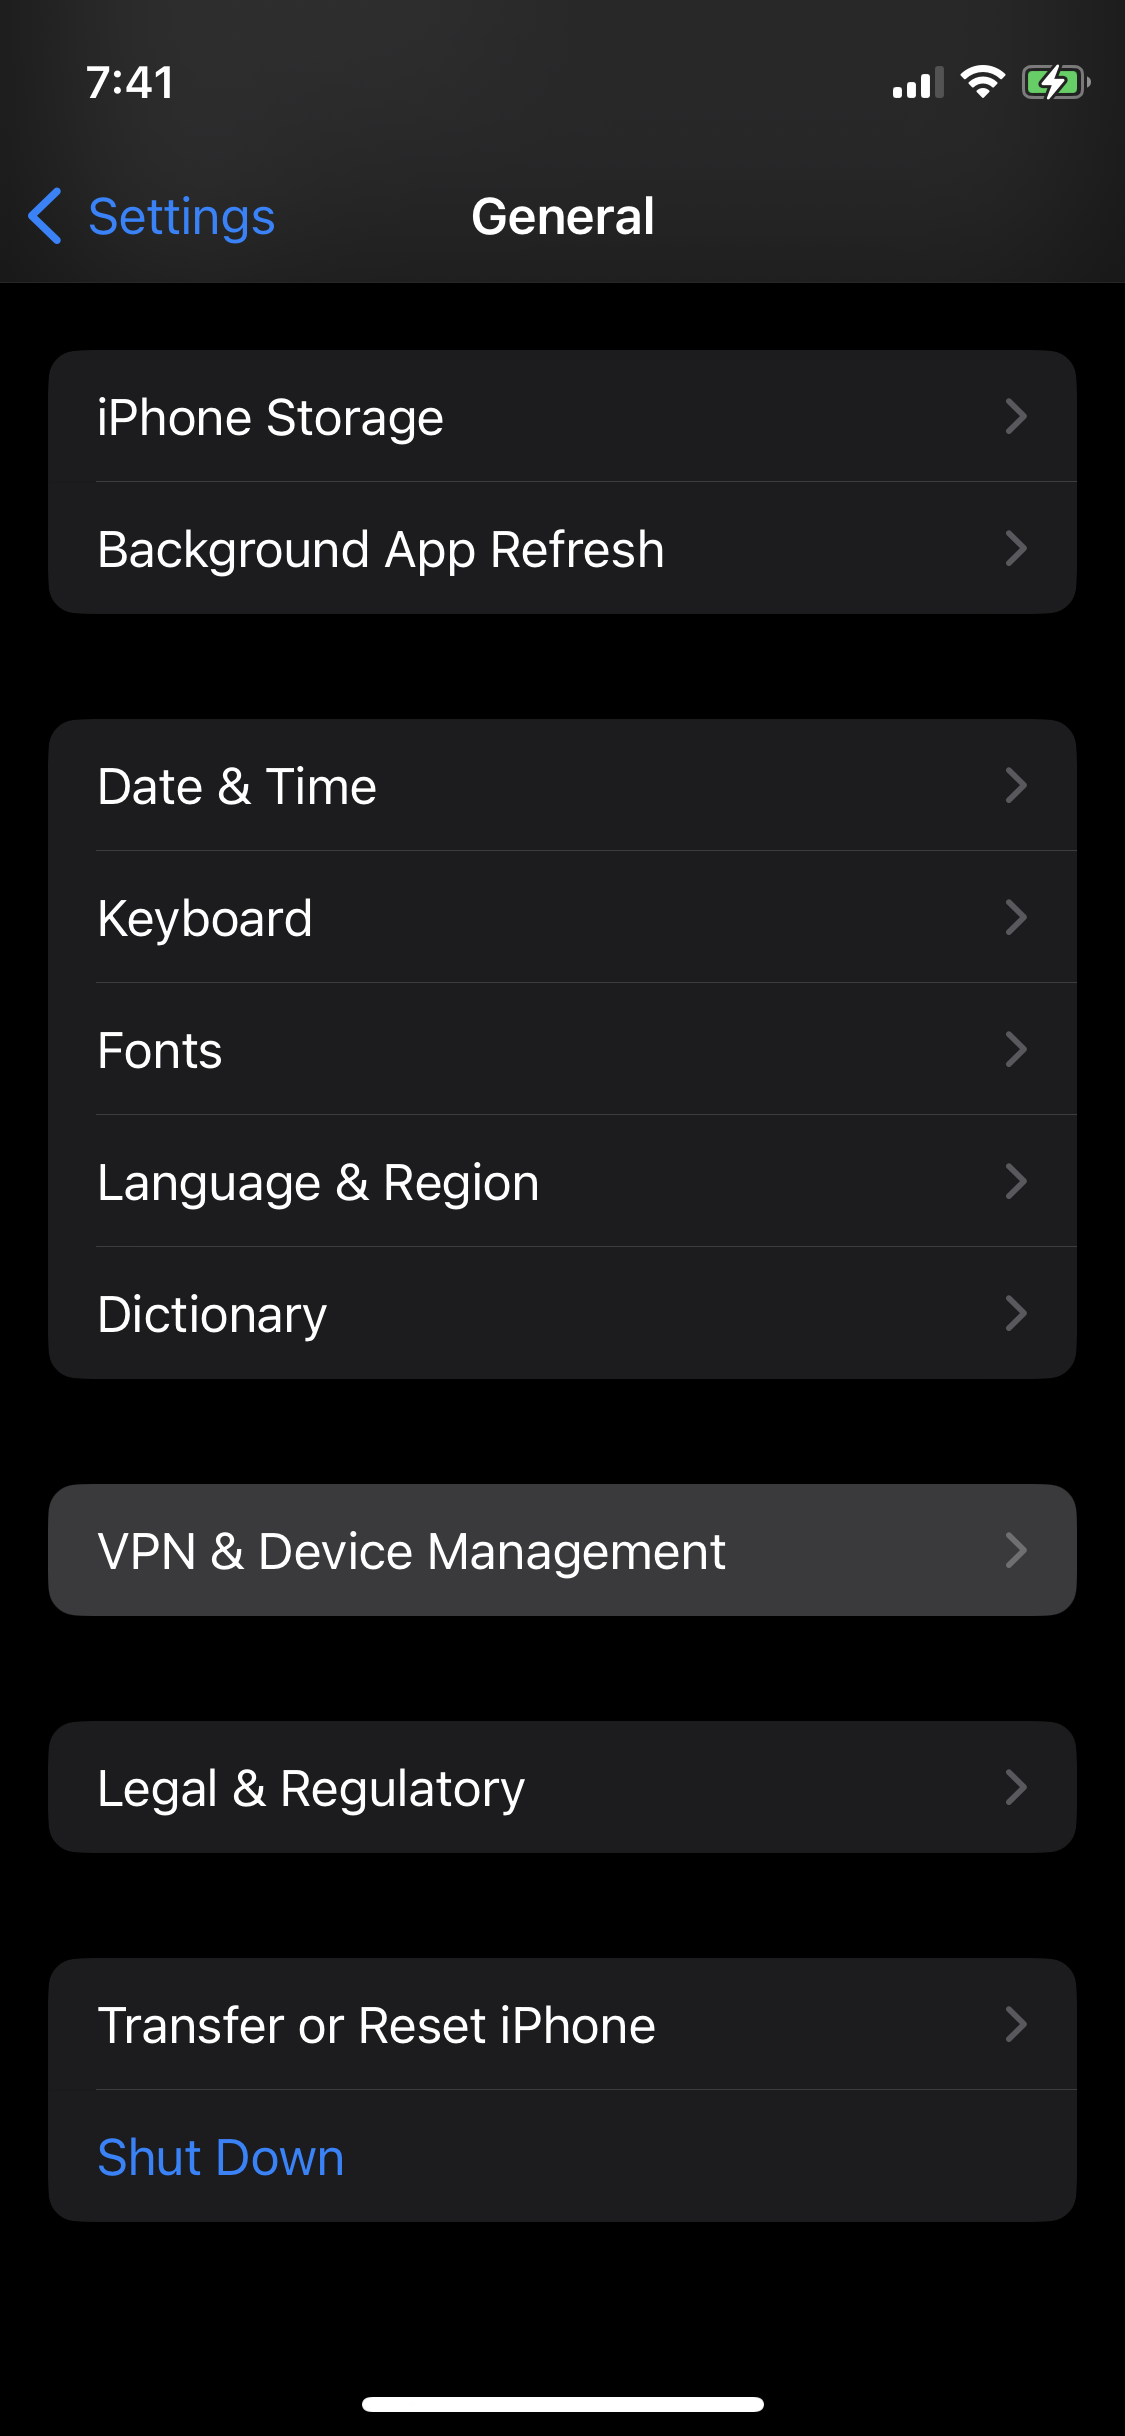
Then select VPN & Device Management:
Under Developer App, you will see a profile tied to your LCS Apple ID – select that profile:
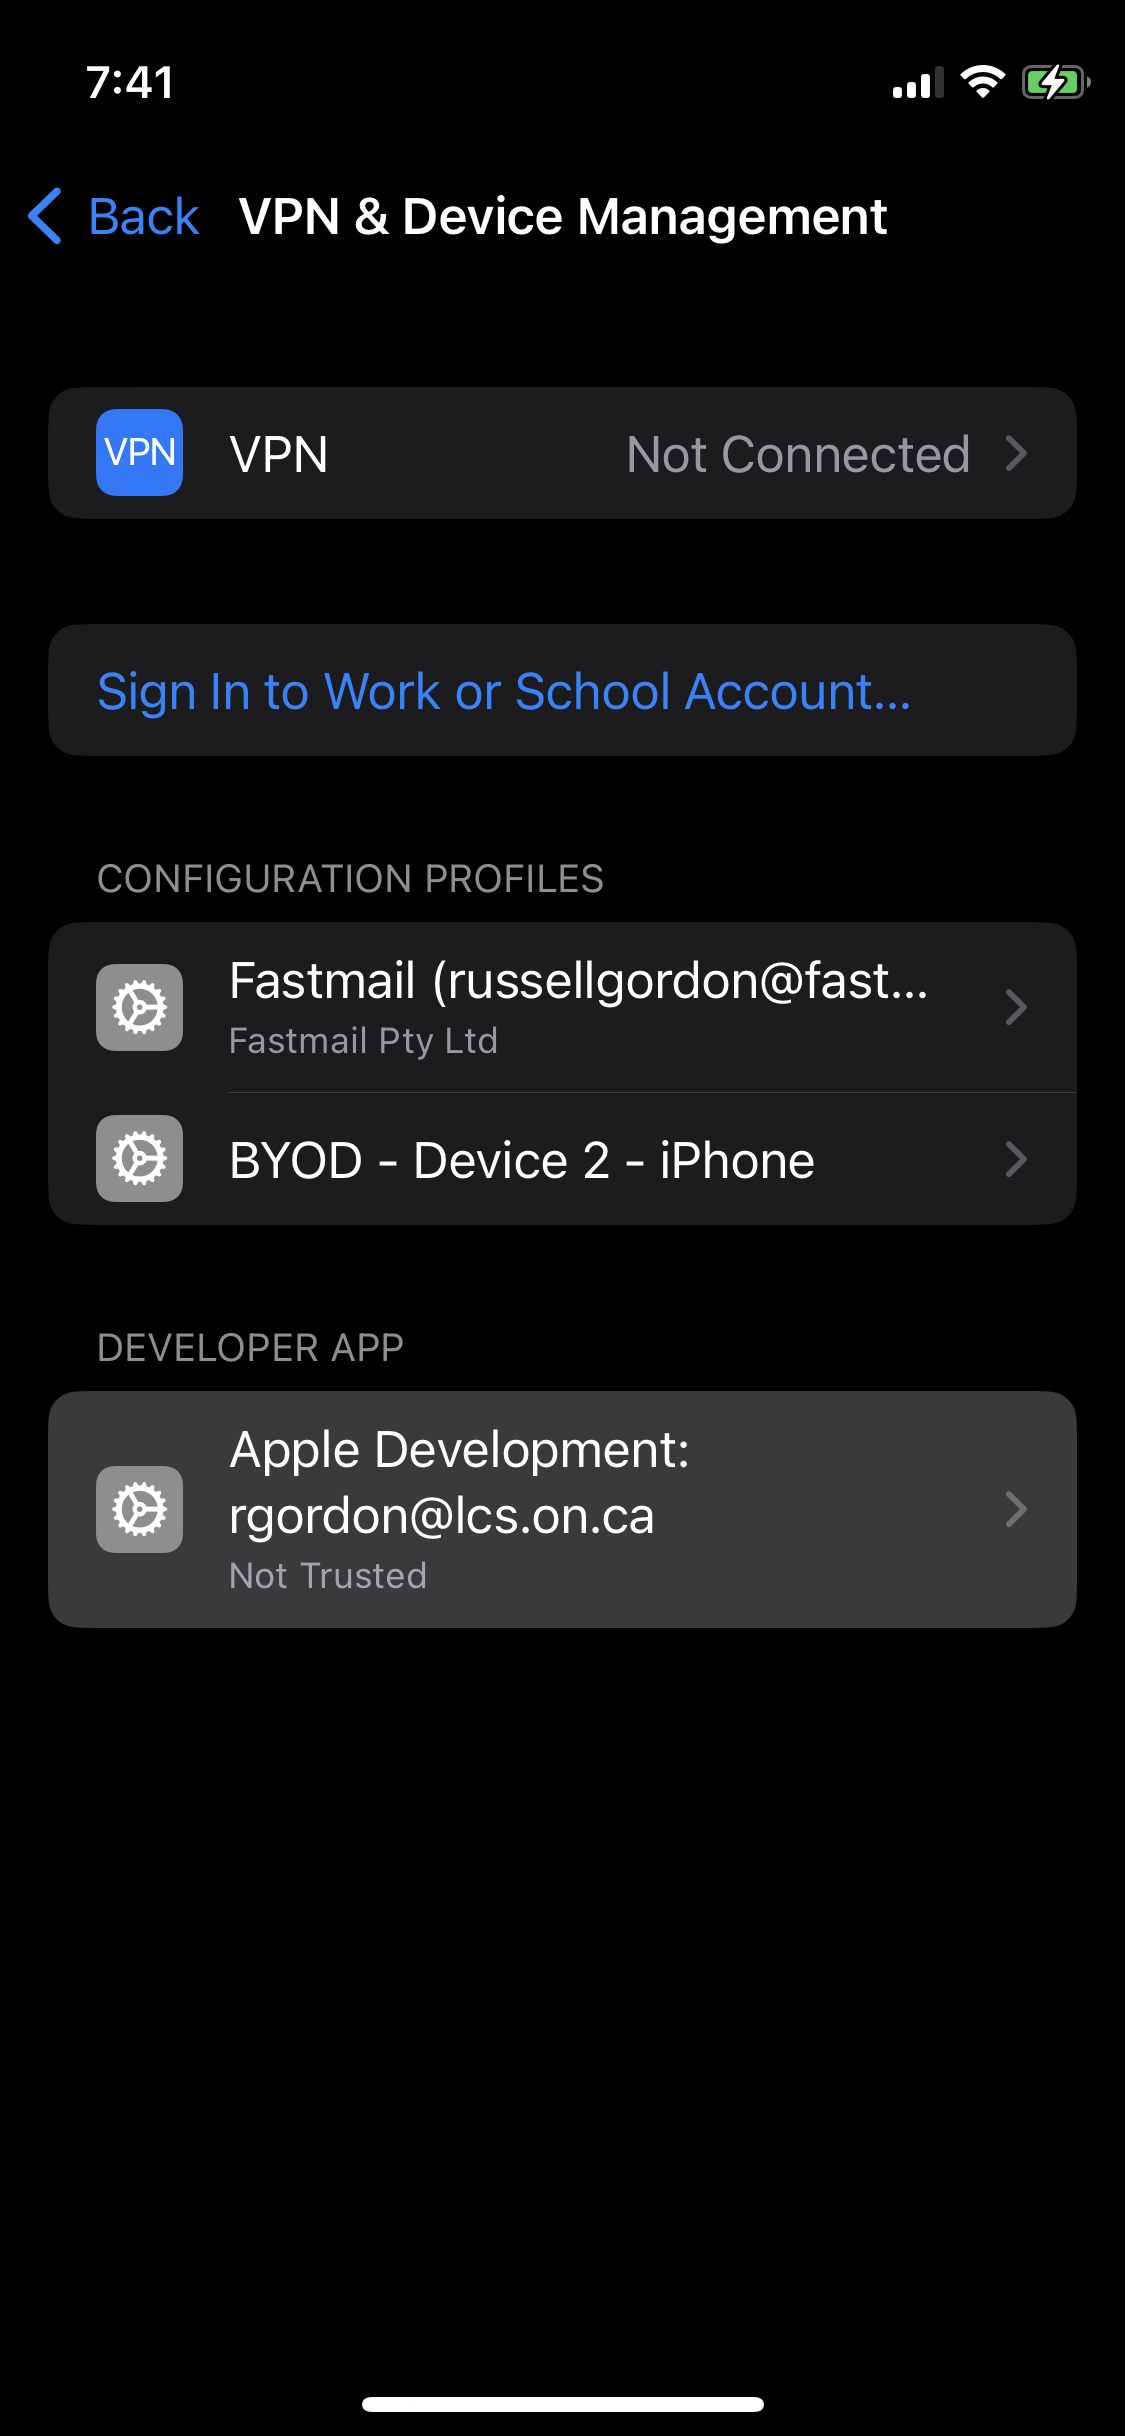
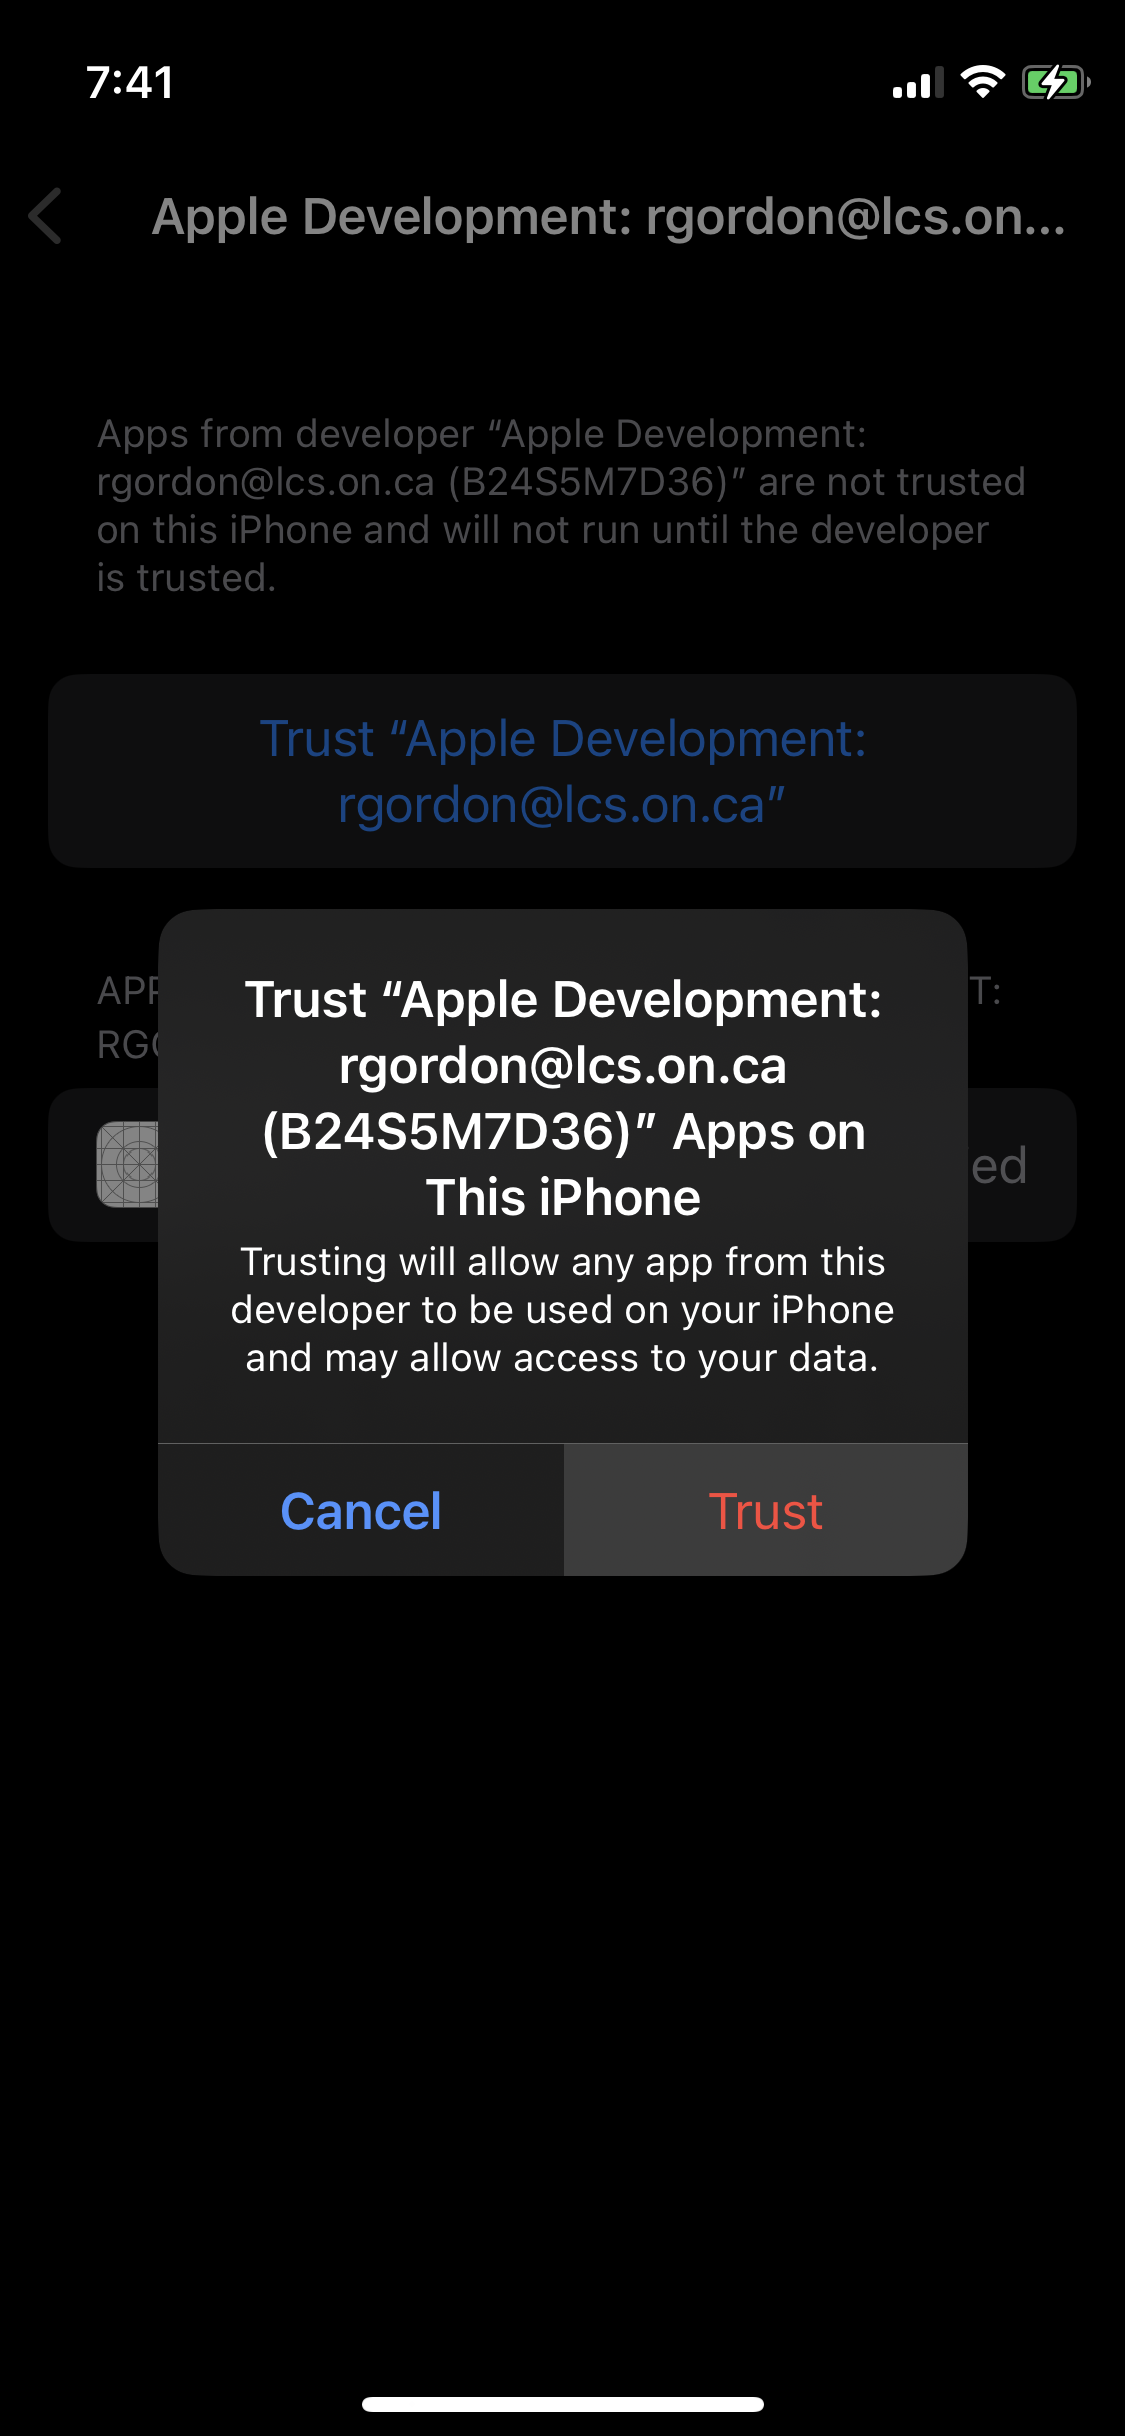
To run apps you make using your LCS Apple ID on your device, select the button as shown:
Finally, on the dialog that appears, select Trust:
The next time you build your application with your iPhone or iPad as the selected run destination, after a few seconds, you should see the app open on your device.
Have fun! 🚀