NOTE
In order to use the Google Gemini CLI with Xcode in an upcoming class, we all need to be on the latest version of Xcode.
The steps below are an attempt to make this process of upgrading Xcode faster and less tedious. Please read the instructions carefully.
To speed up the installation of Xcode – rather than relying entirely on our school WiFi – we will instead use a USB key for the first part of the upgrade process.
To install Xcode from the USB key that is being passed around the room, please:
-
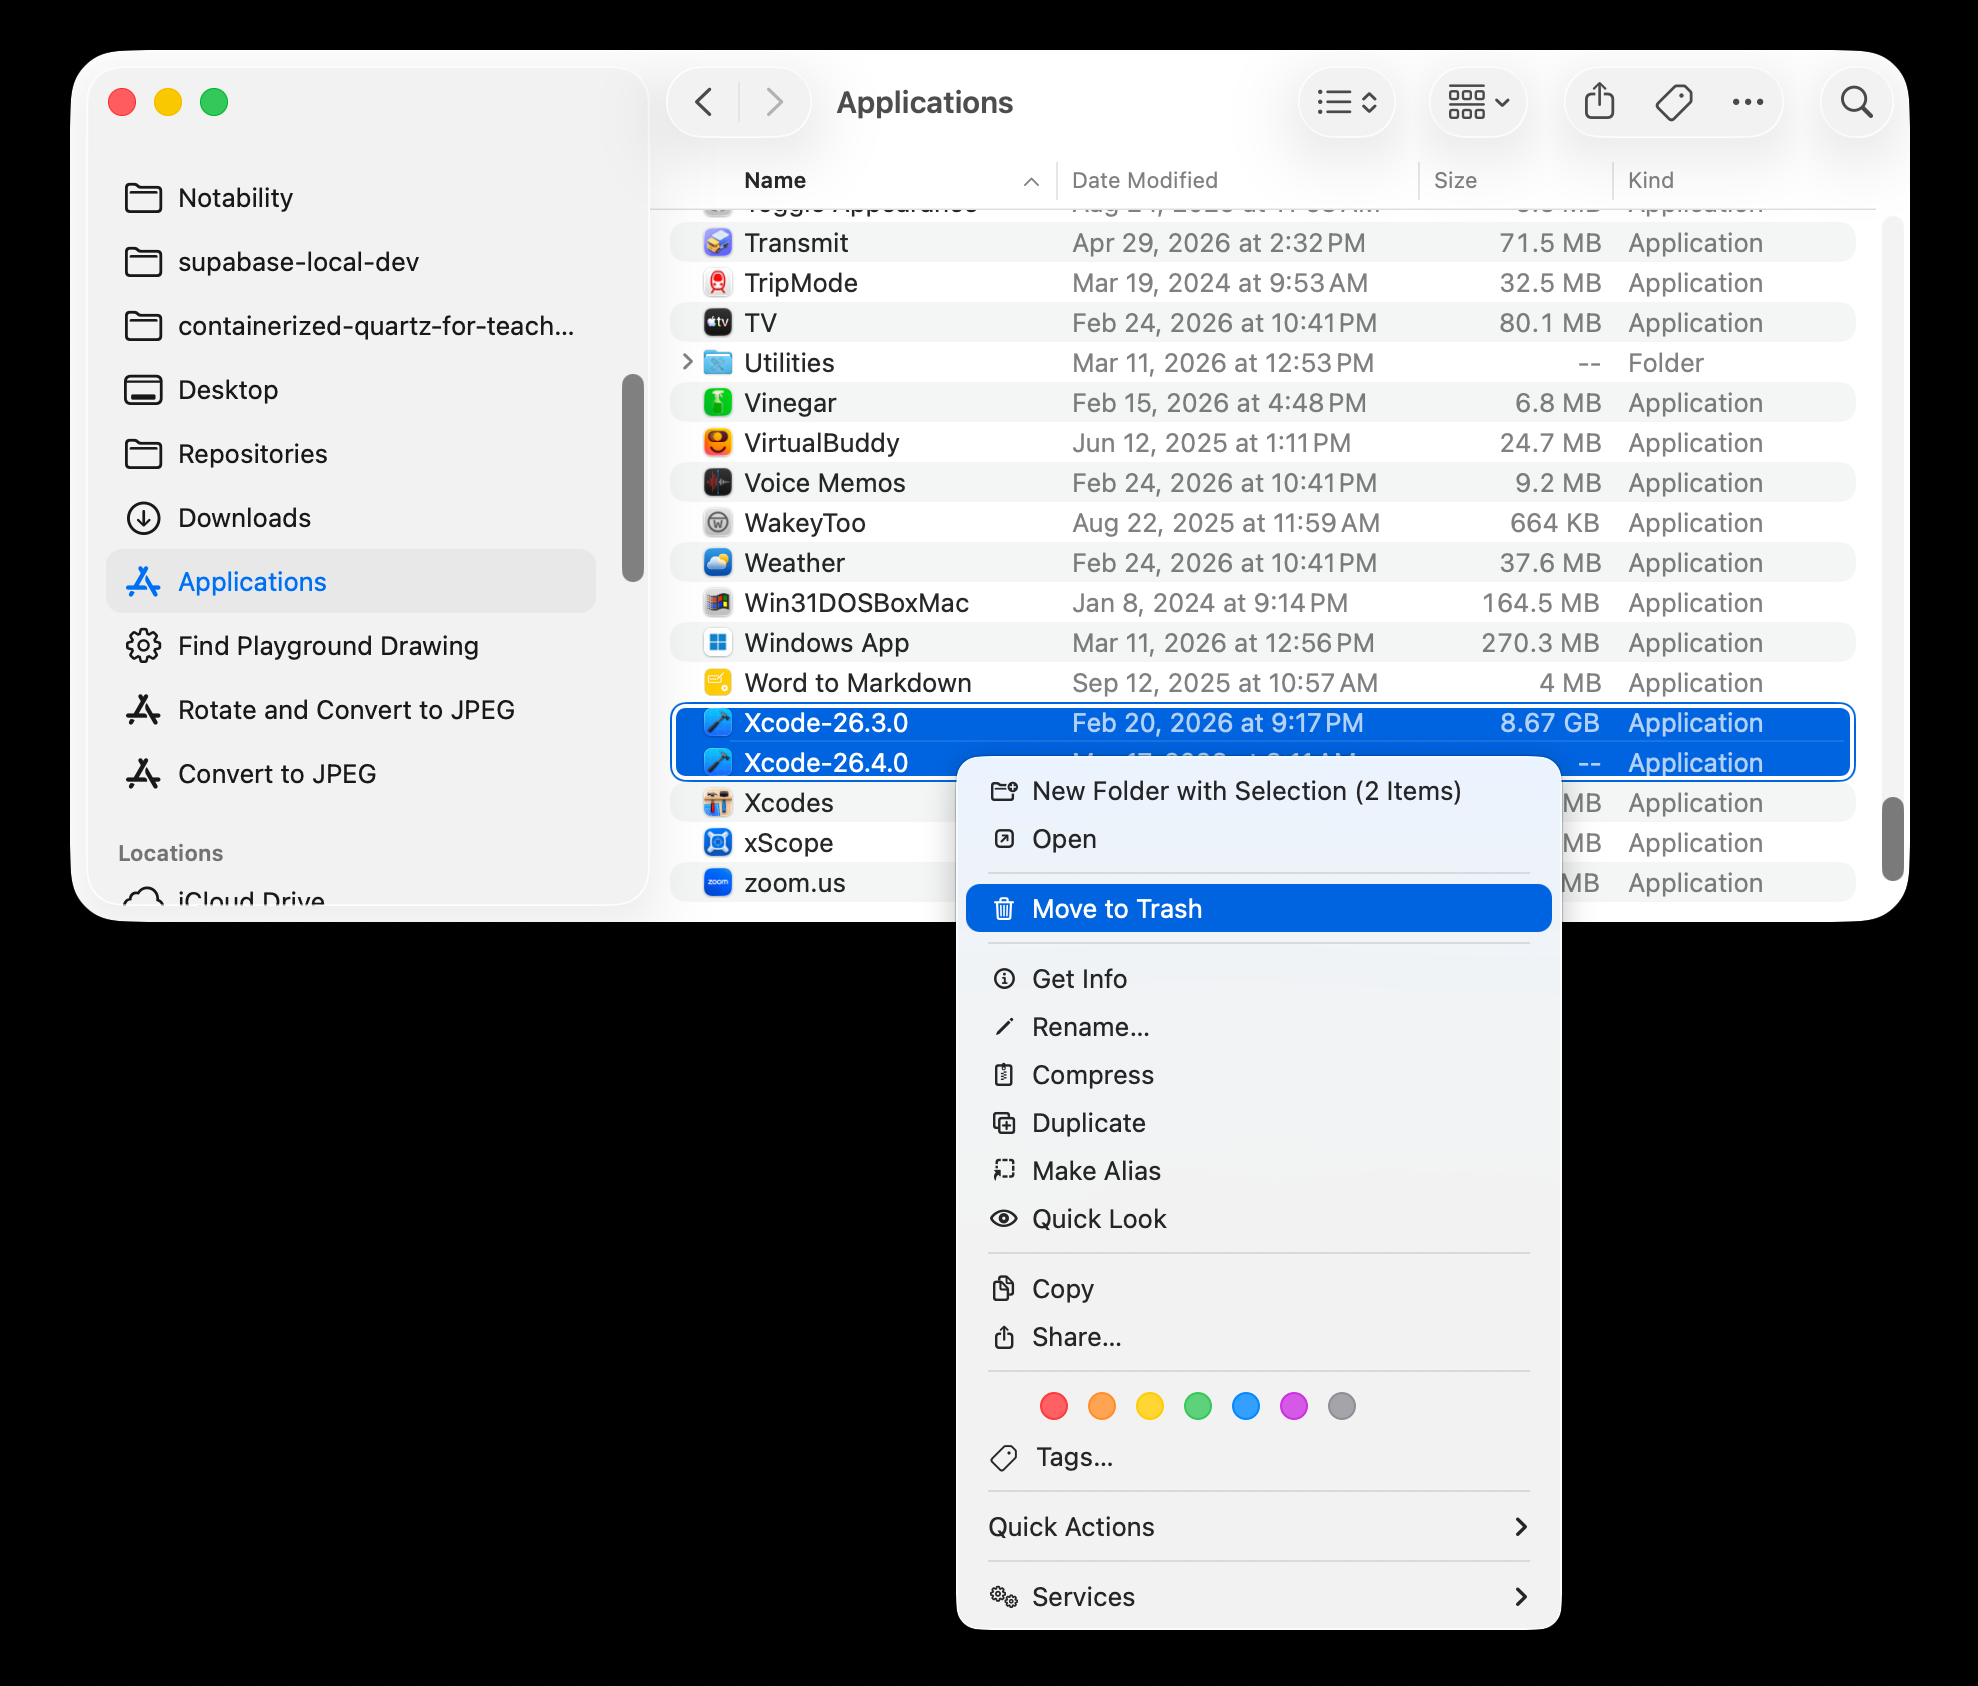
Delete any existing copies of Xcode that you have on your computer.
You should find Xcode in your Applications folder – just move it to the trash:
NOTE
Xcode projects that exist on your computer will not be deleted when you delete Xcode itself.
-
Drag the
Xcode_26.4.1_Apple_silicon.xipfile to your Desktop: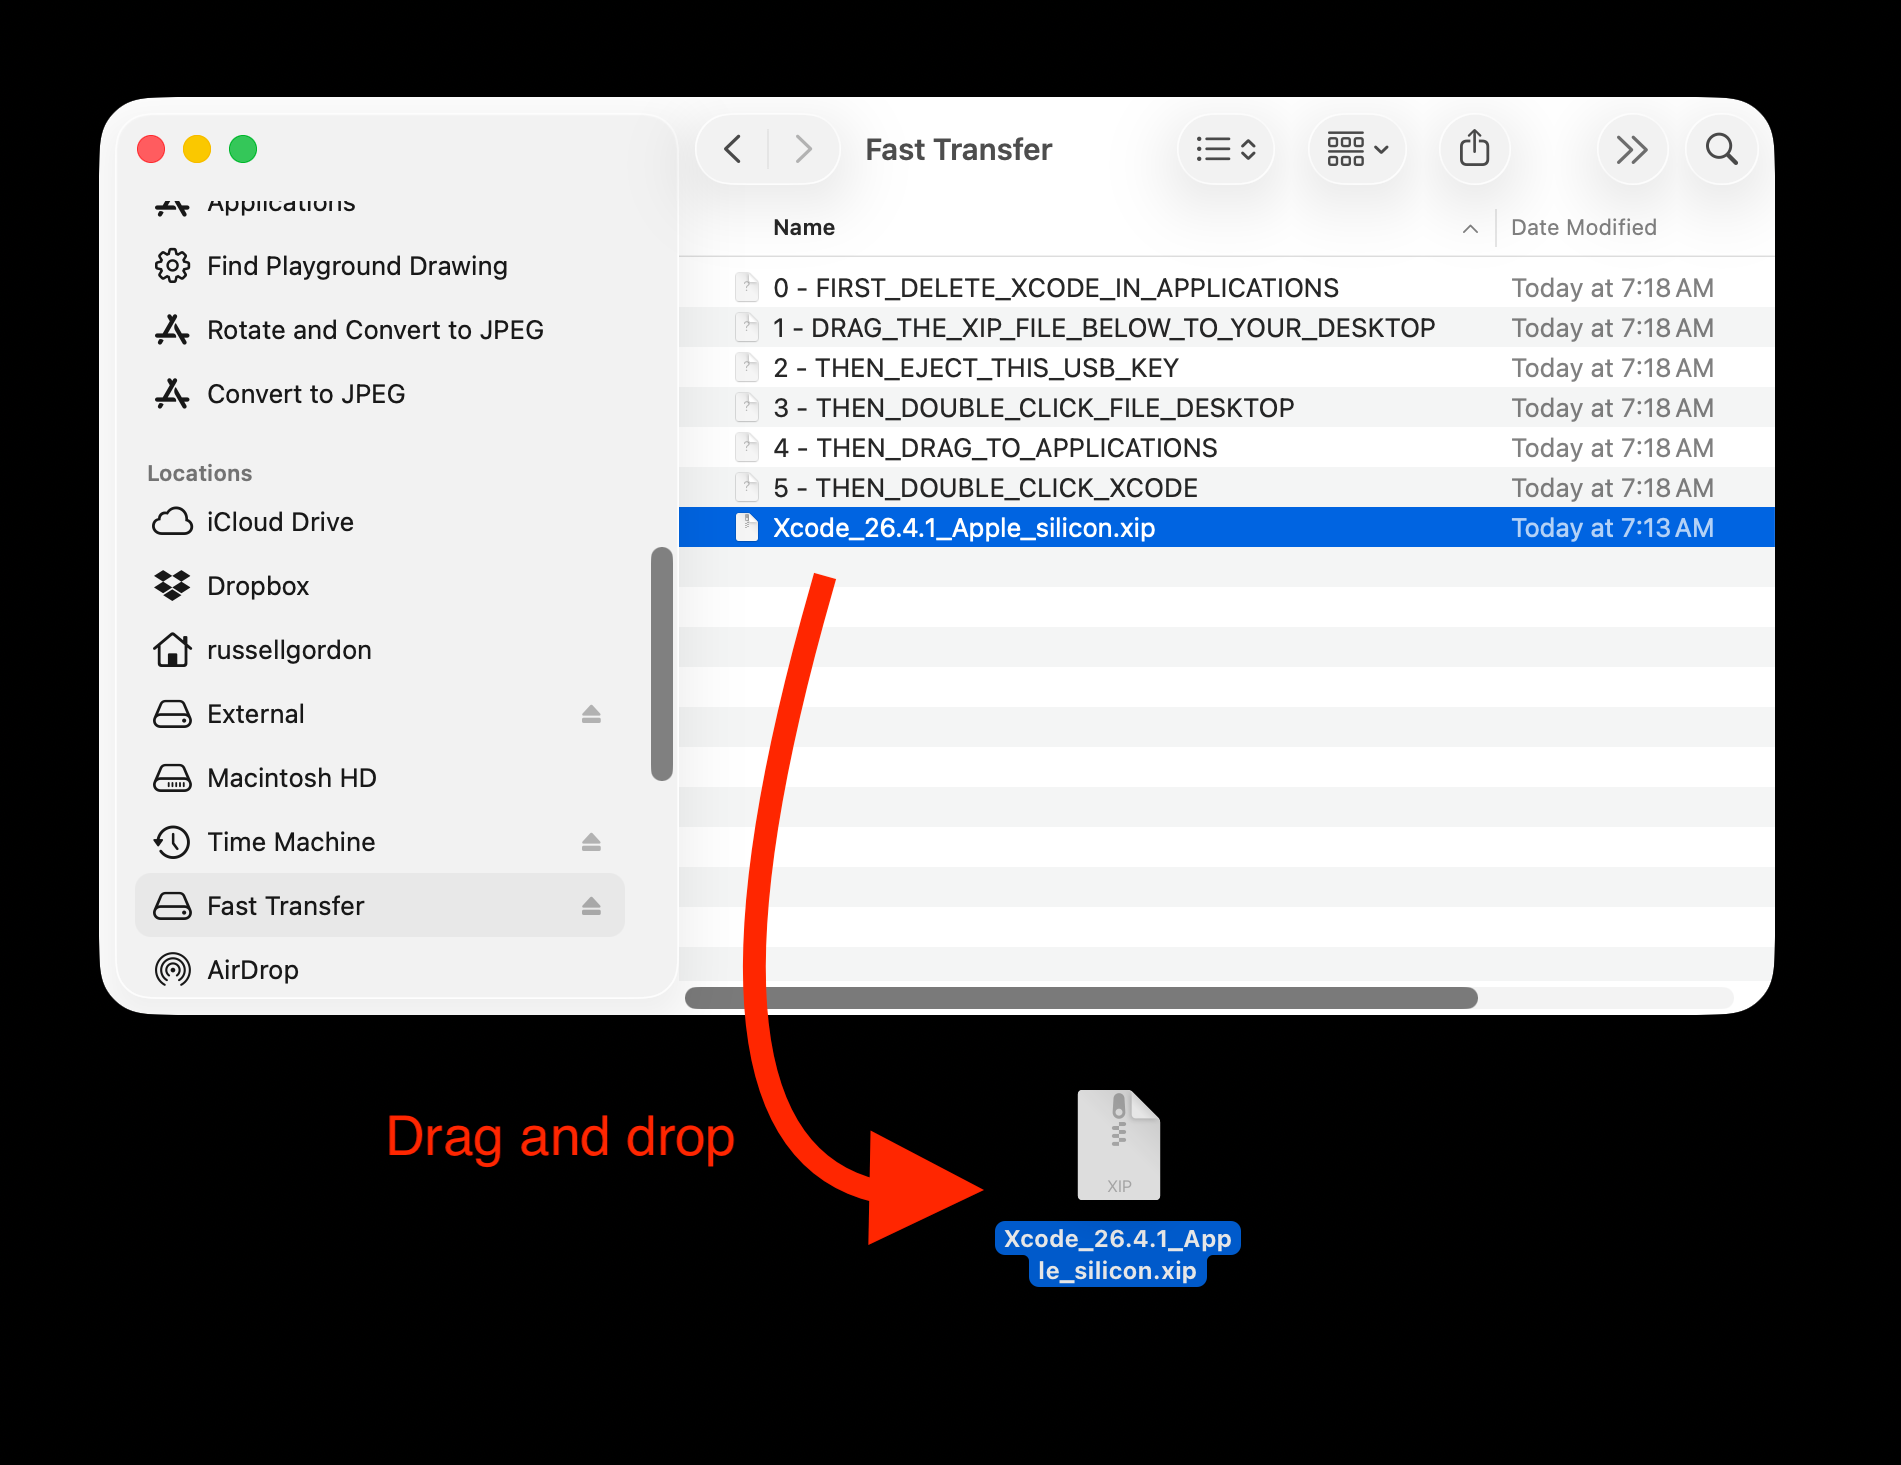
NOTE
It should only take a few seconds to copy over! 🚀
-
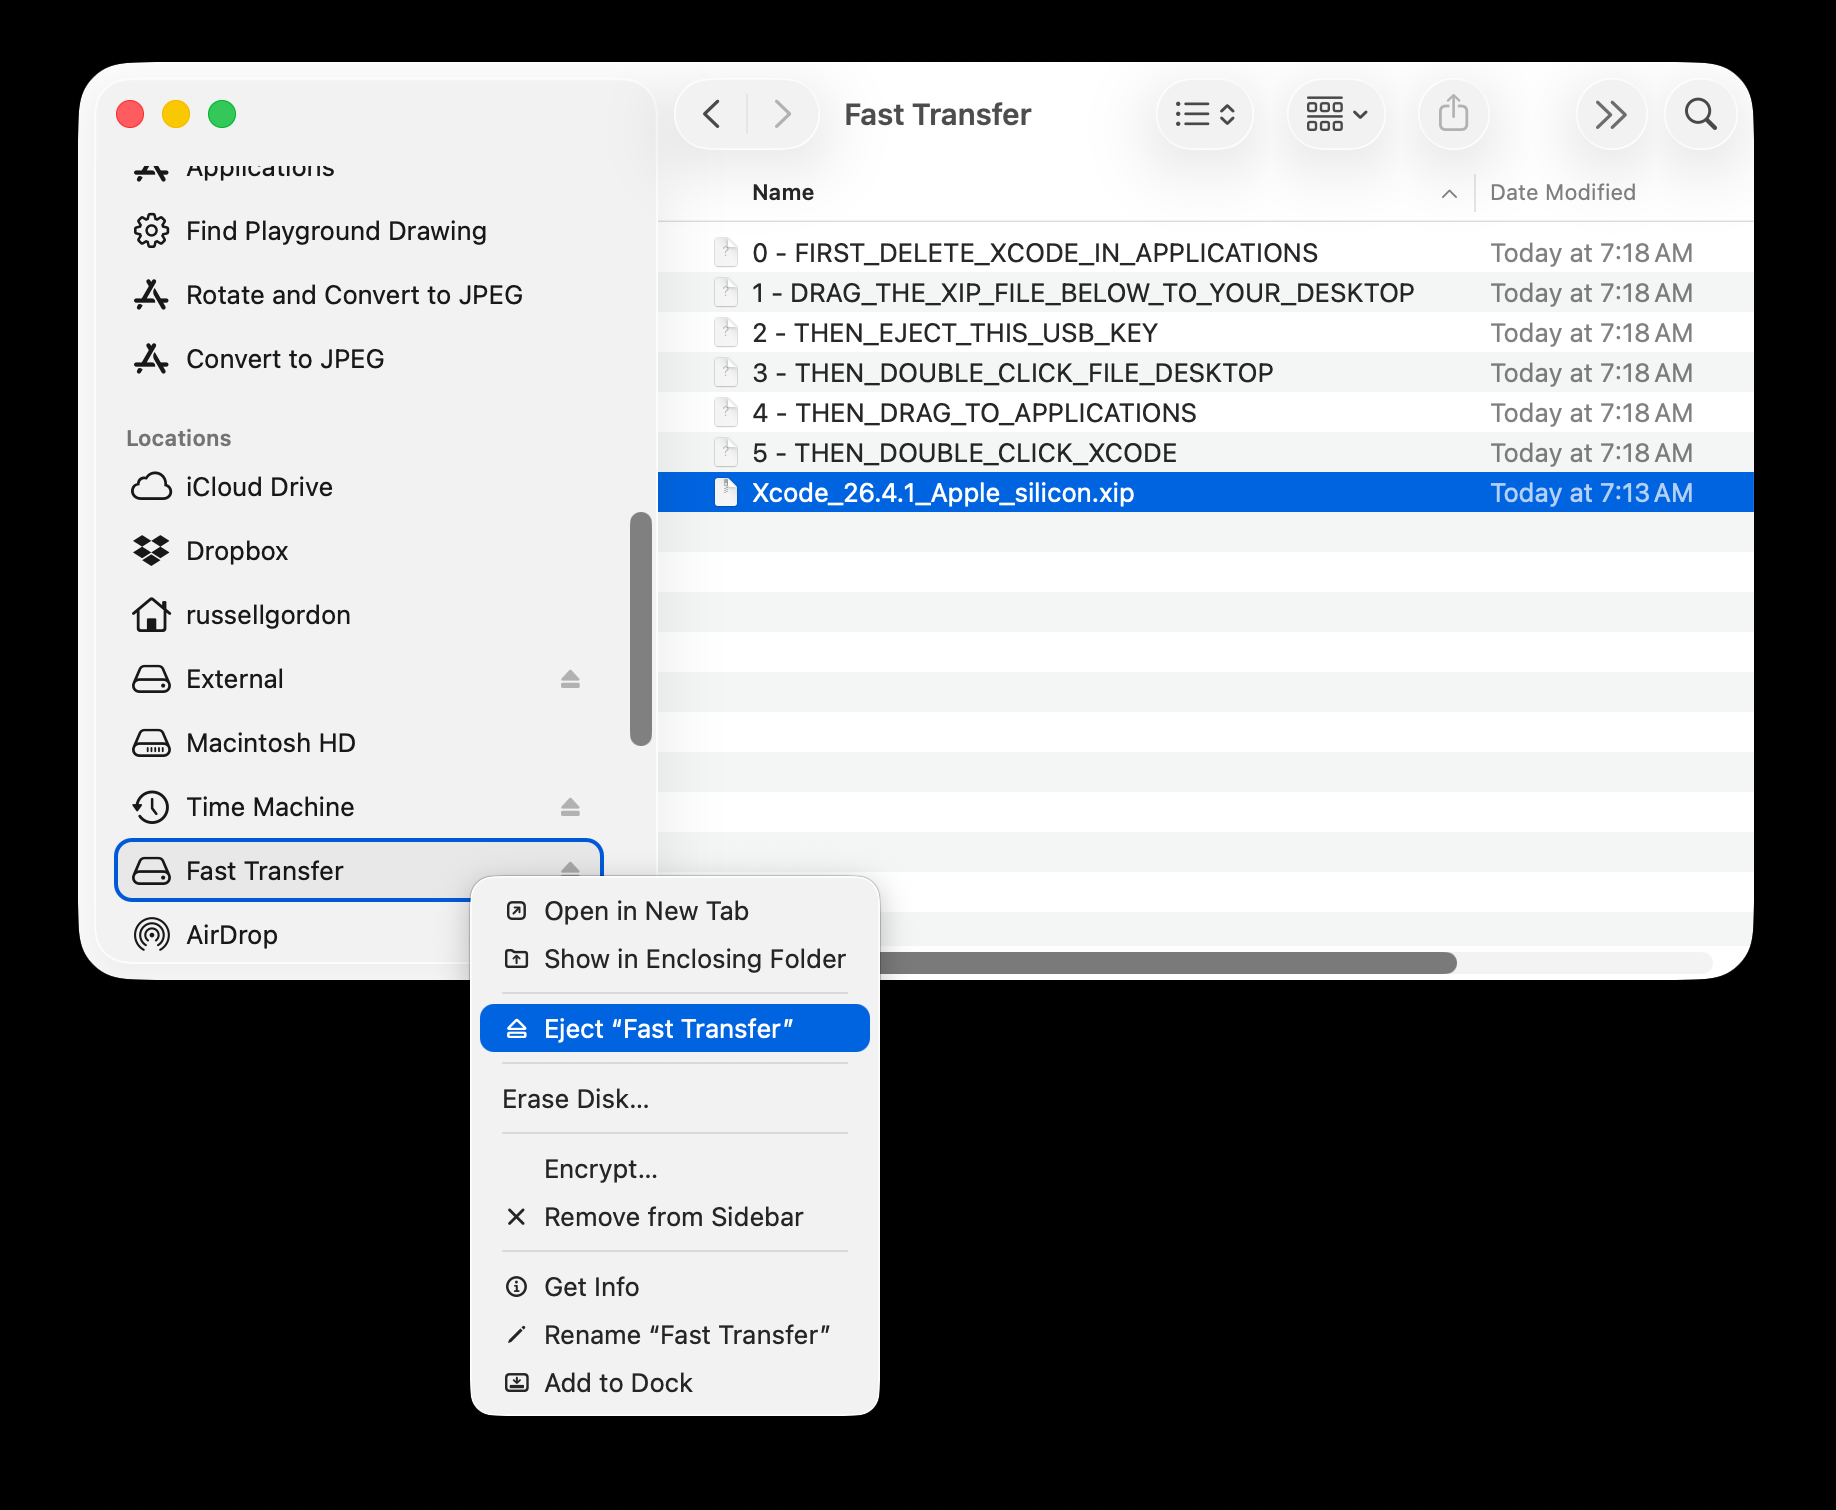
Eject the USB key, unplug it from your computer, then pass it to the next person in class:
-
Now double-click the file on your Desktop to expand it:
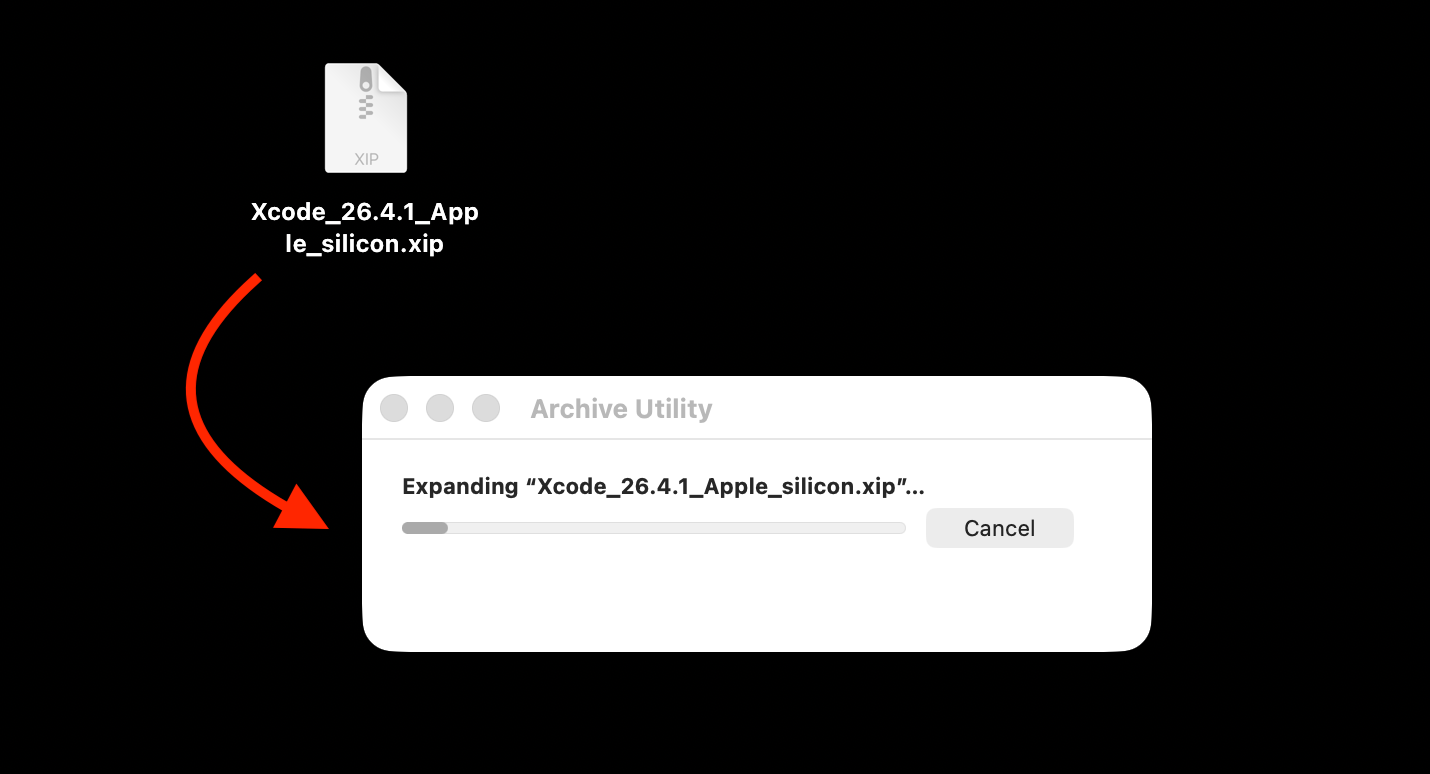
NOTE
This will take a few minutes. ⏳
-
Then drag the resulting Xcode file to your Applications folder:
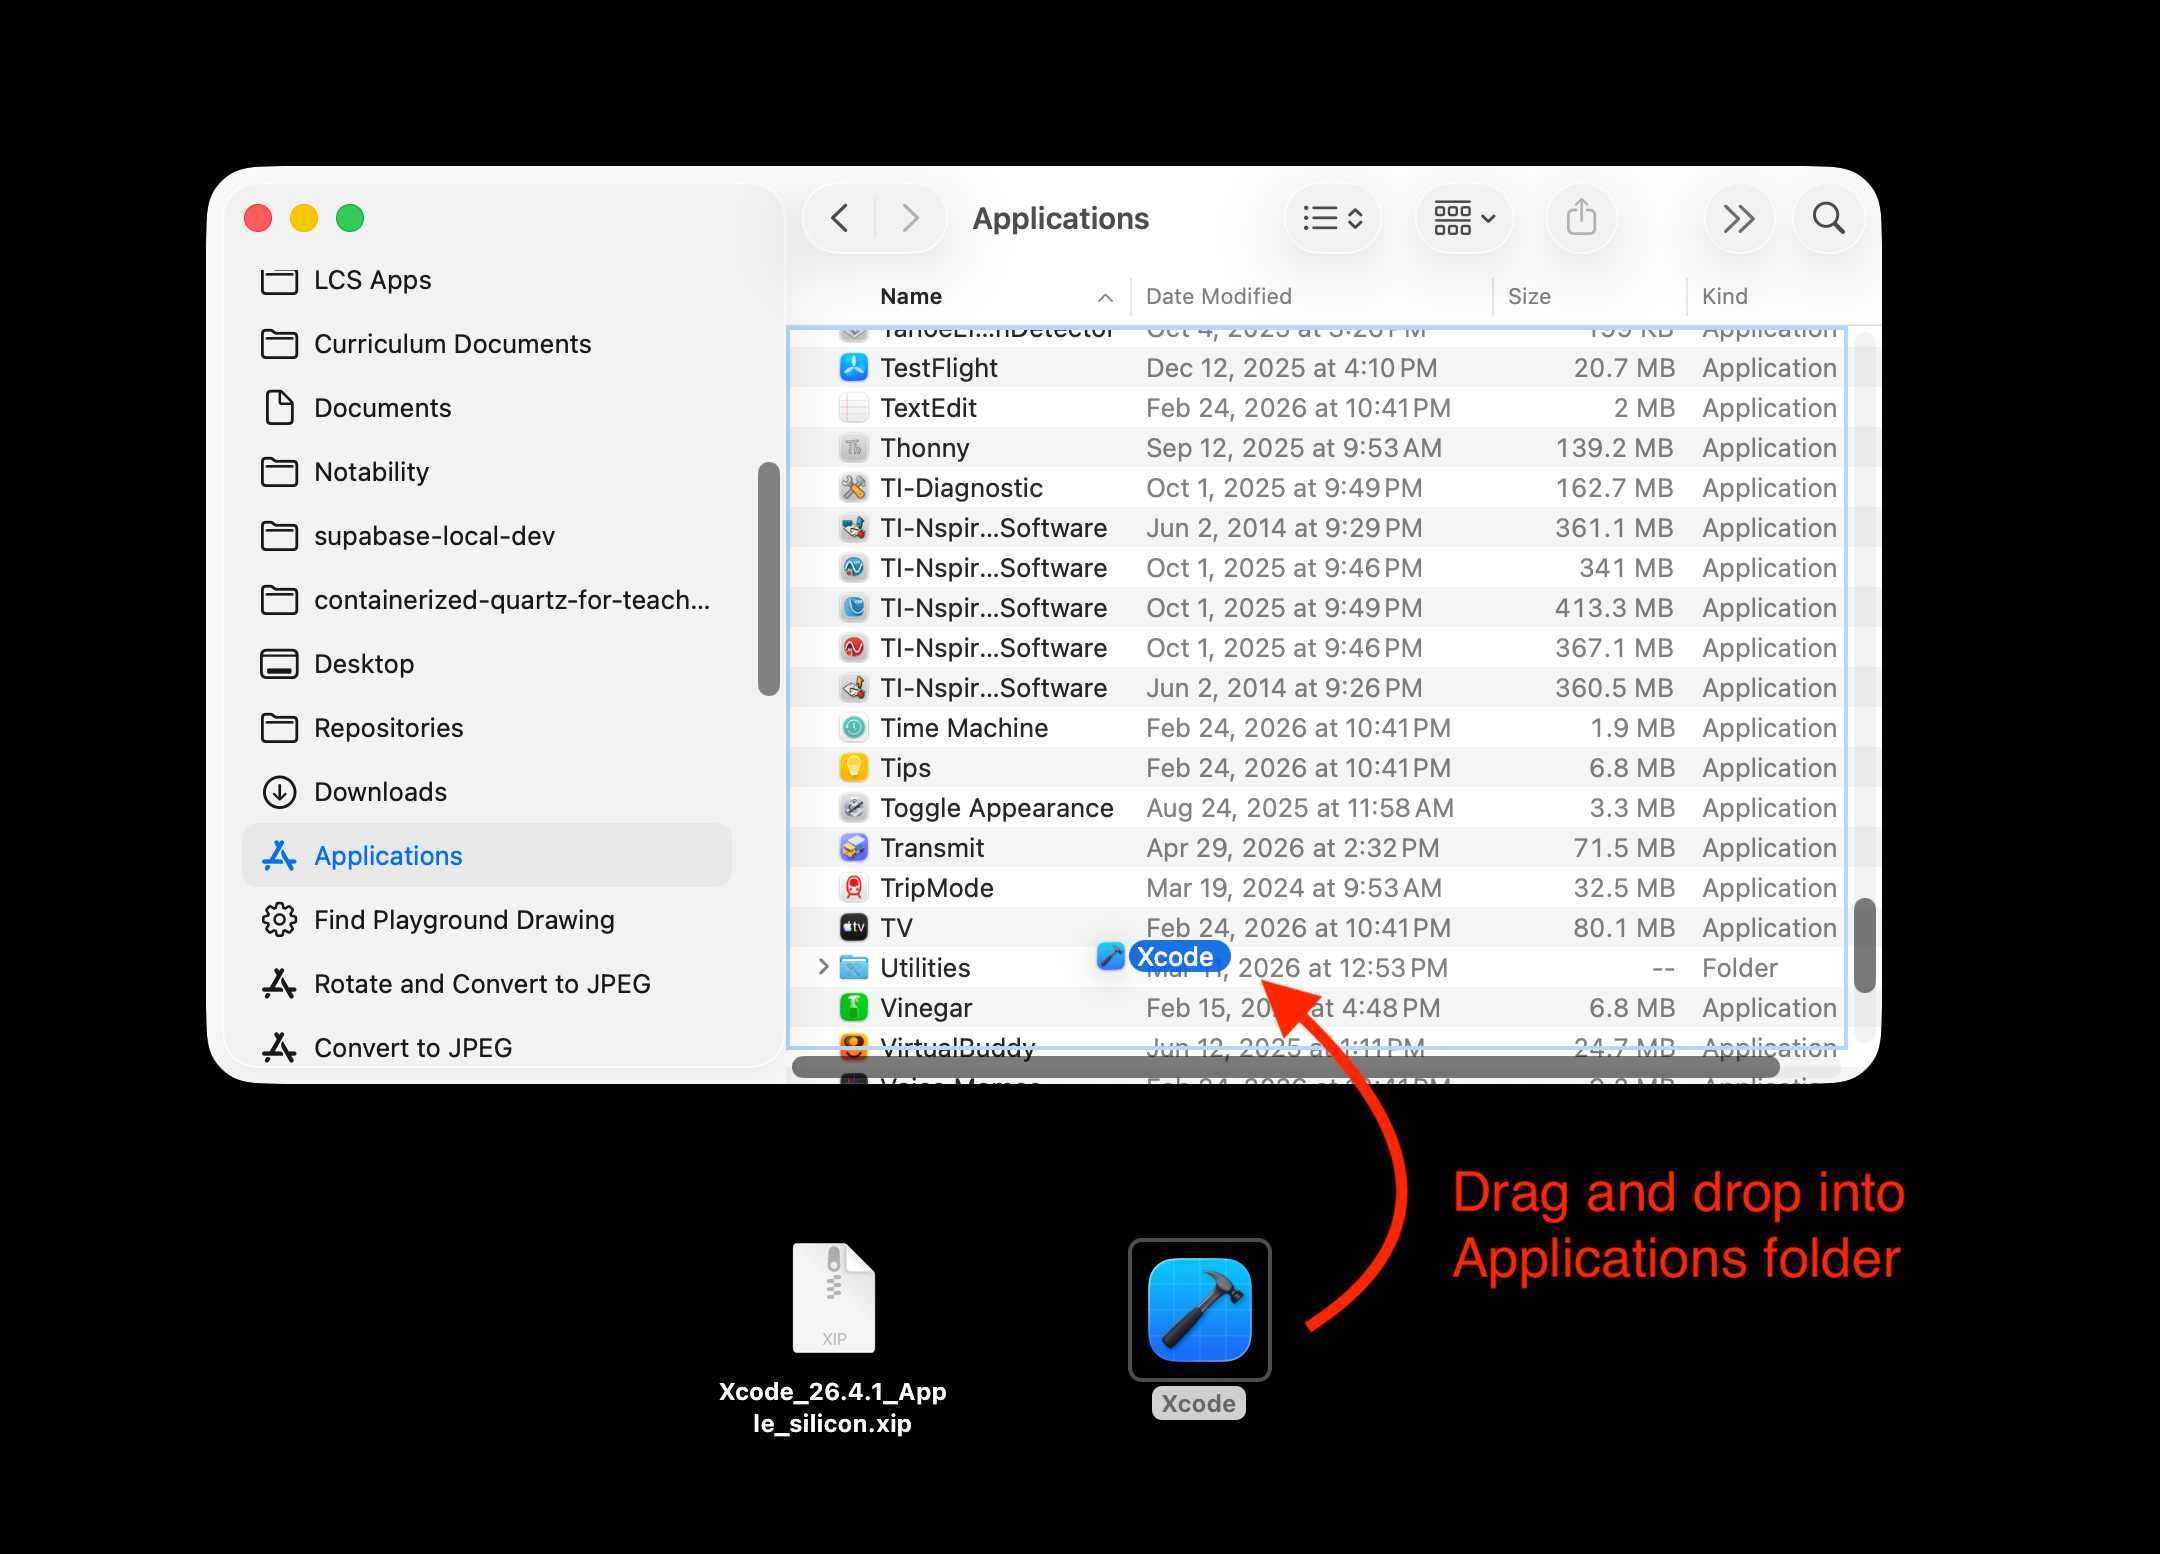
-
Double-click the new copy of Xcode to launch it.
When you first launch Xcode, you will see this dialog:
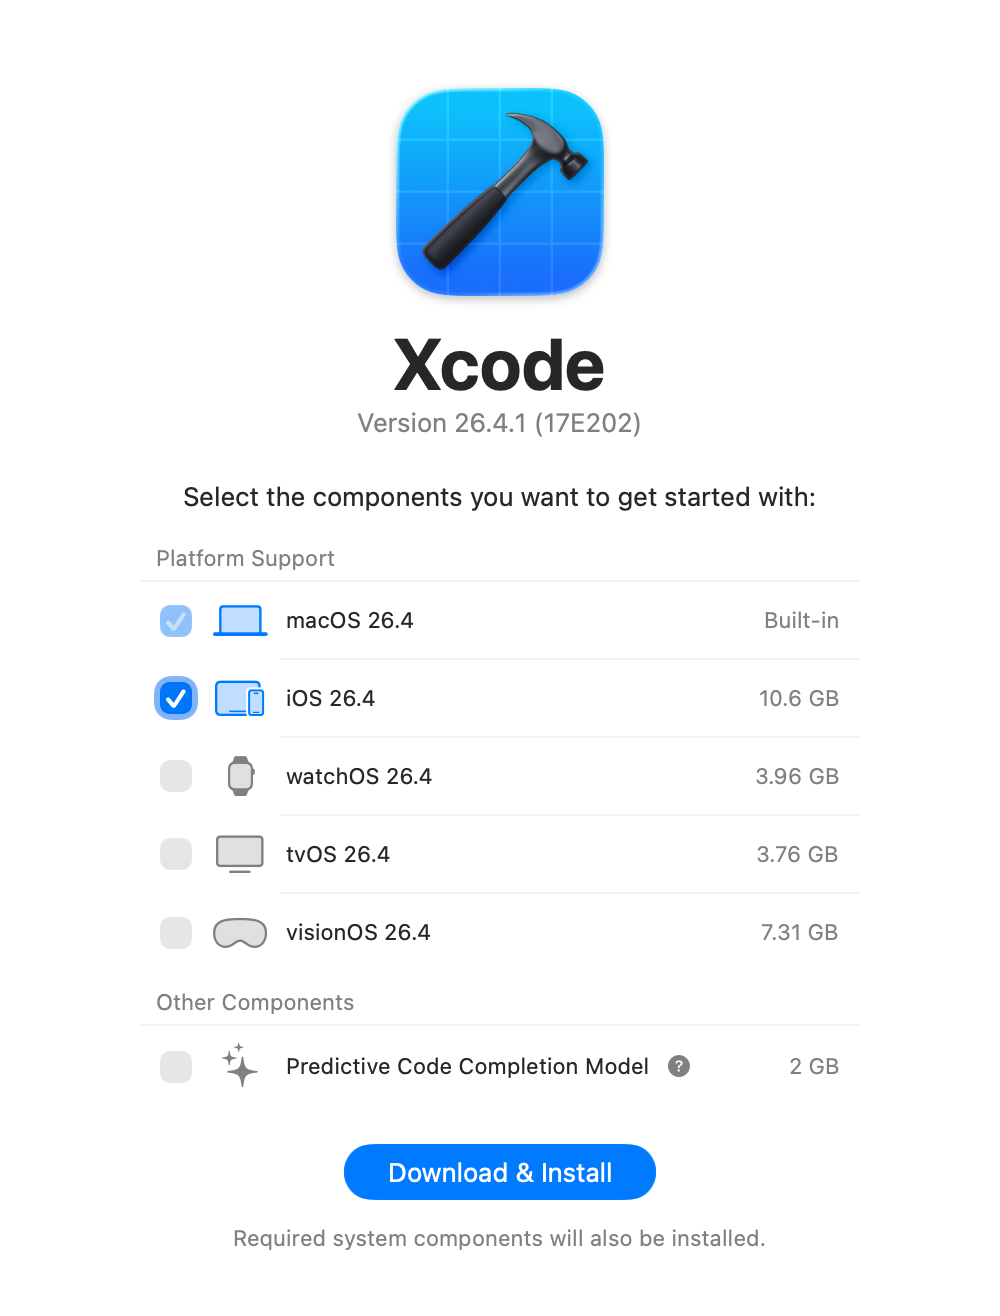
Unfortunately, there is no easy way to do this part without using WiFi, so, please just click Download & Install and follow the remaining prompts given.
This part will take some time – be patient:
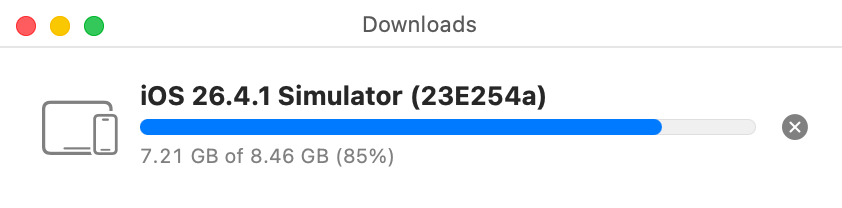
NOTE
You will probably also need to type your computer password or use Touch ID to give permission for the final part of the installation process to complete.