Objectives
The objectives of this exercise are to:
- practice making a rough plan for a user interface
- gain experience using SwiftUI Views Quick Start as a reference
- implement your plan for an interface successfully in code
- using source control to regularly make commits to save progress, using descriptive commit messages
You will work with a partner today using the Driver-Navigator Pattern to complete this exercise.
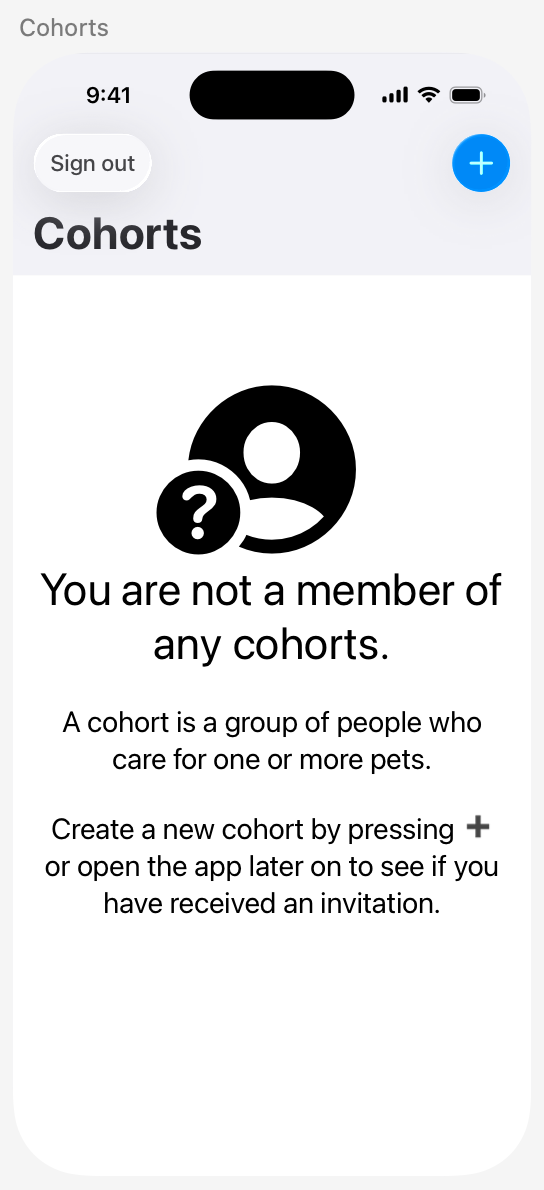
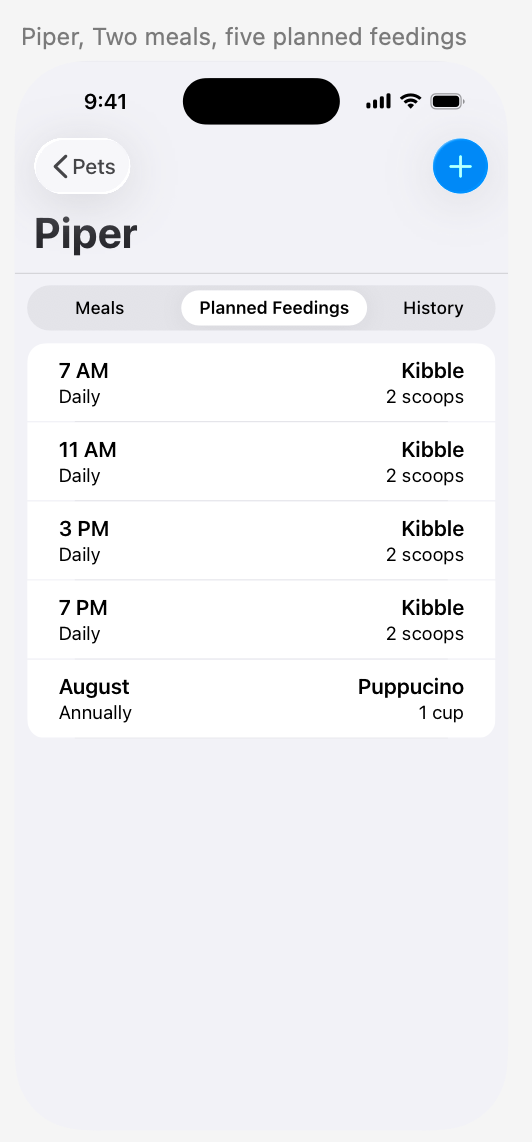
In this exercise, you will implement static user interfaces from Mr. Gordon’s Bone Appétit app prototype:
Exemplar
TIP
You don’t need to follow along in this section, but please – read it carefully – so that you understand what it looks like to meet the objectives above.
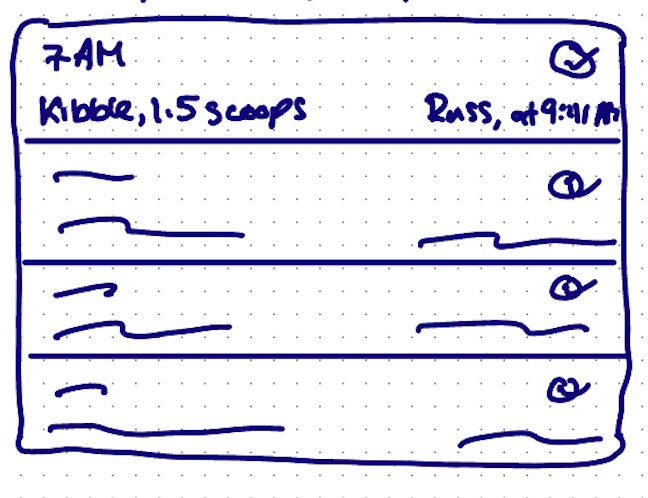
For the exemplar for this exercise, Mr. Gordon will reproduce the following interface:

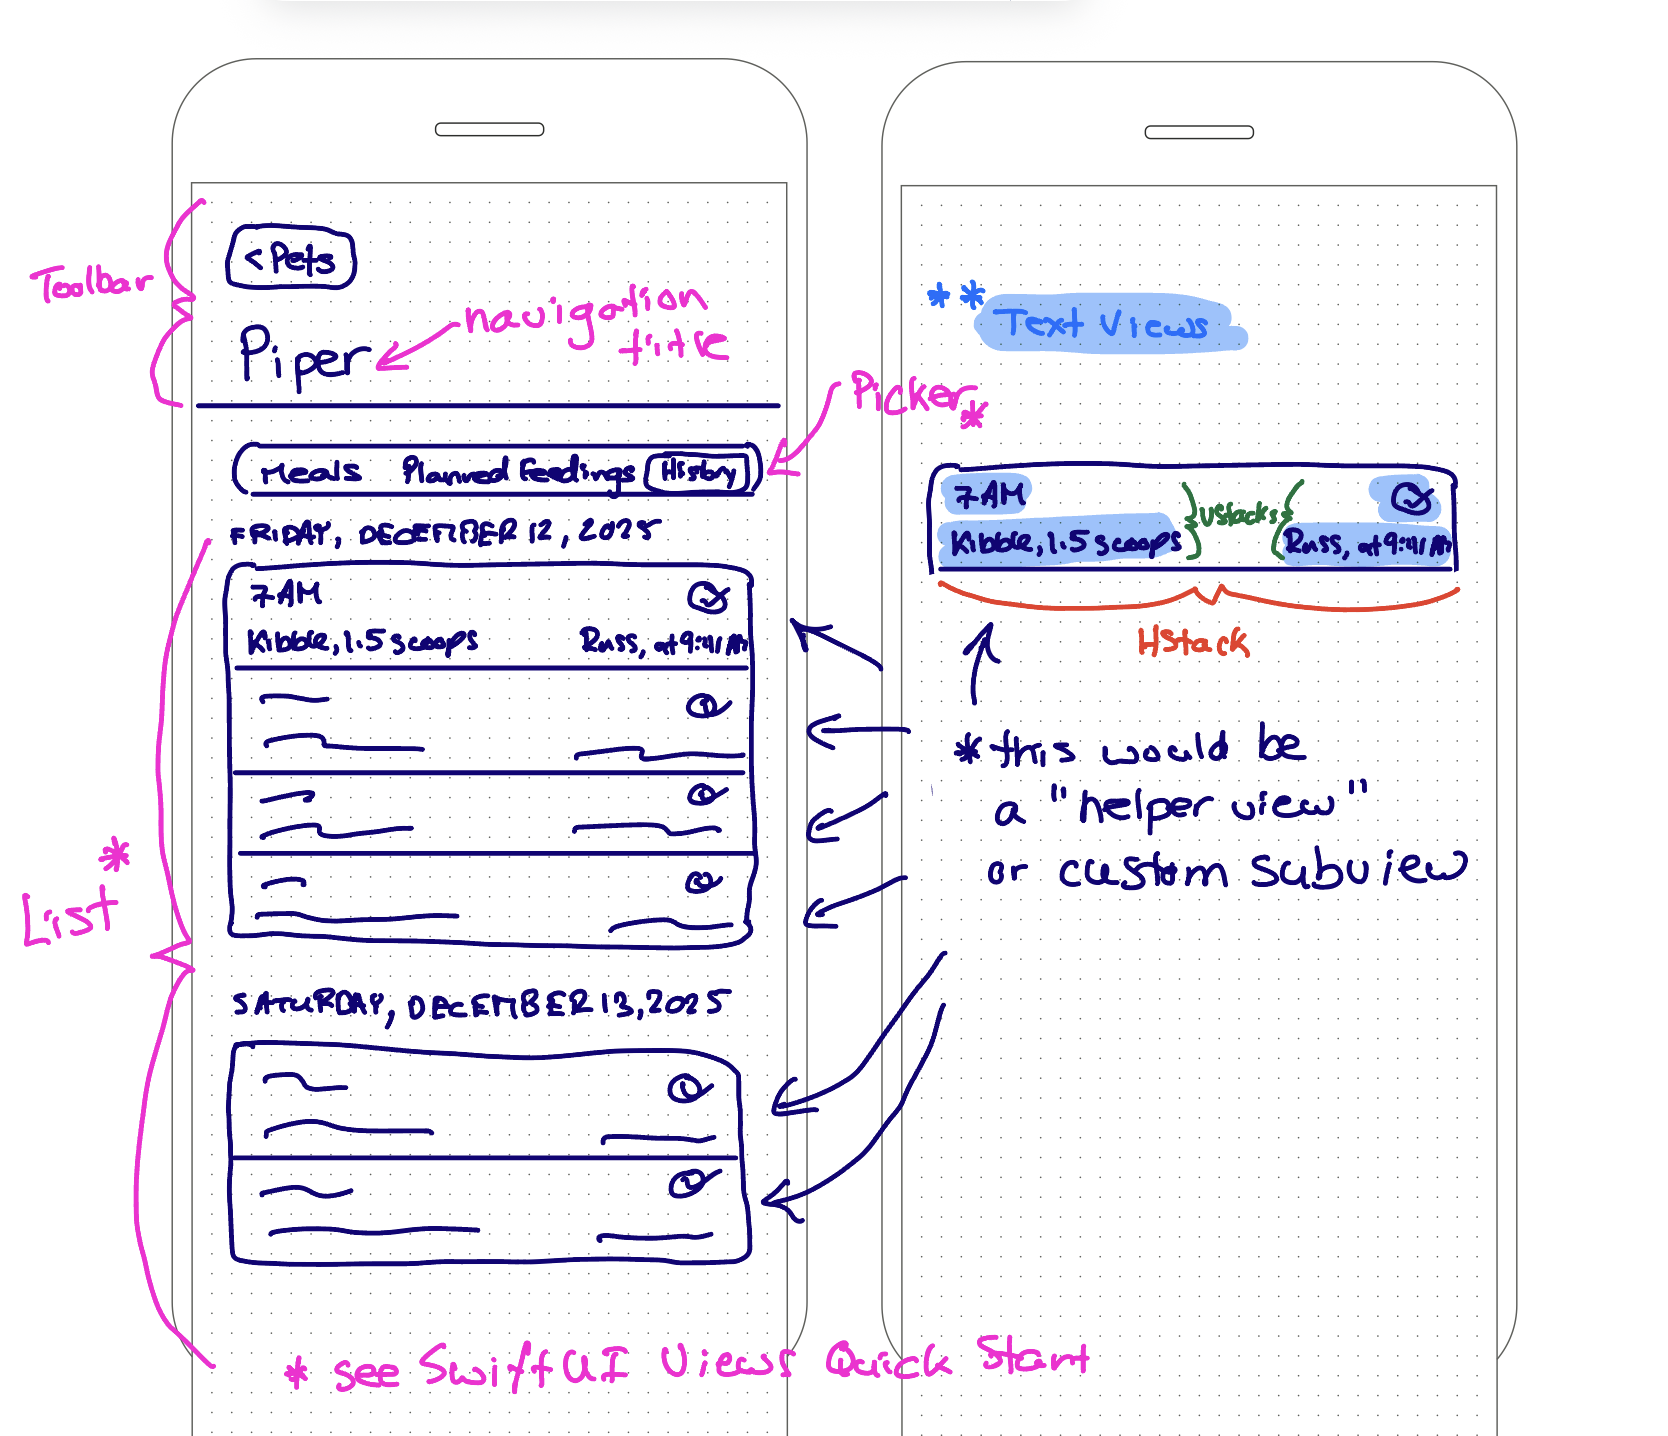
Rough plan
The purpose of the plan is to consider what combination of structures:
VStackHStackZStack
… and other structures as found in SwiftUI Views Quick Start will help you to build the interface.
Your plan may not end up being 100% accurate, but the important part is that you are thinking through your interface before you start to code.
Implementation
Project organization
Here is one possible sequence for implementing the interface.
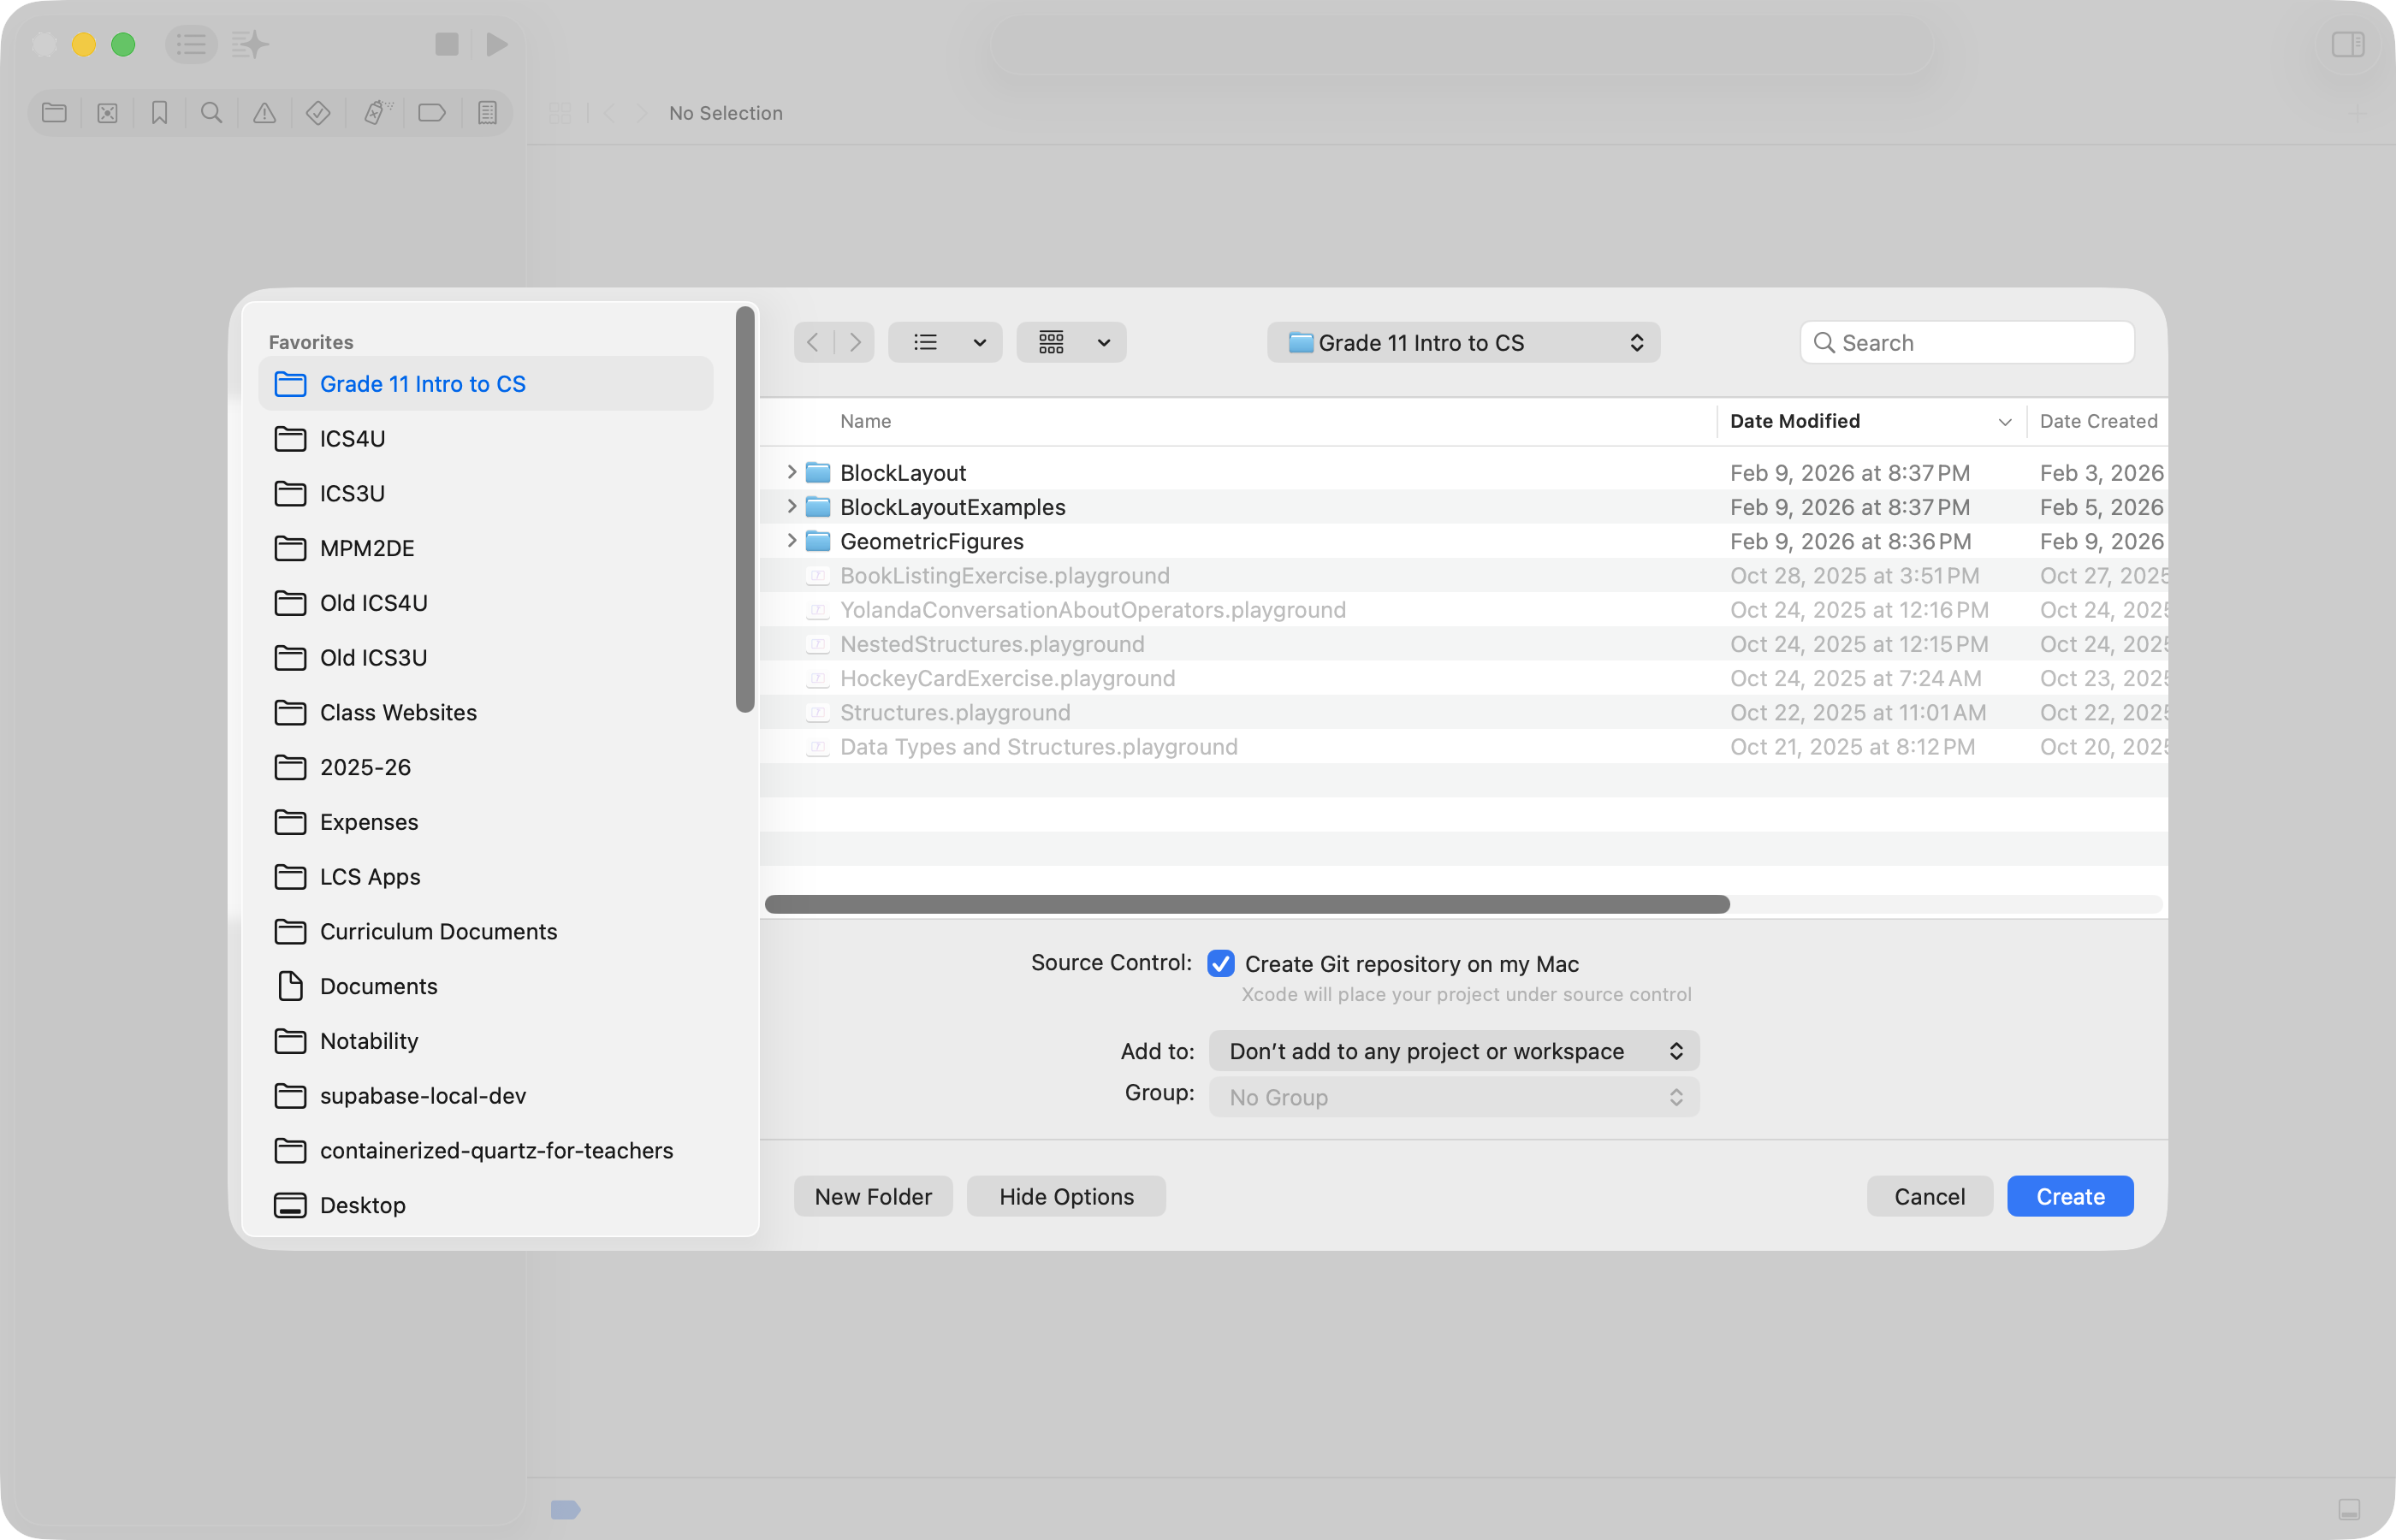
First, Mr. Gordon created a new project named BoneAppetit to keep track of his work, saving it his Grade 11 Intro to CS folder on his computer, making certain that the option to create a local repository for source control was enabled:
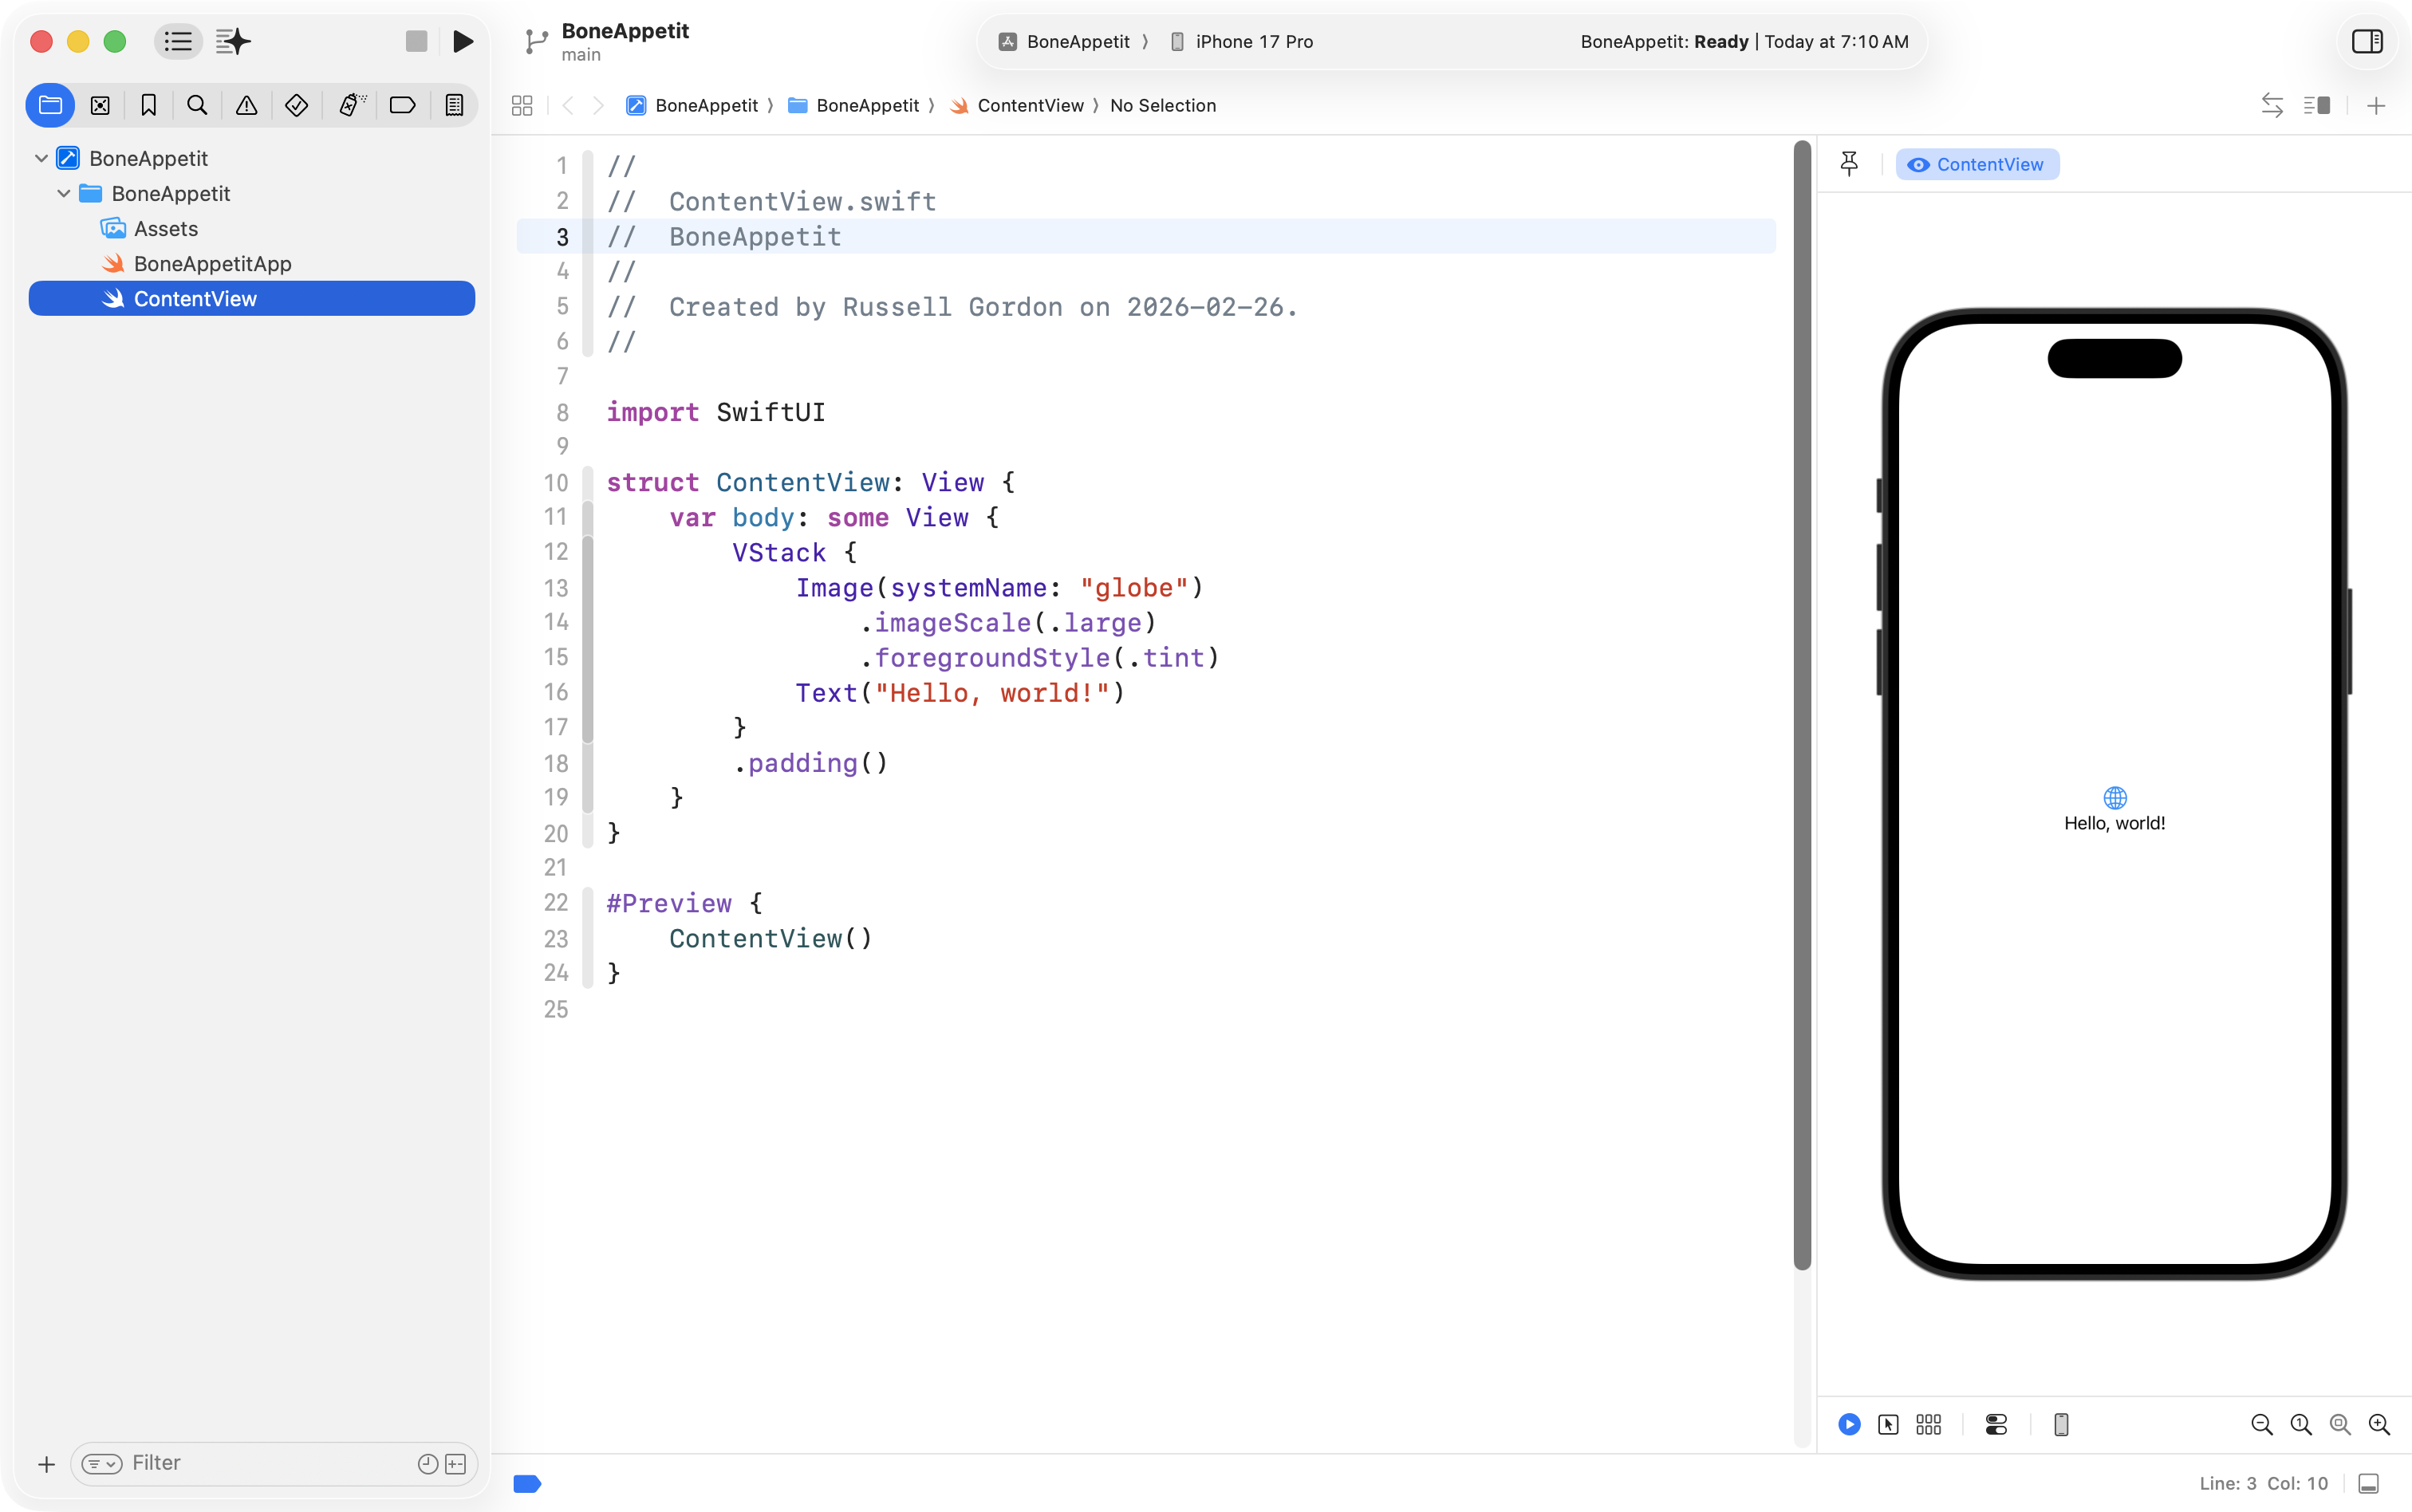
After the project was created, it looked like this:
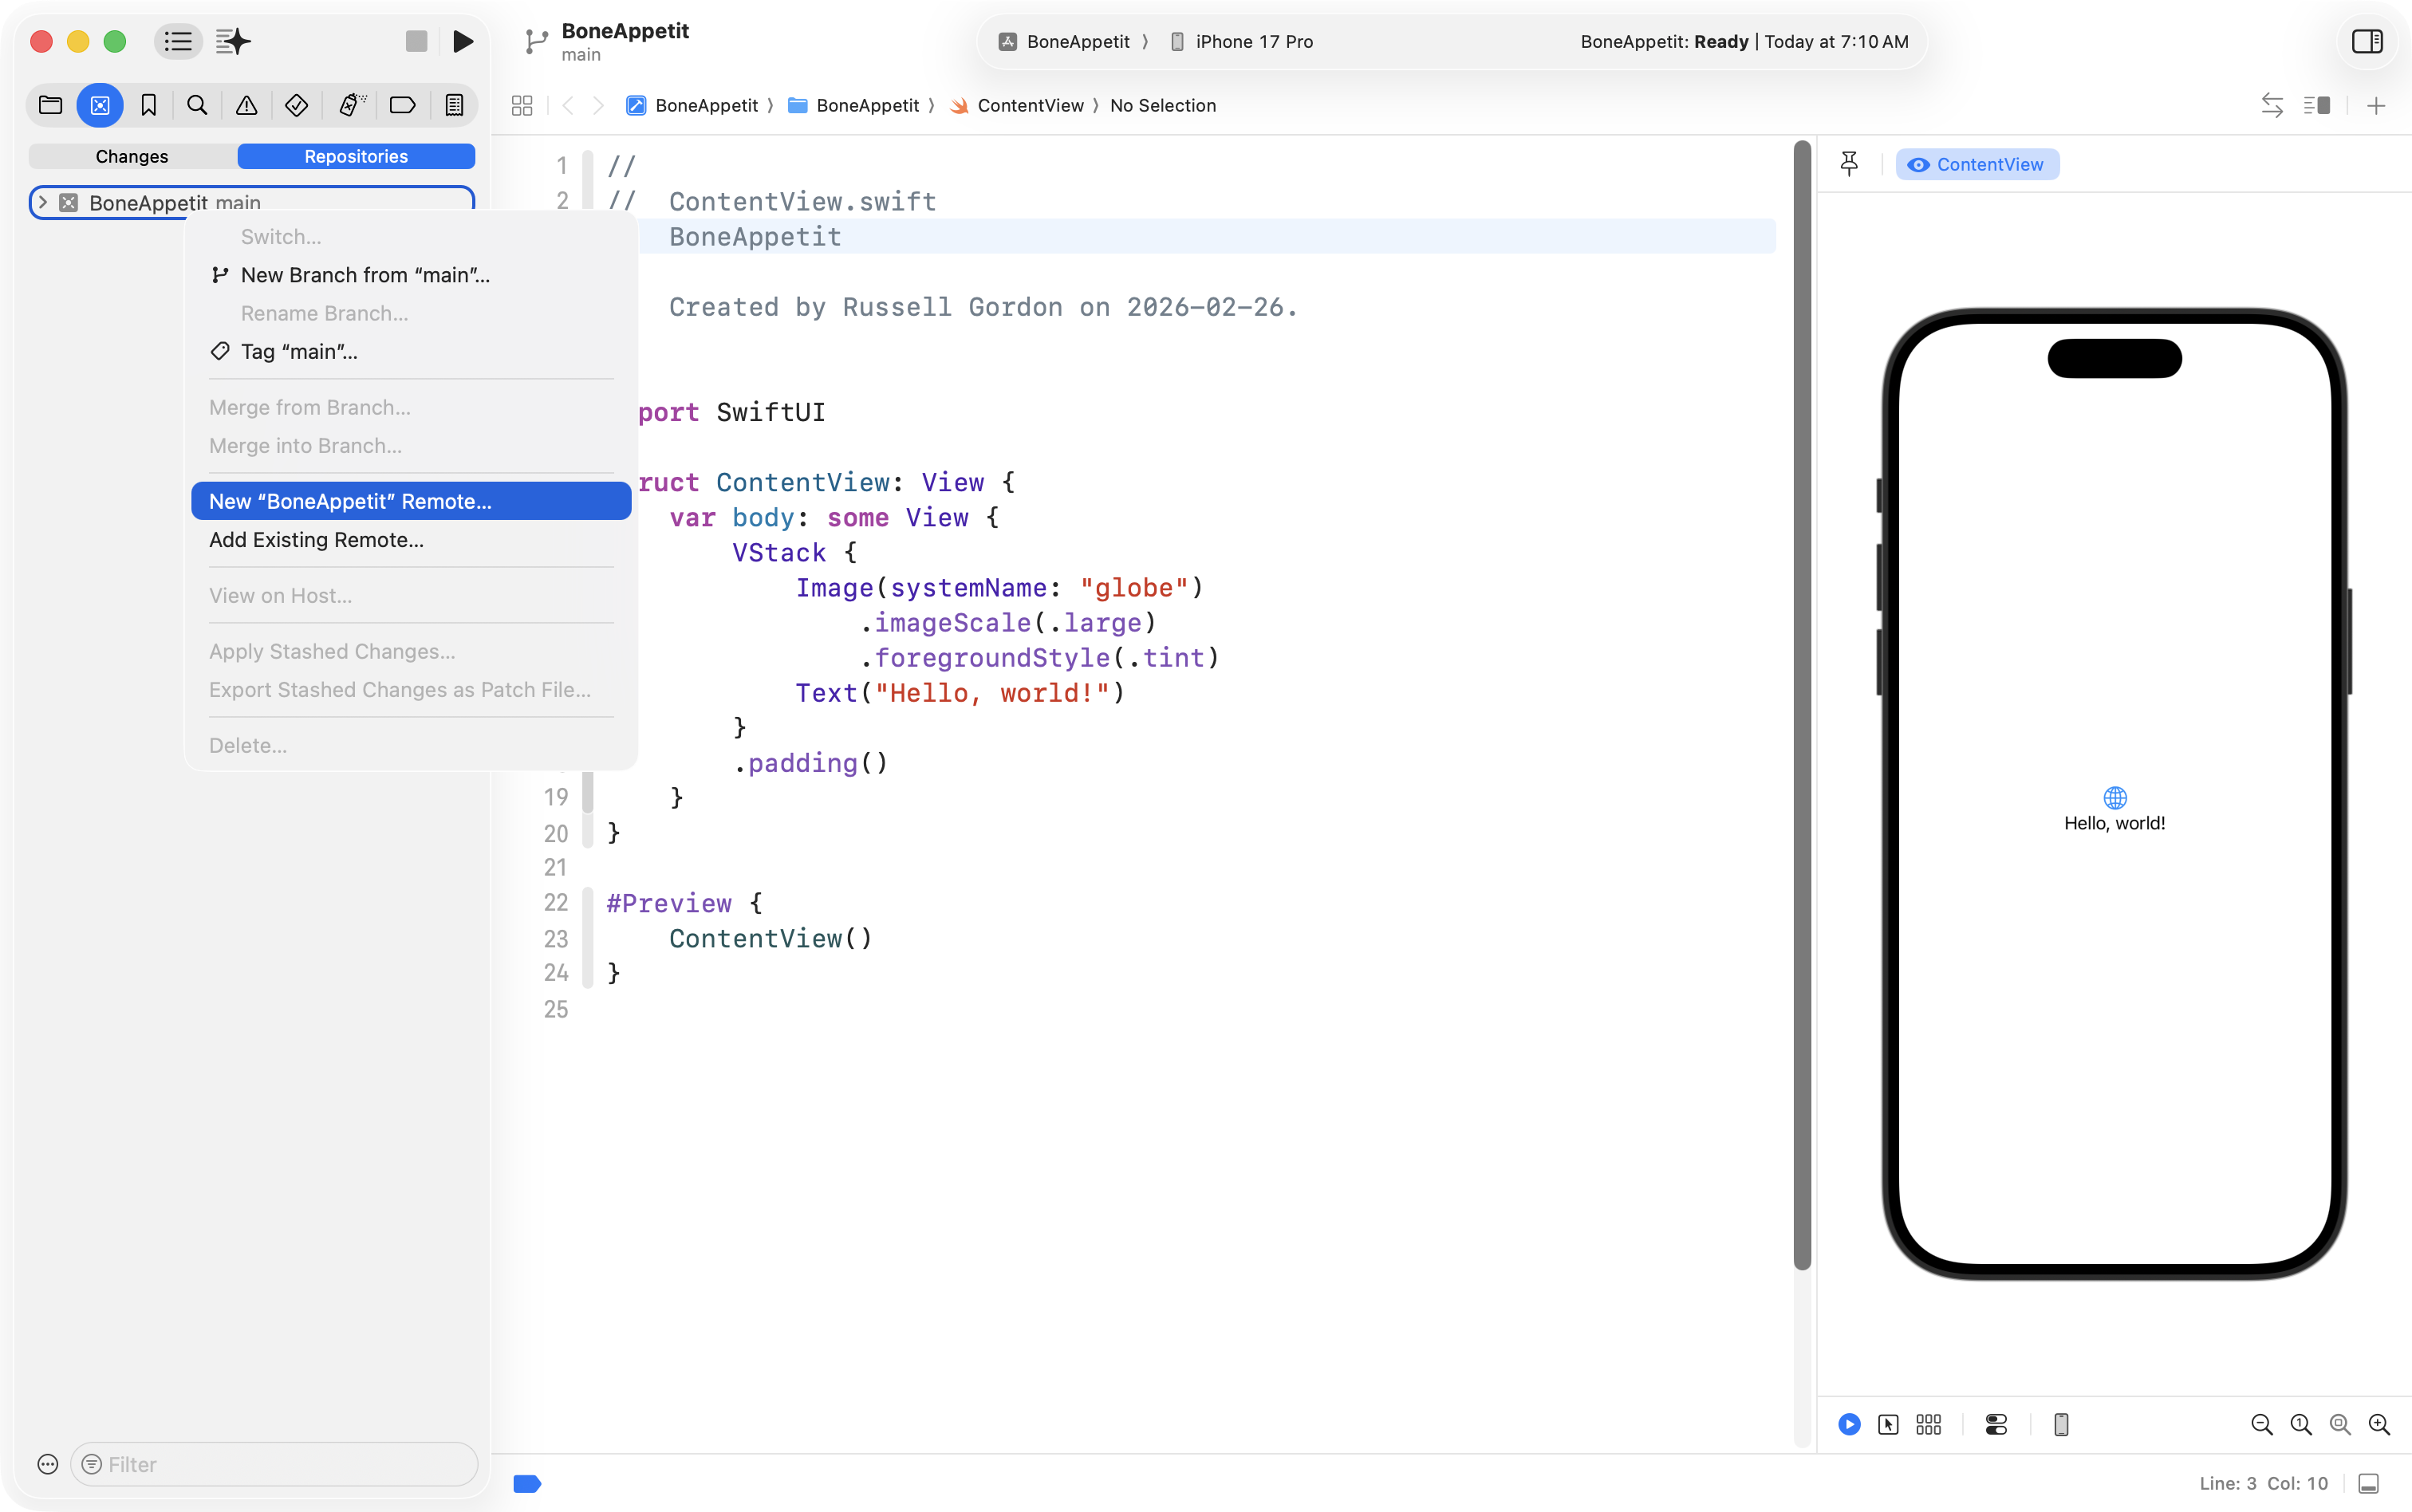
Mr. Gordon then made certain to create a remote repository:
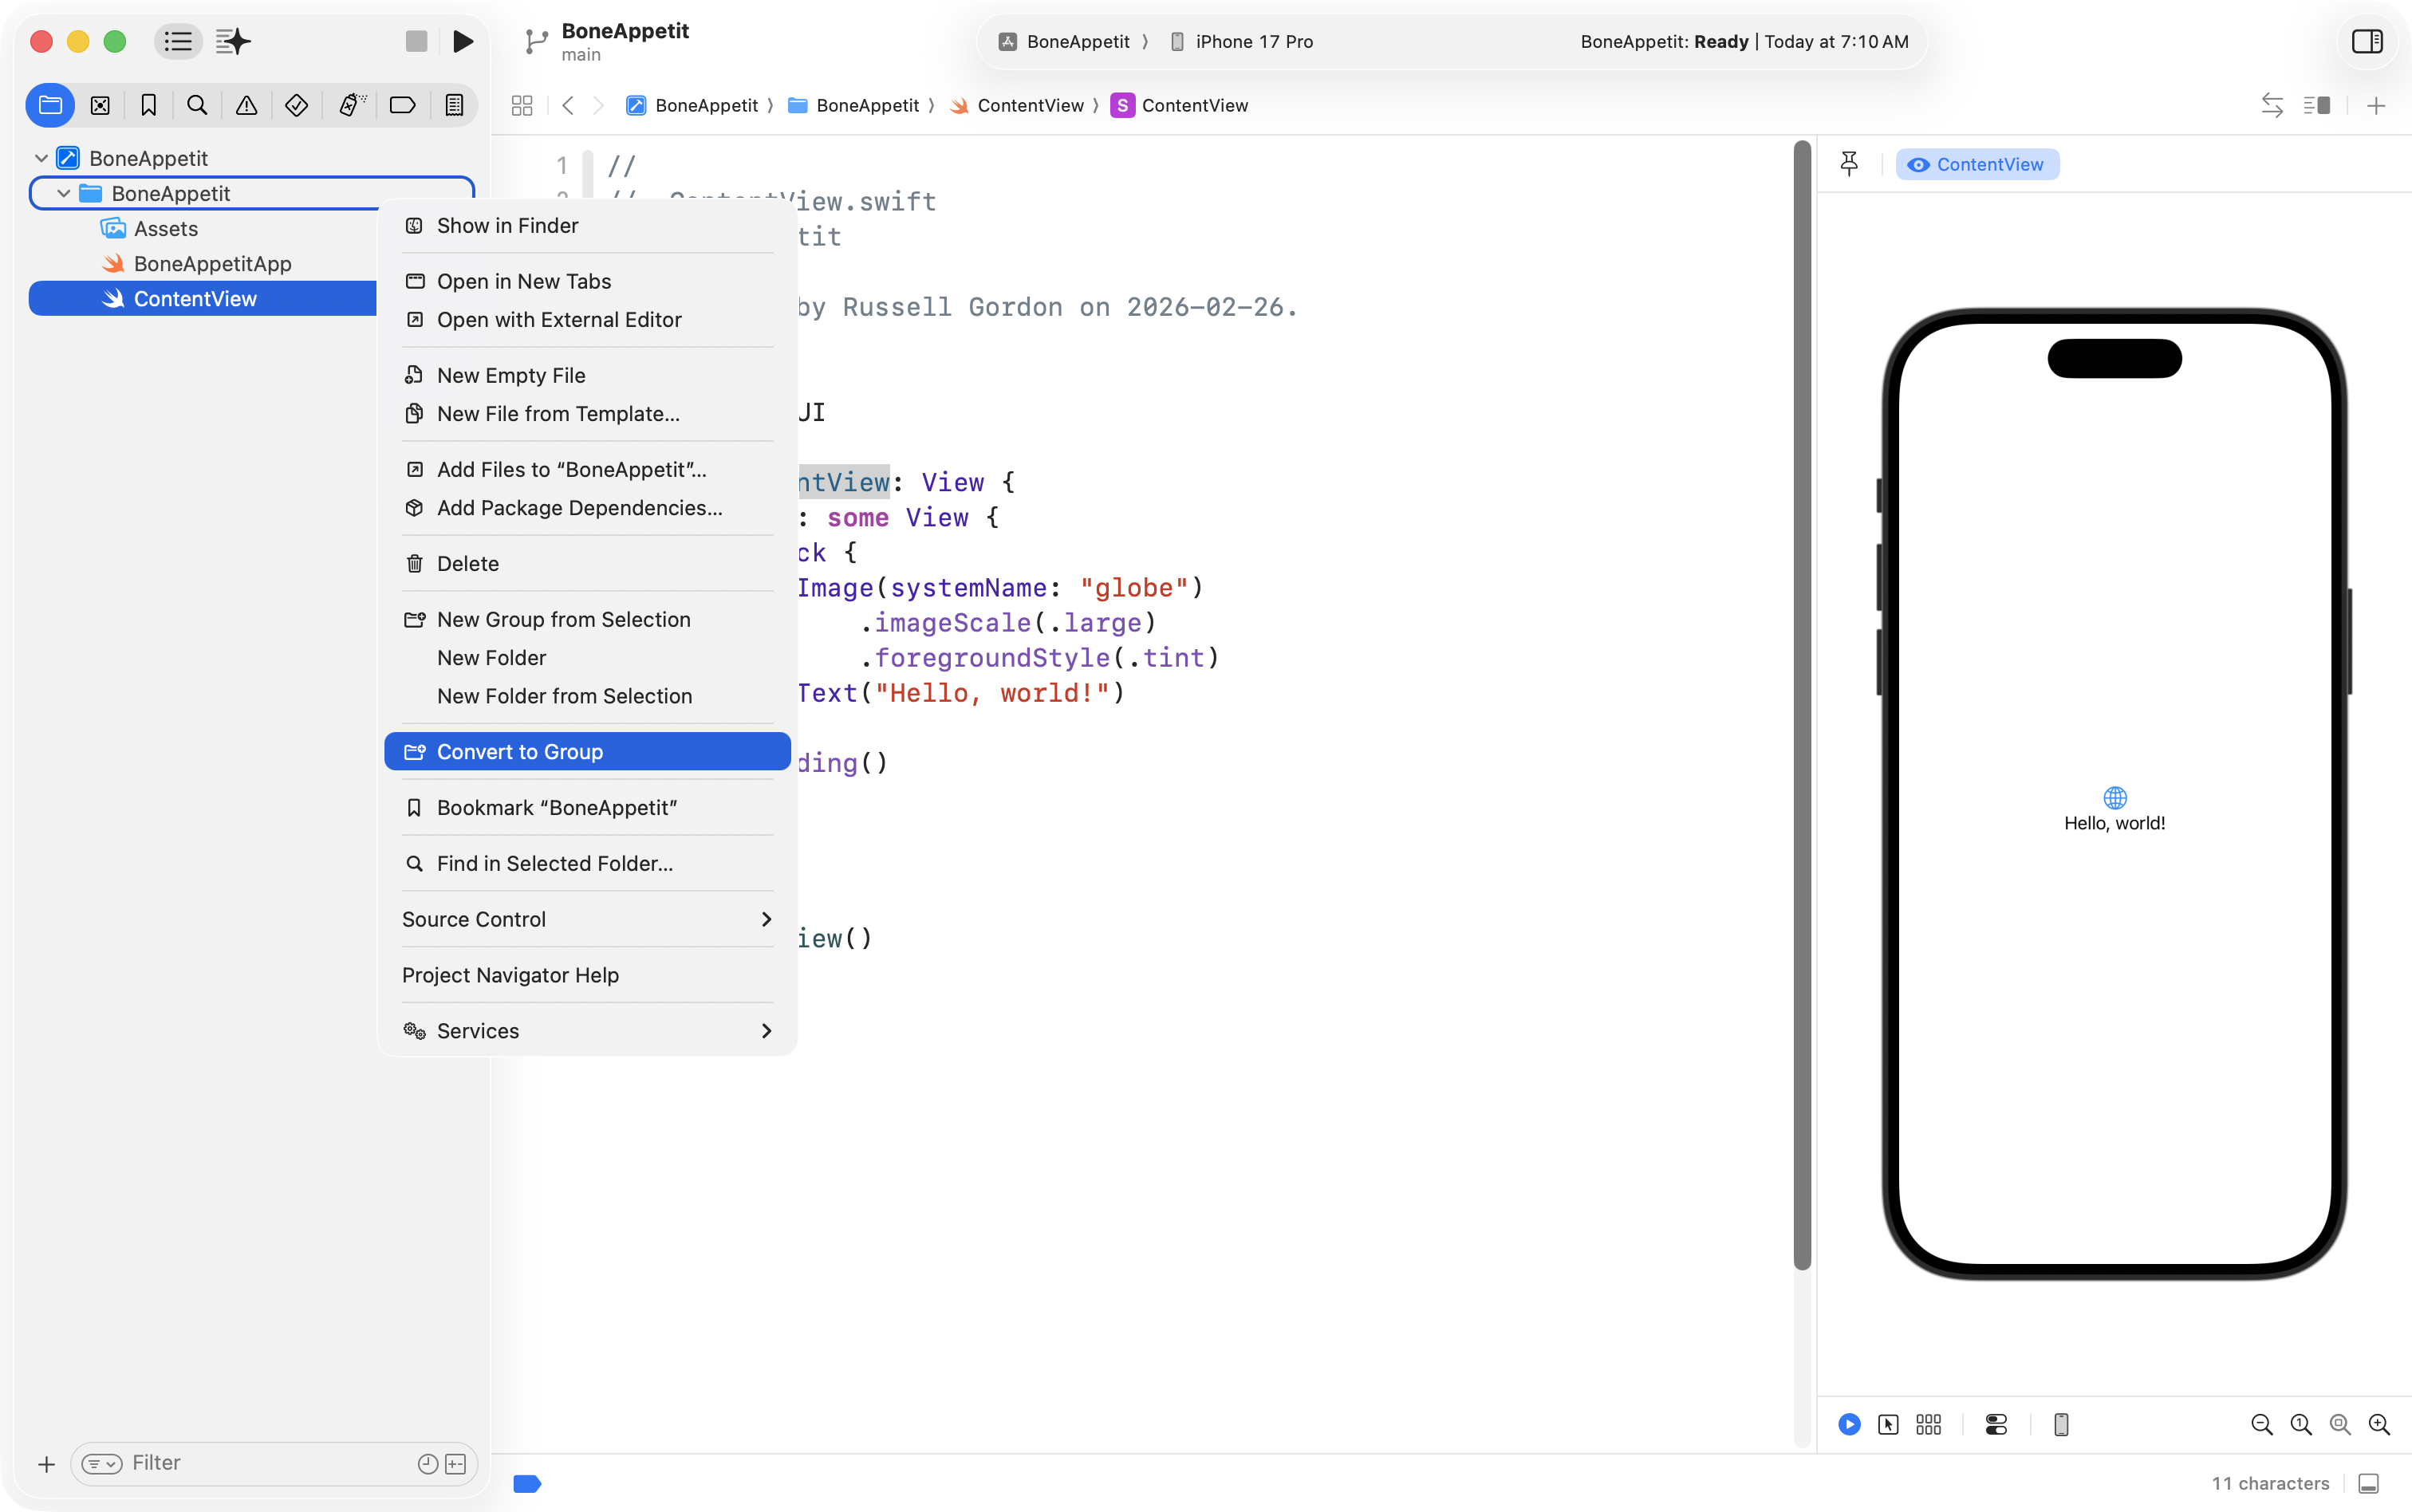
Next, he changed the BoneAppetit folder into a group:
Then he created a Views group and moved ContentView into that group:

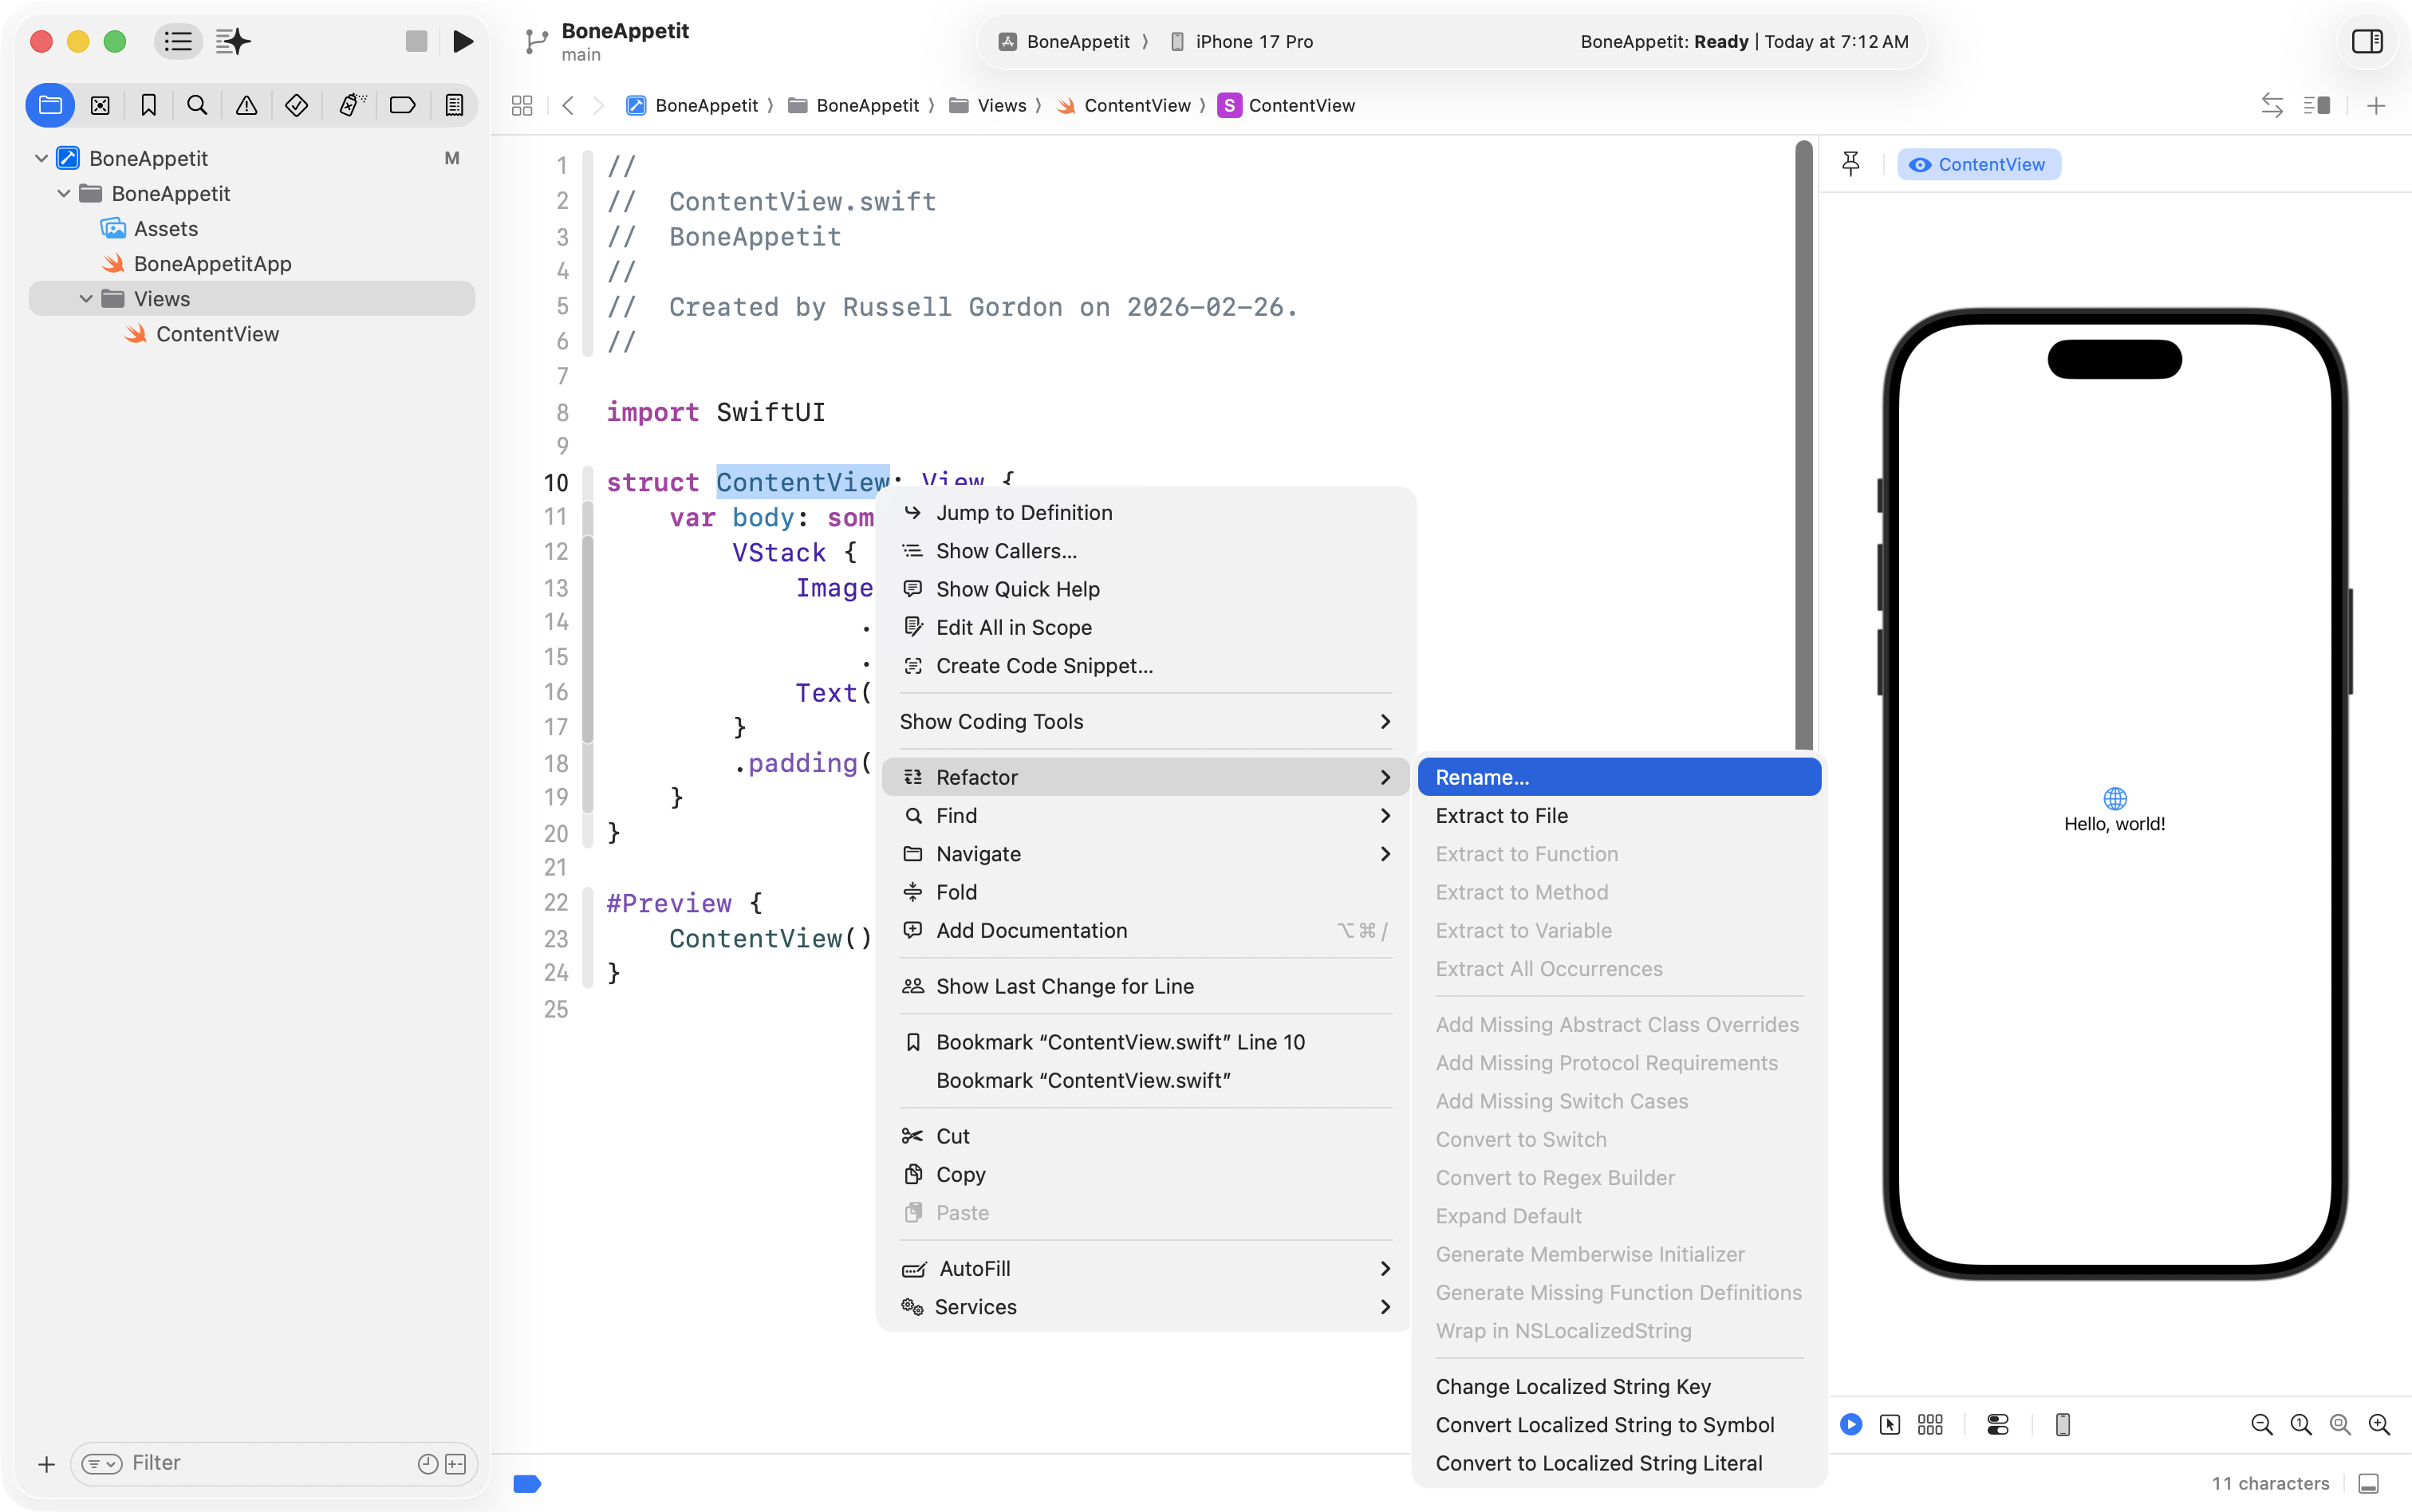
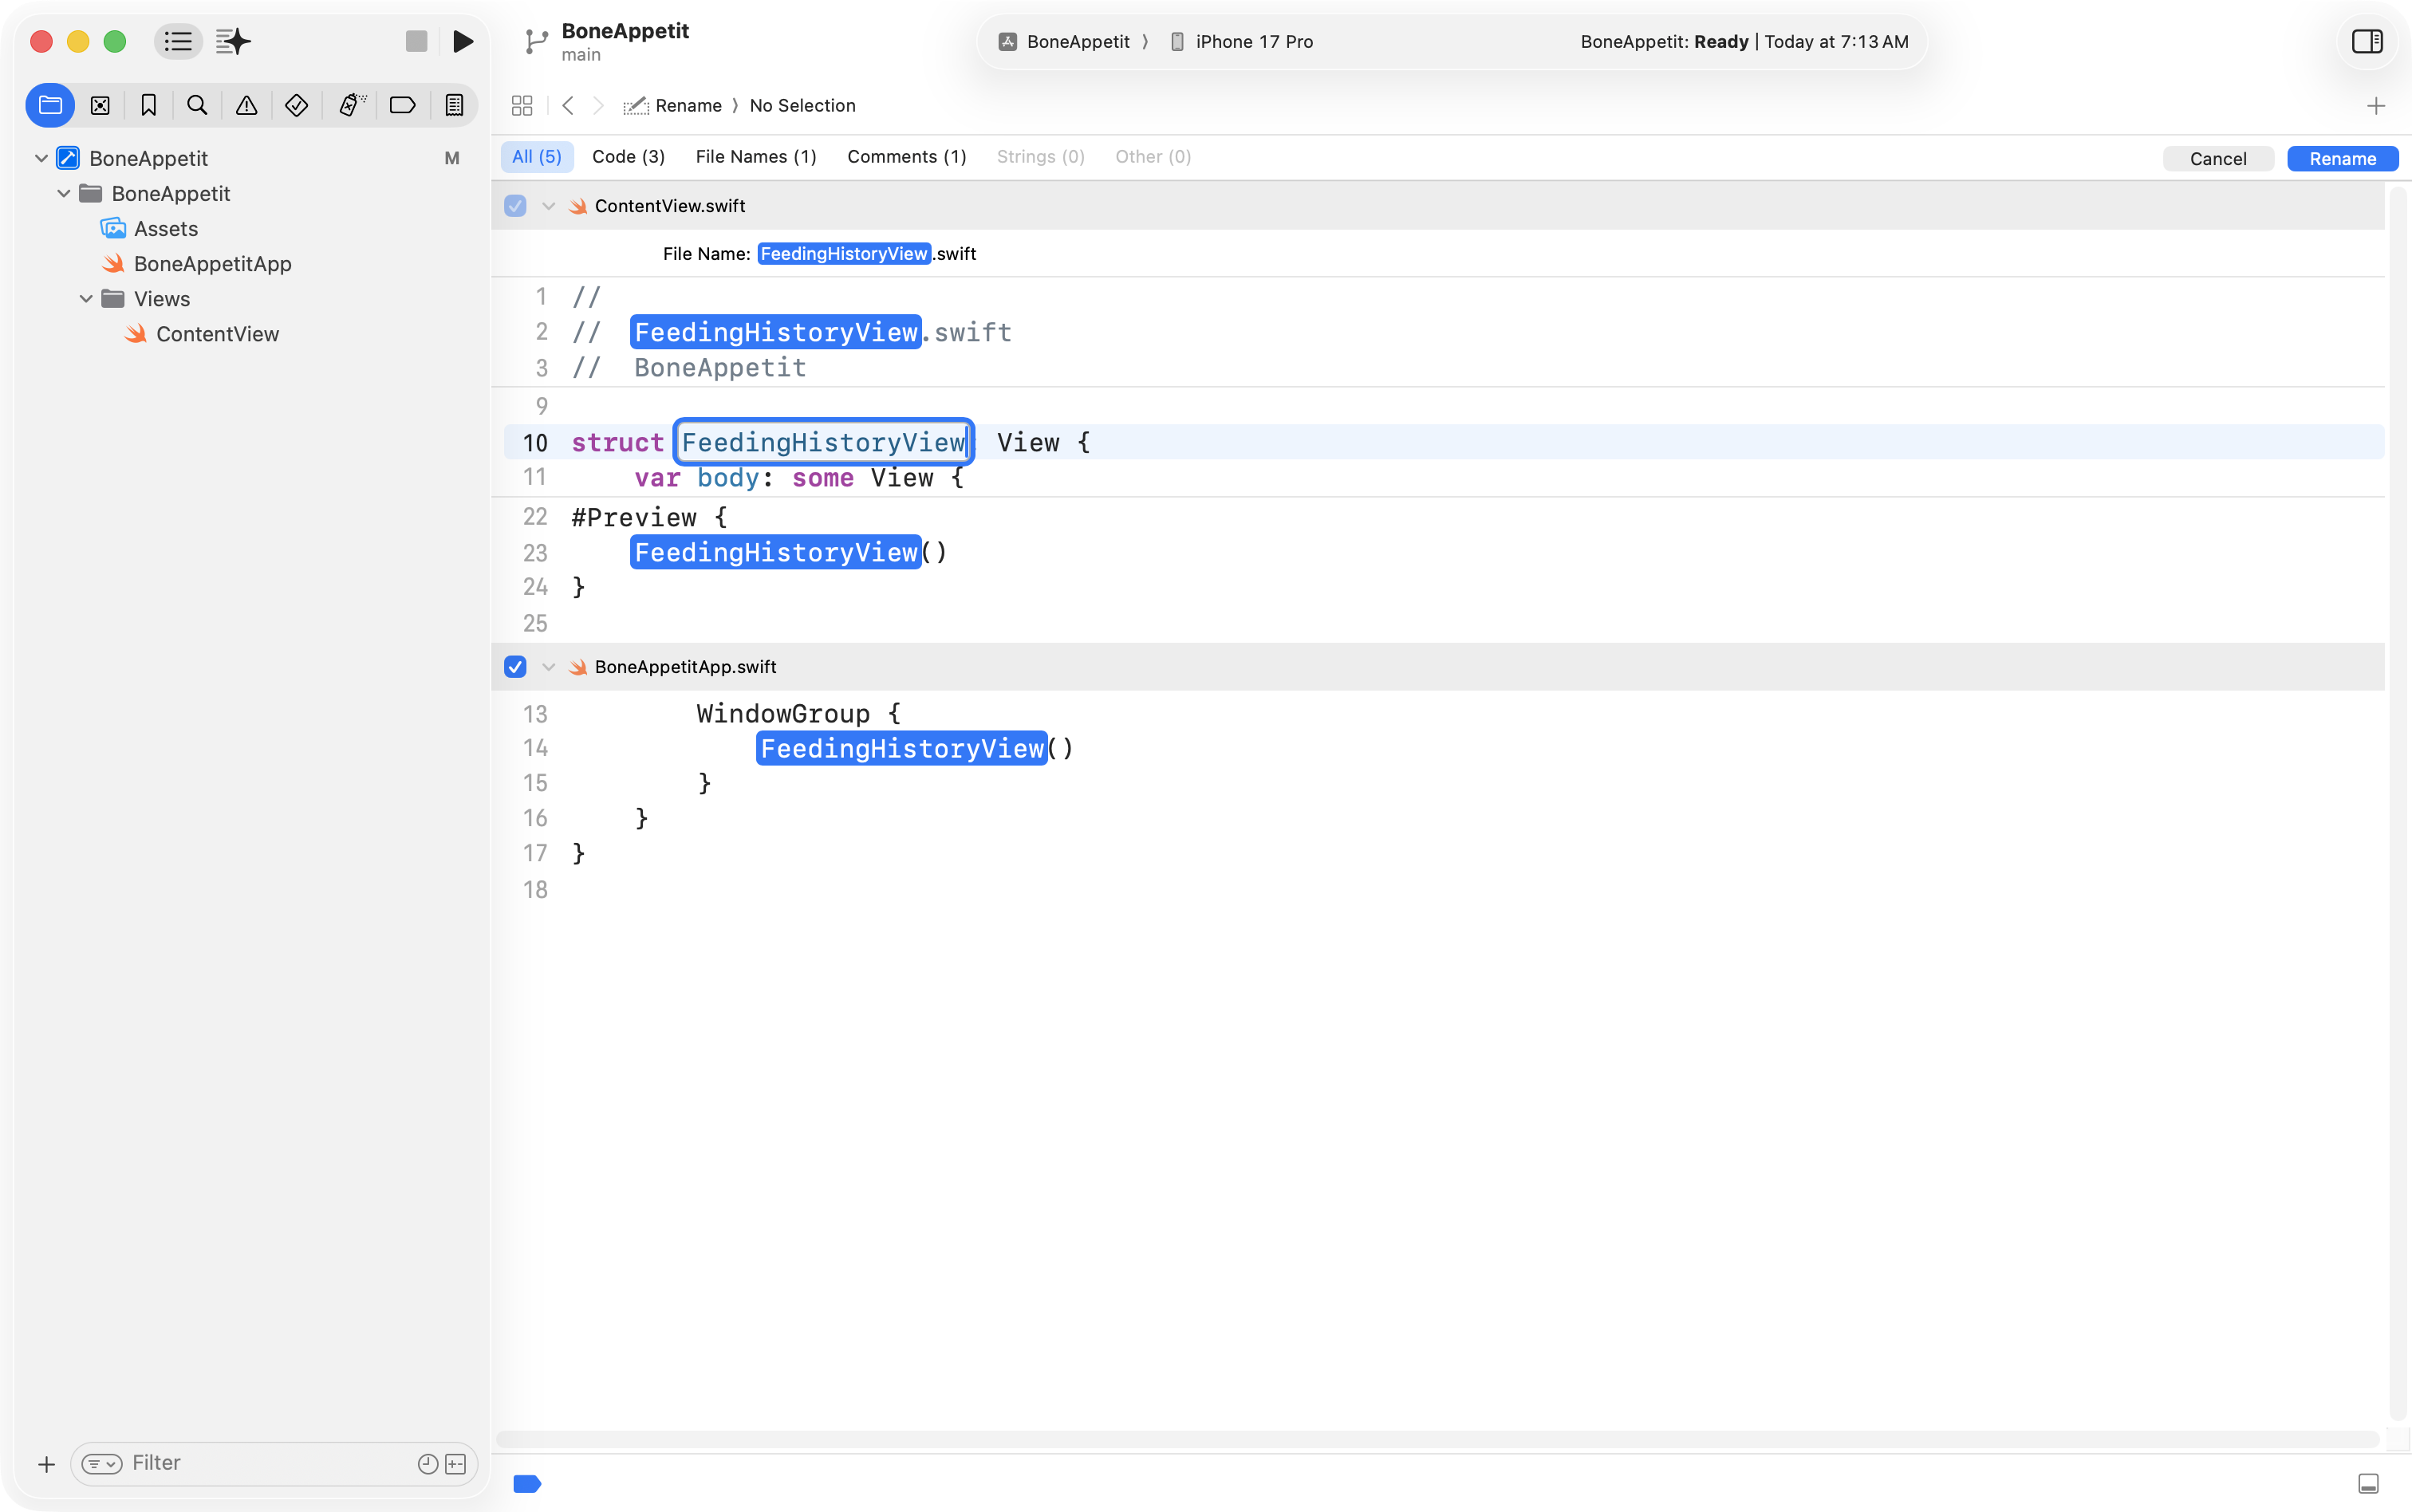
Finally, he used the Refactor > Rename feature to change ContentView into FeedingHistoryView so that the interface he will create is in a structure with a more descriptive name:
… like so:
With this in place:

… he was ready to begin creating the interface based on his plan.
Toolbar
It’s easiest to start by creating the toolbar region of an interface.
This requires a NavigationStack:
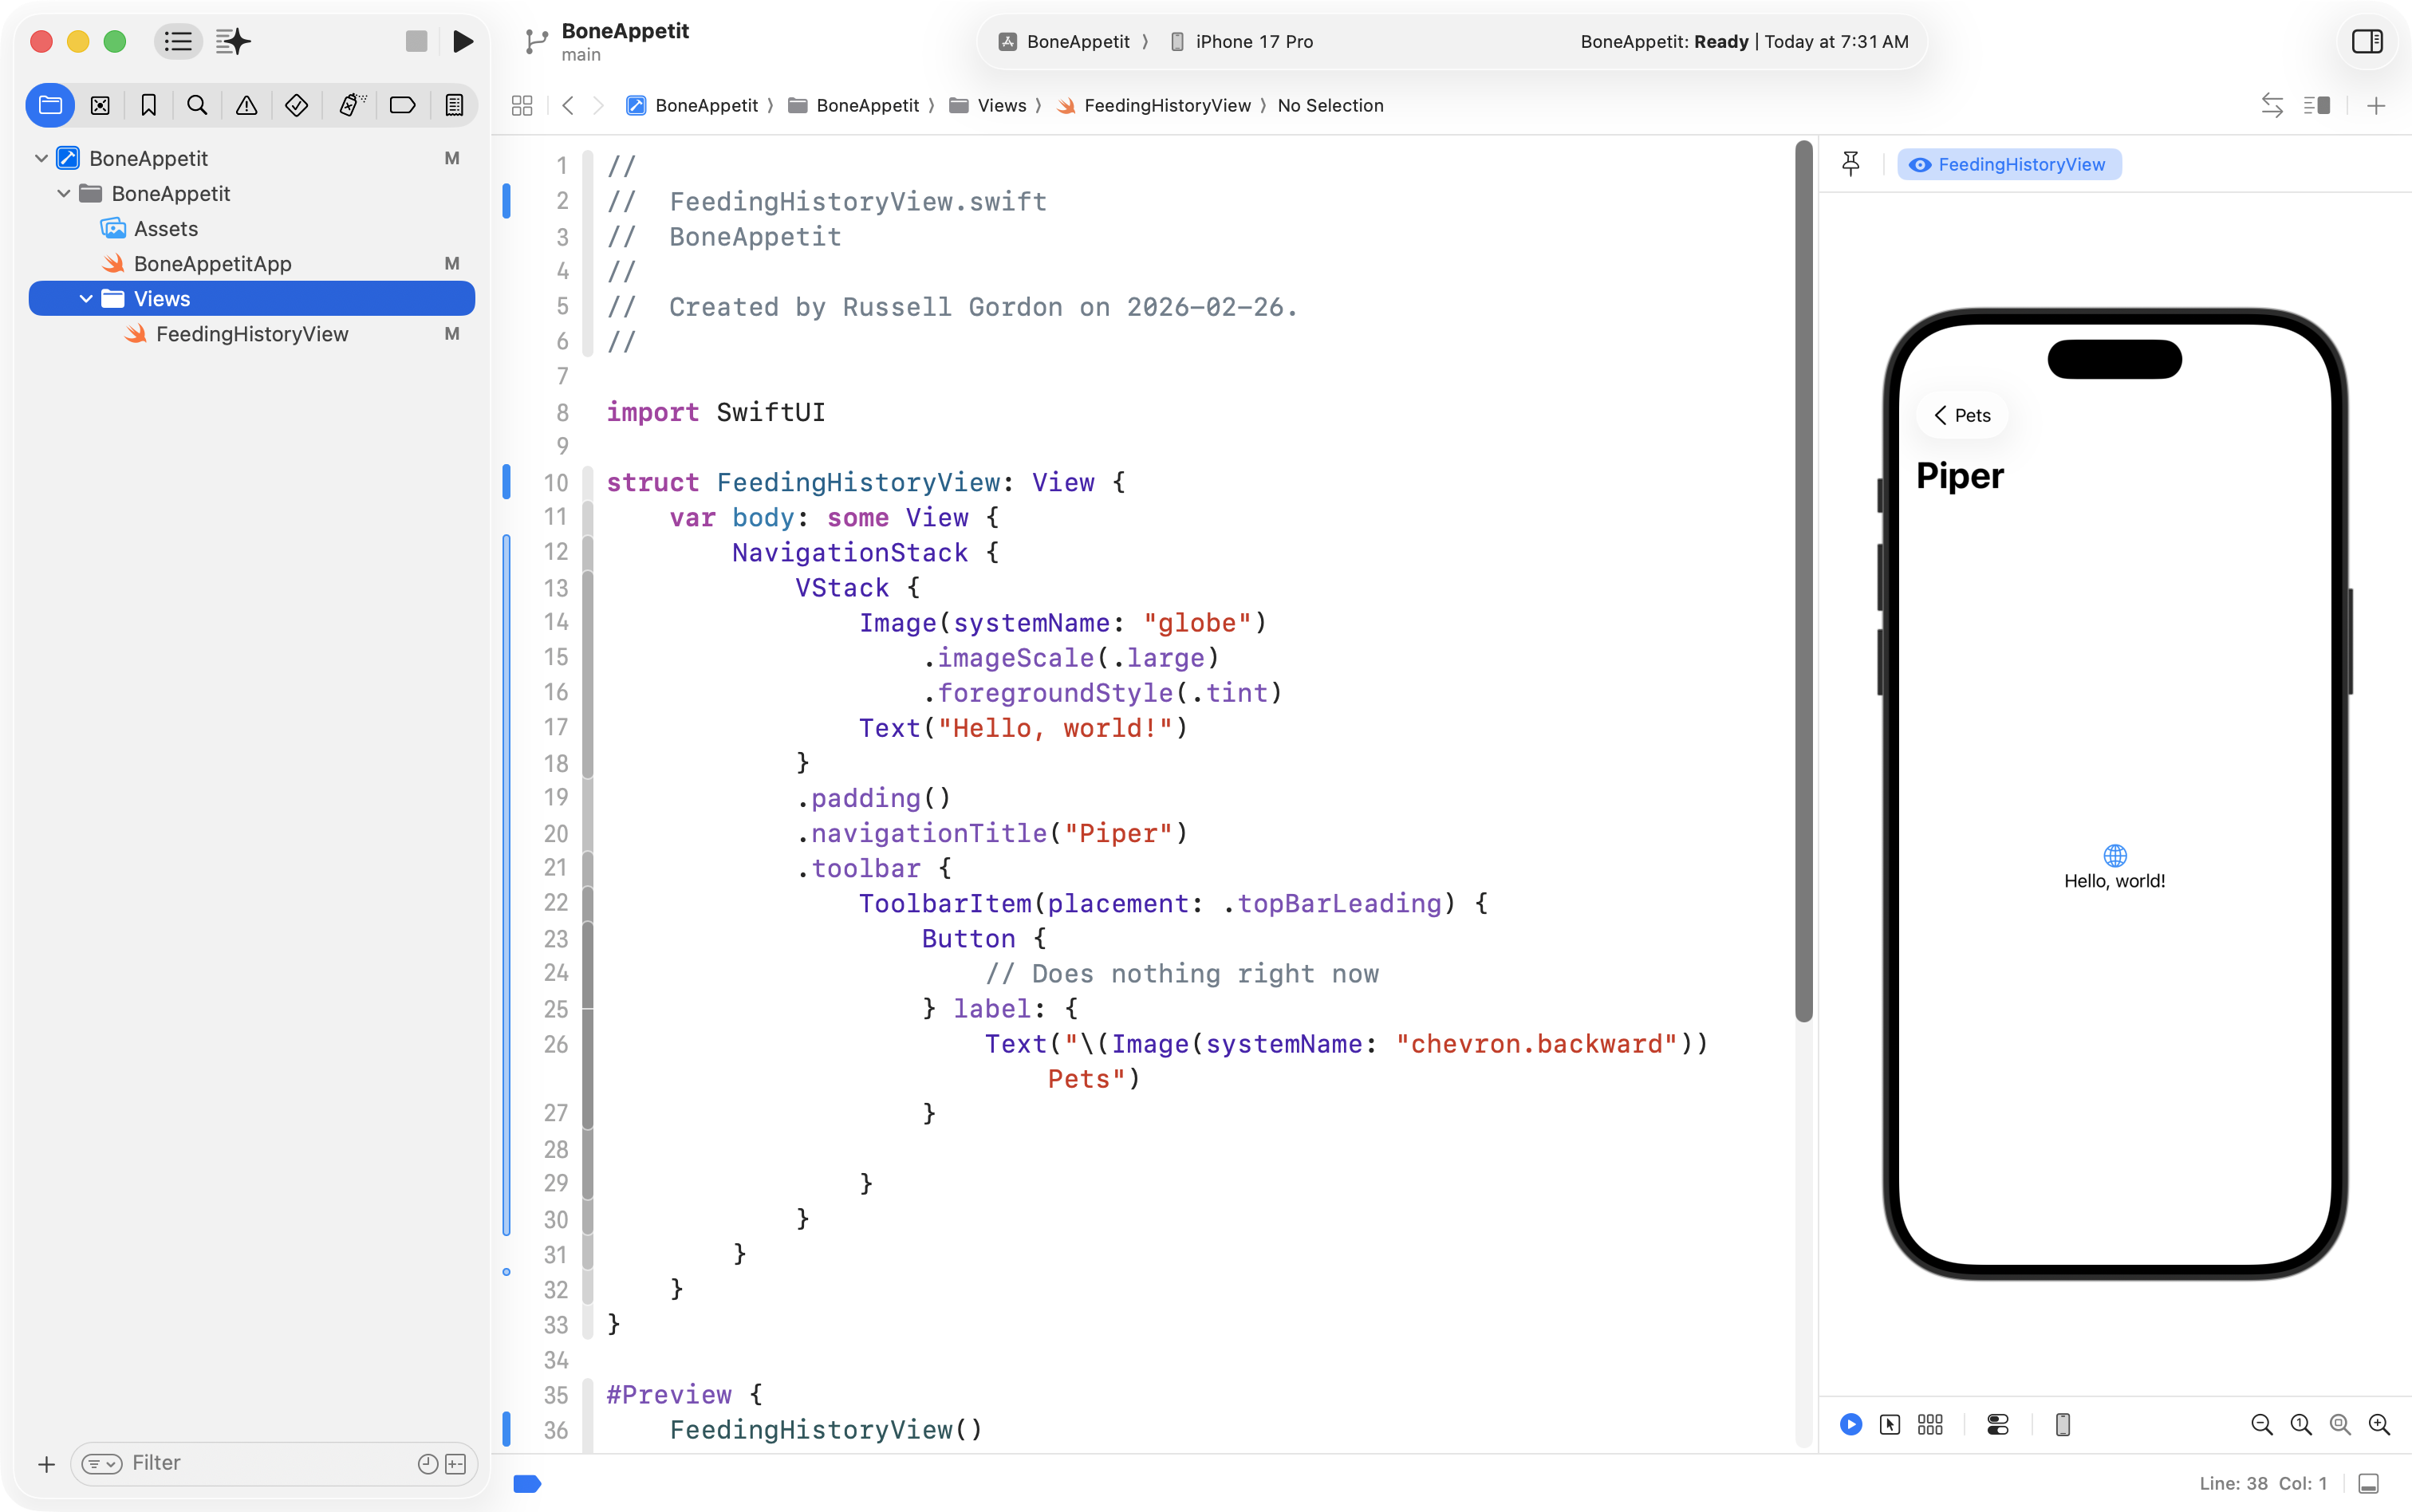
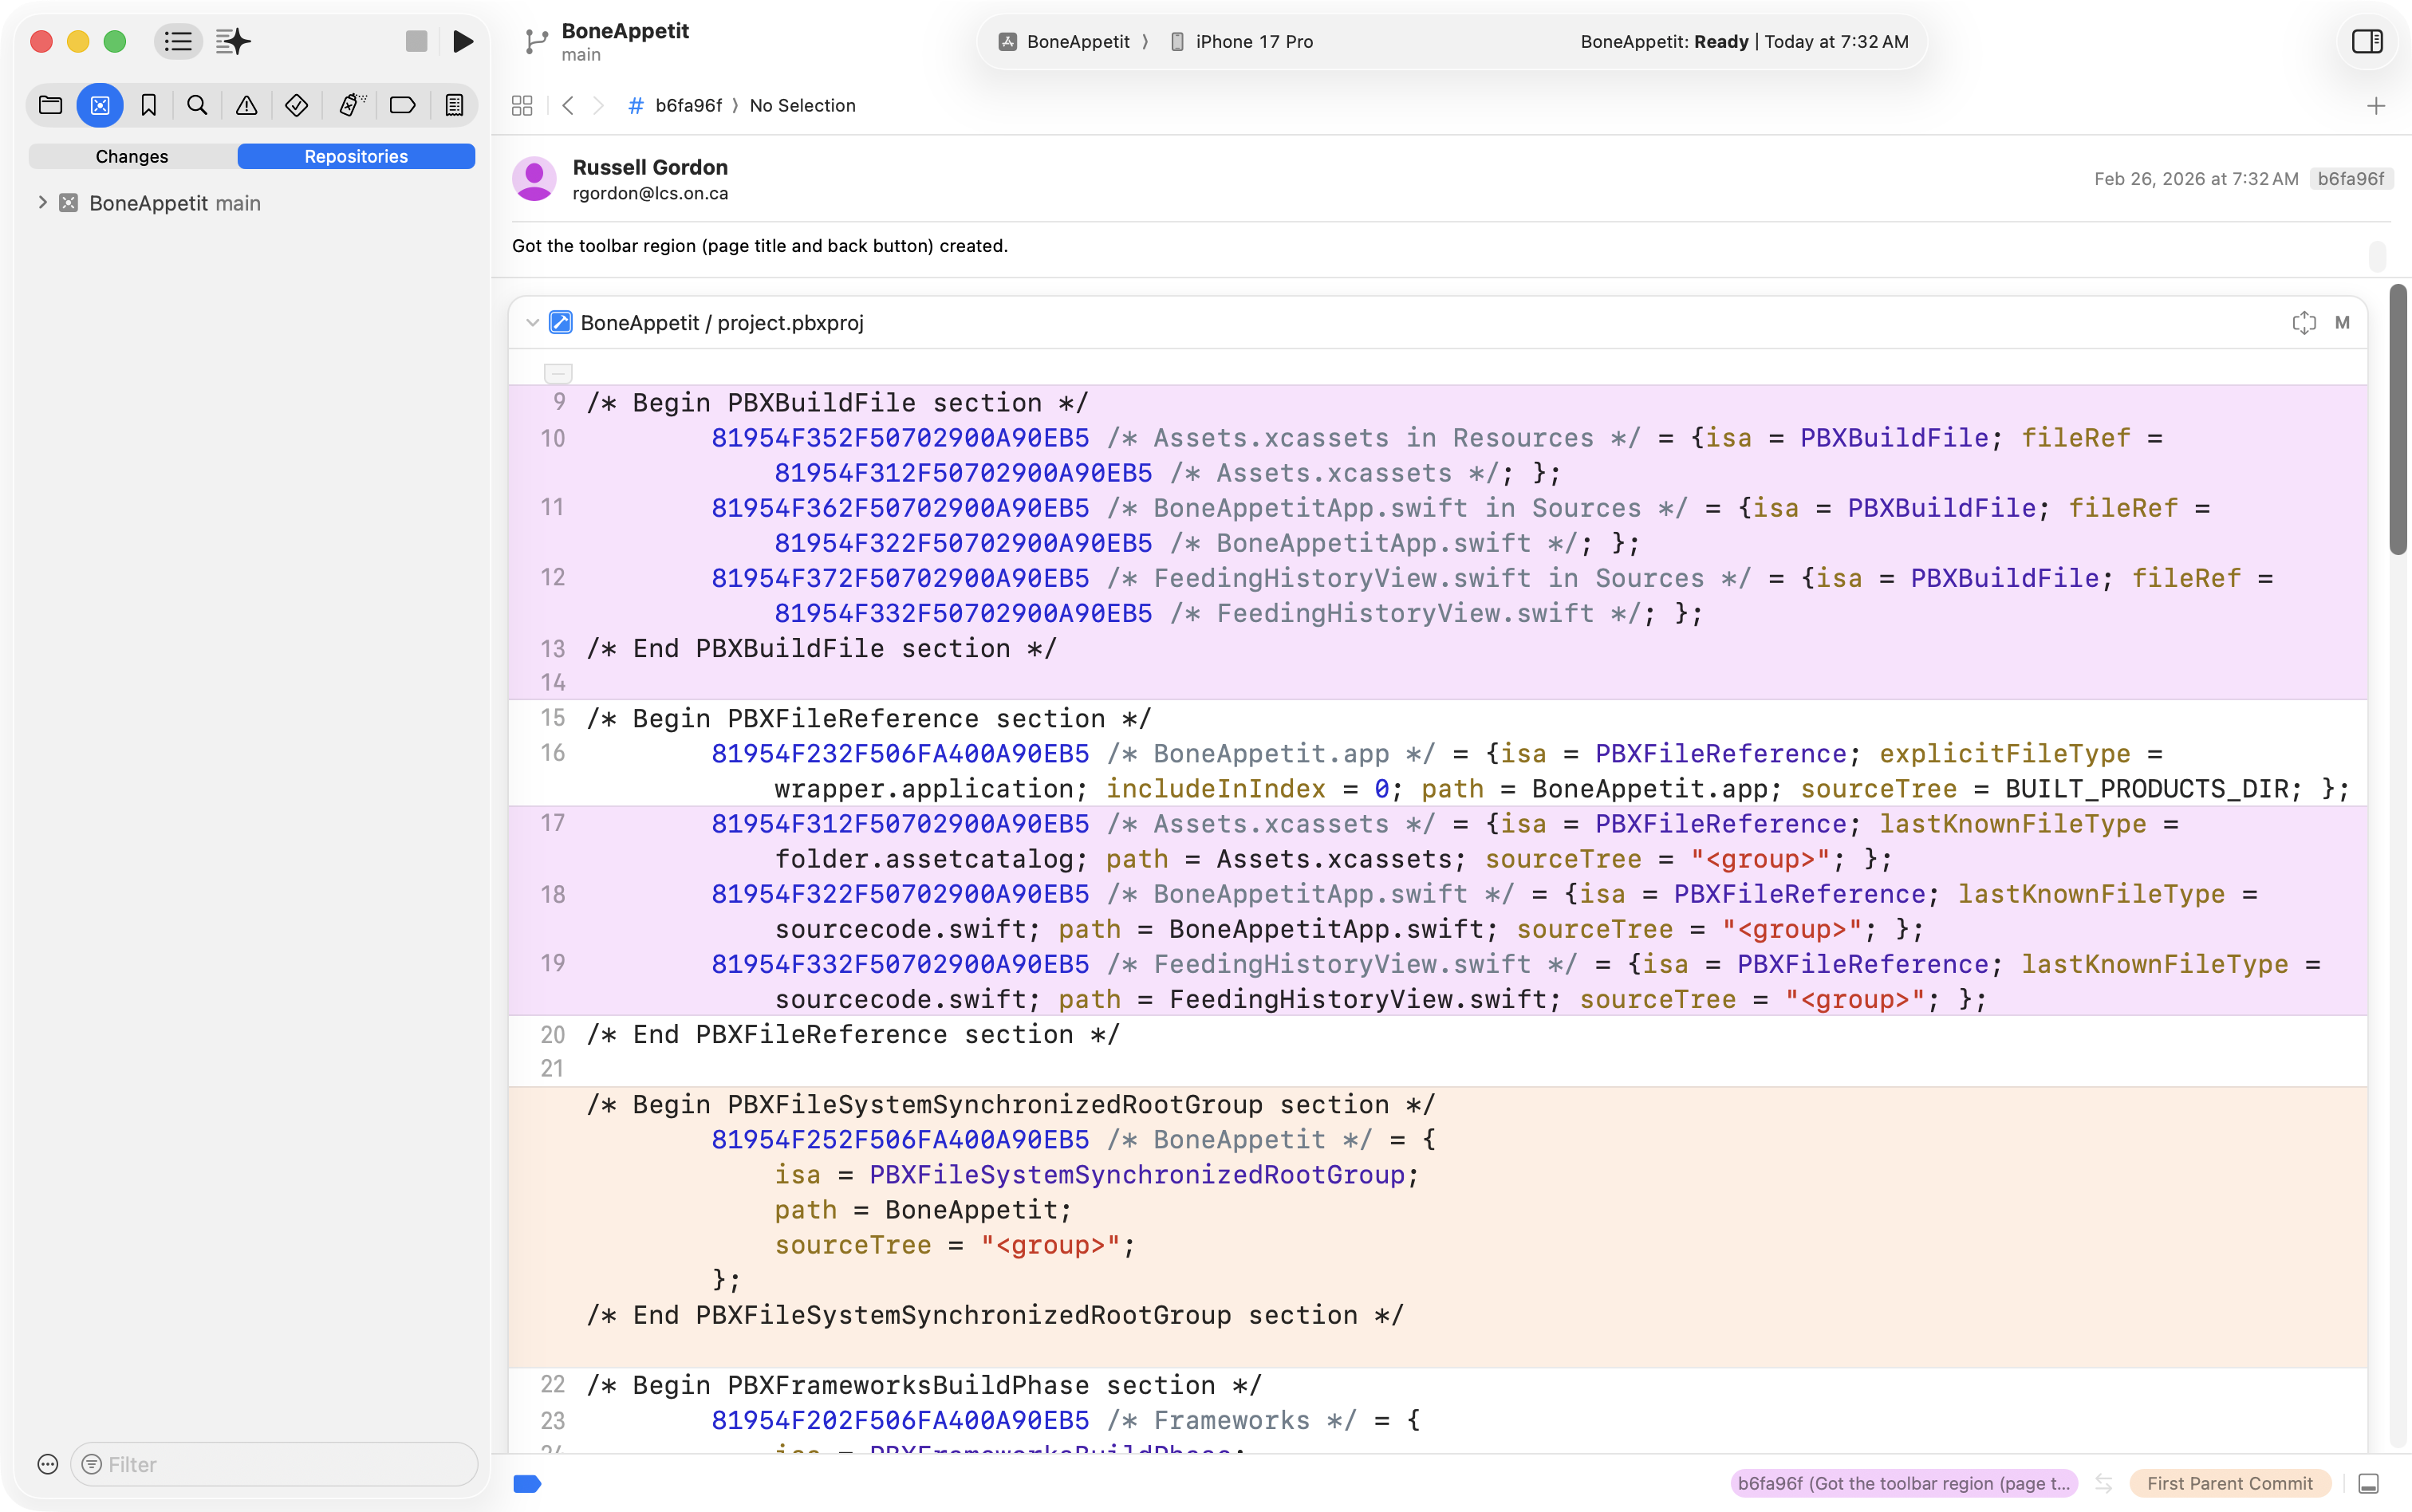
This may not look like much, but it’s a good start, so Mr. Gordon then committed his work using this commit message:
Got the toolbar region (page title and back button) created.
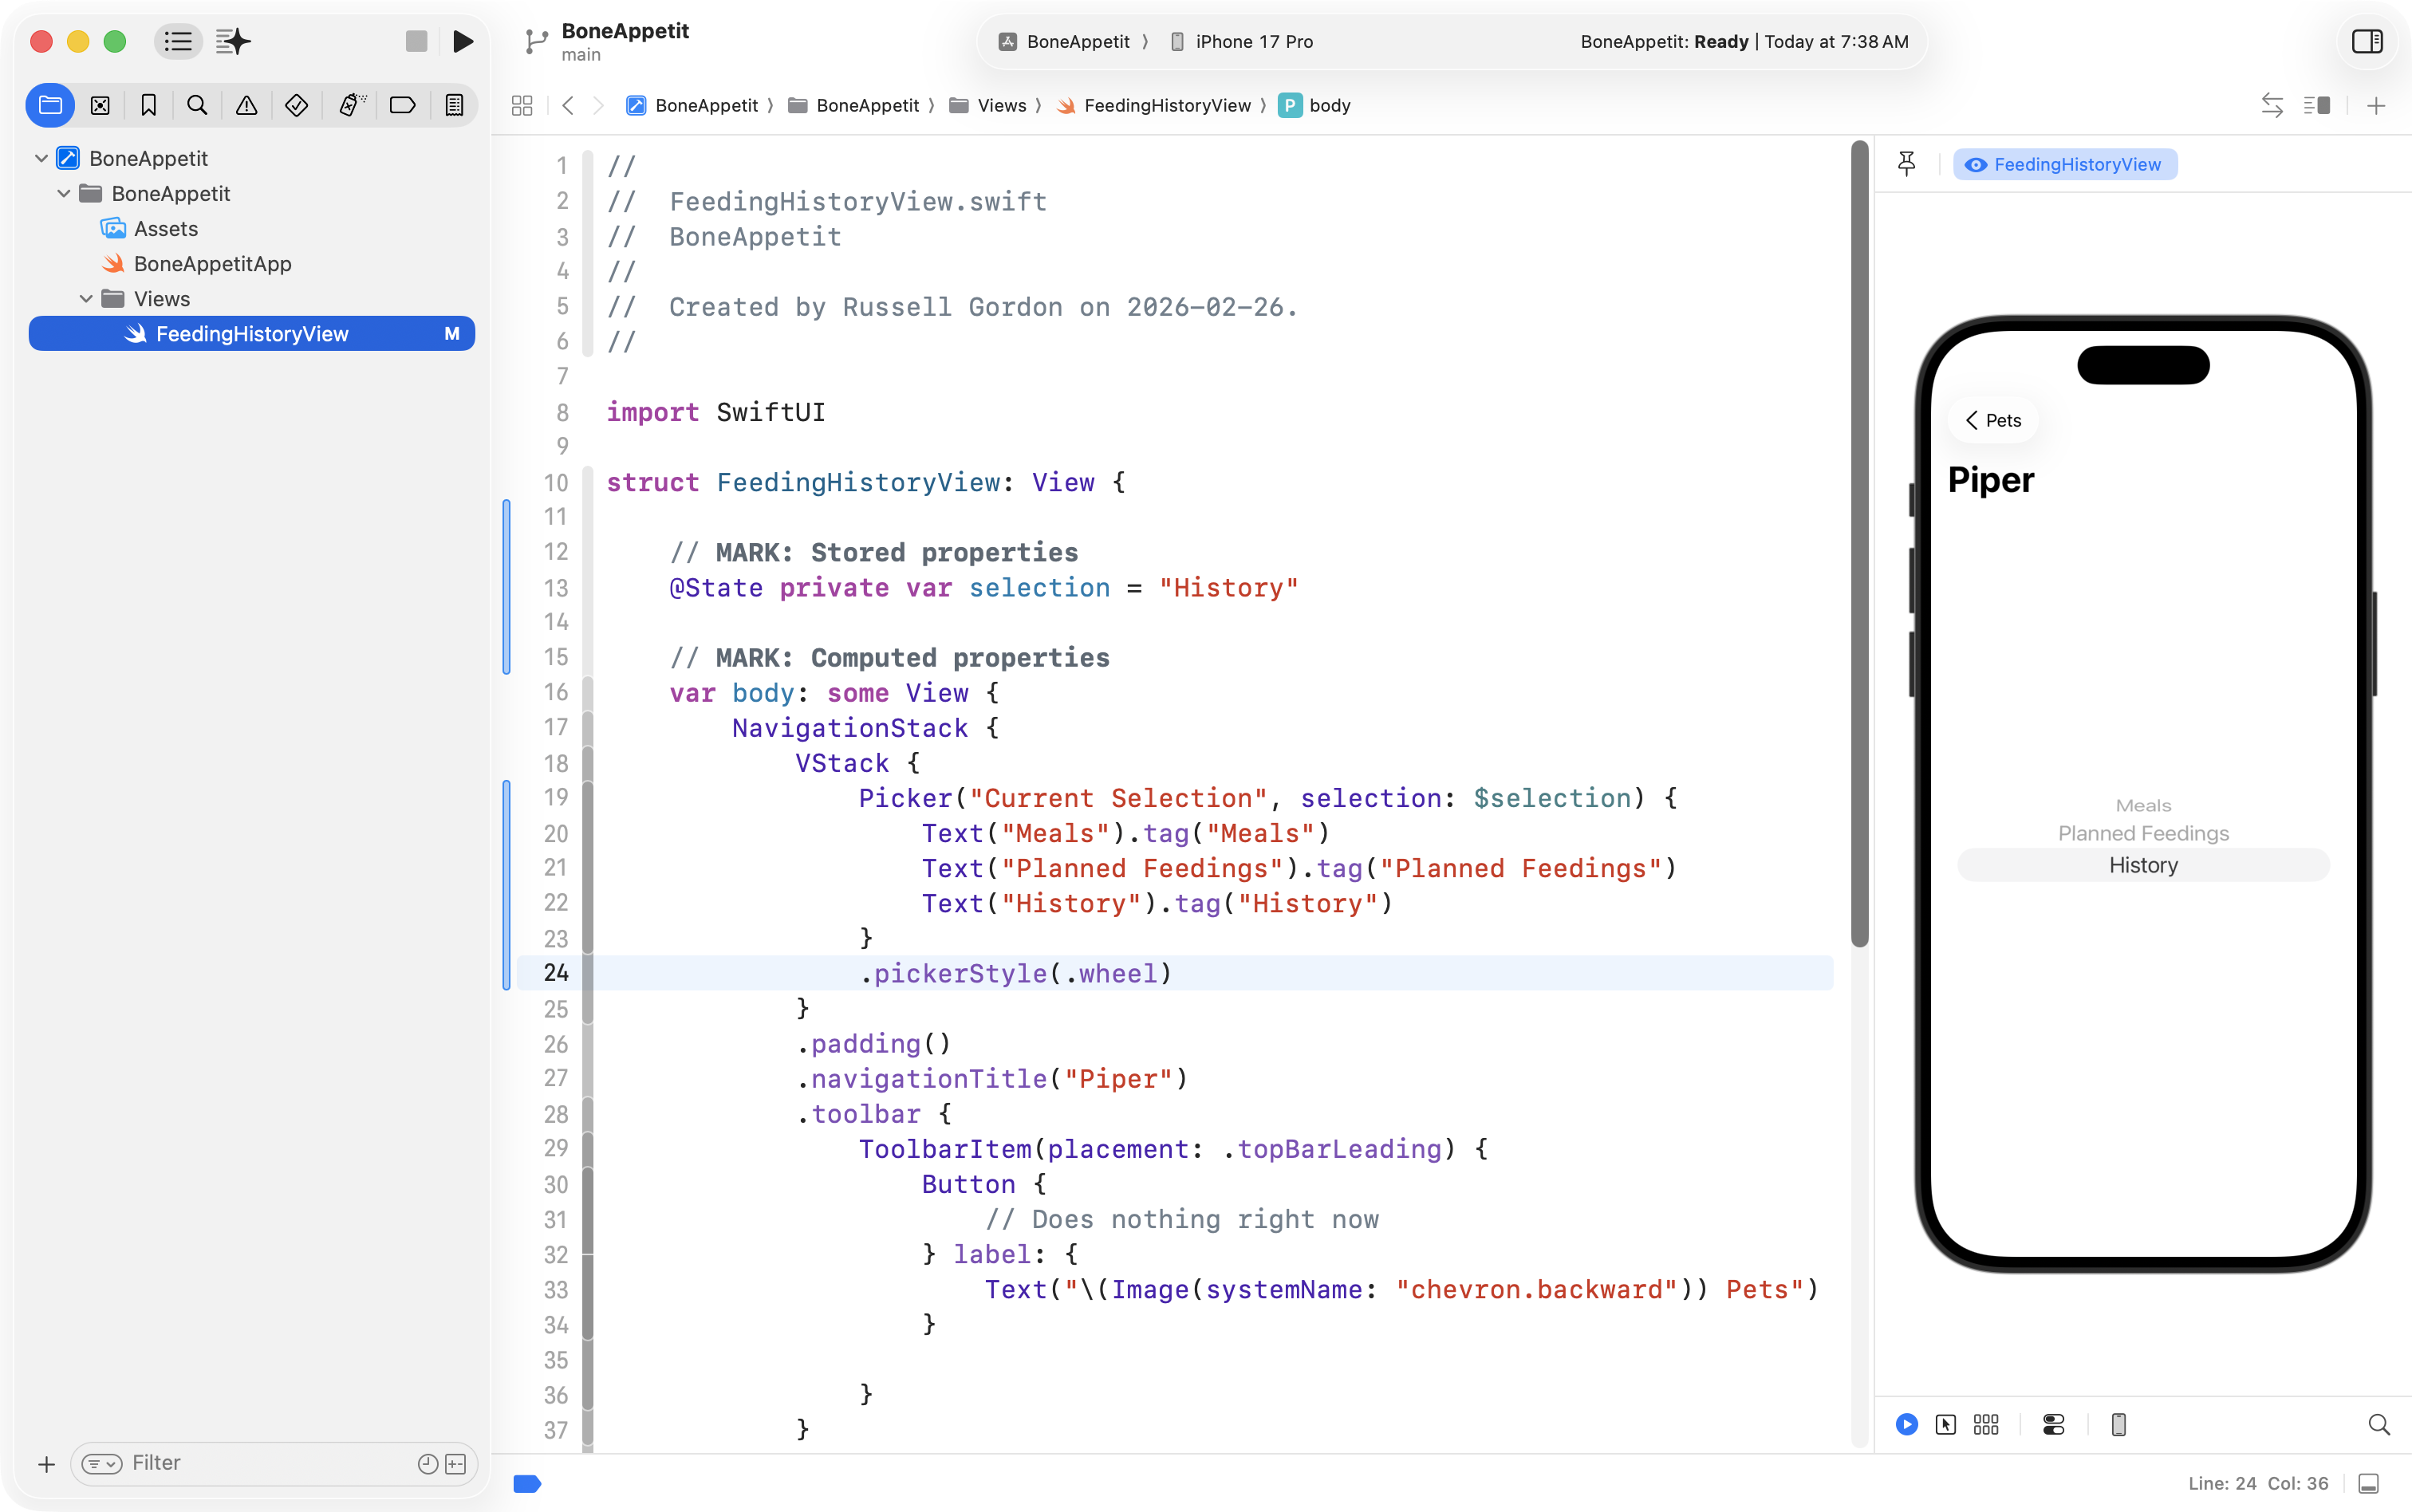
Picker
Mr. Gordon used SwiftUI Views Quick Start to look up the Picker control which allows for selections between different states:
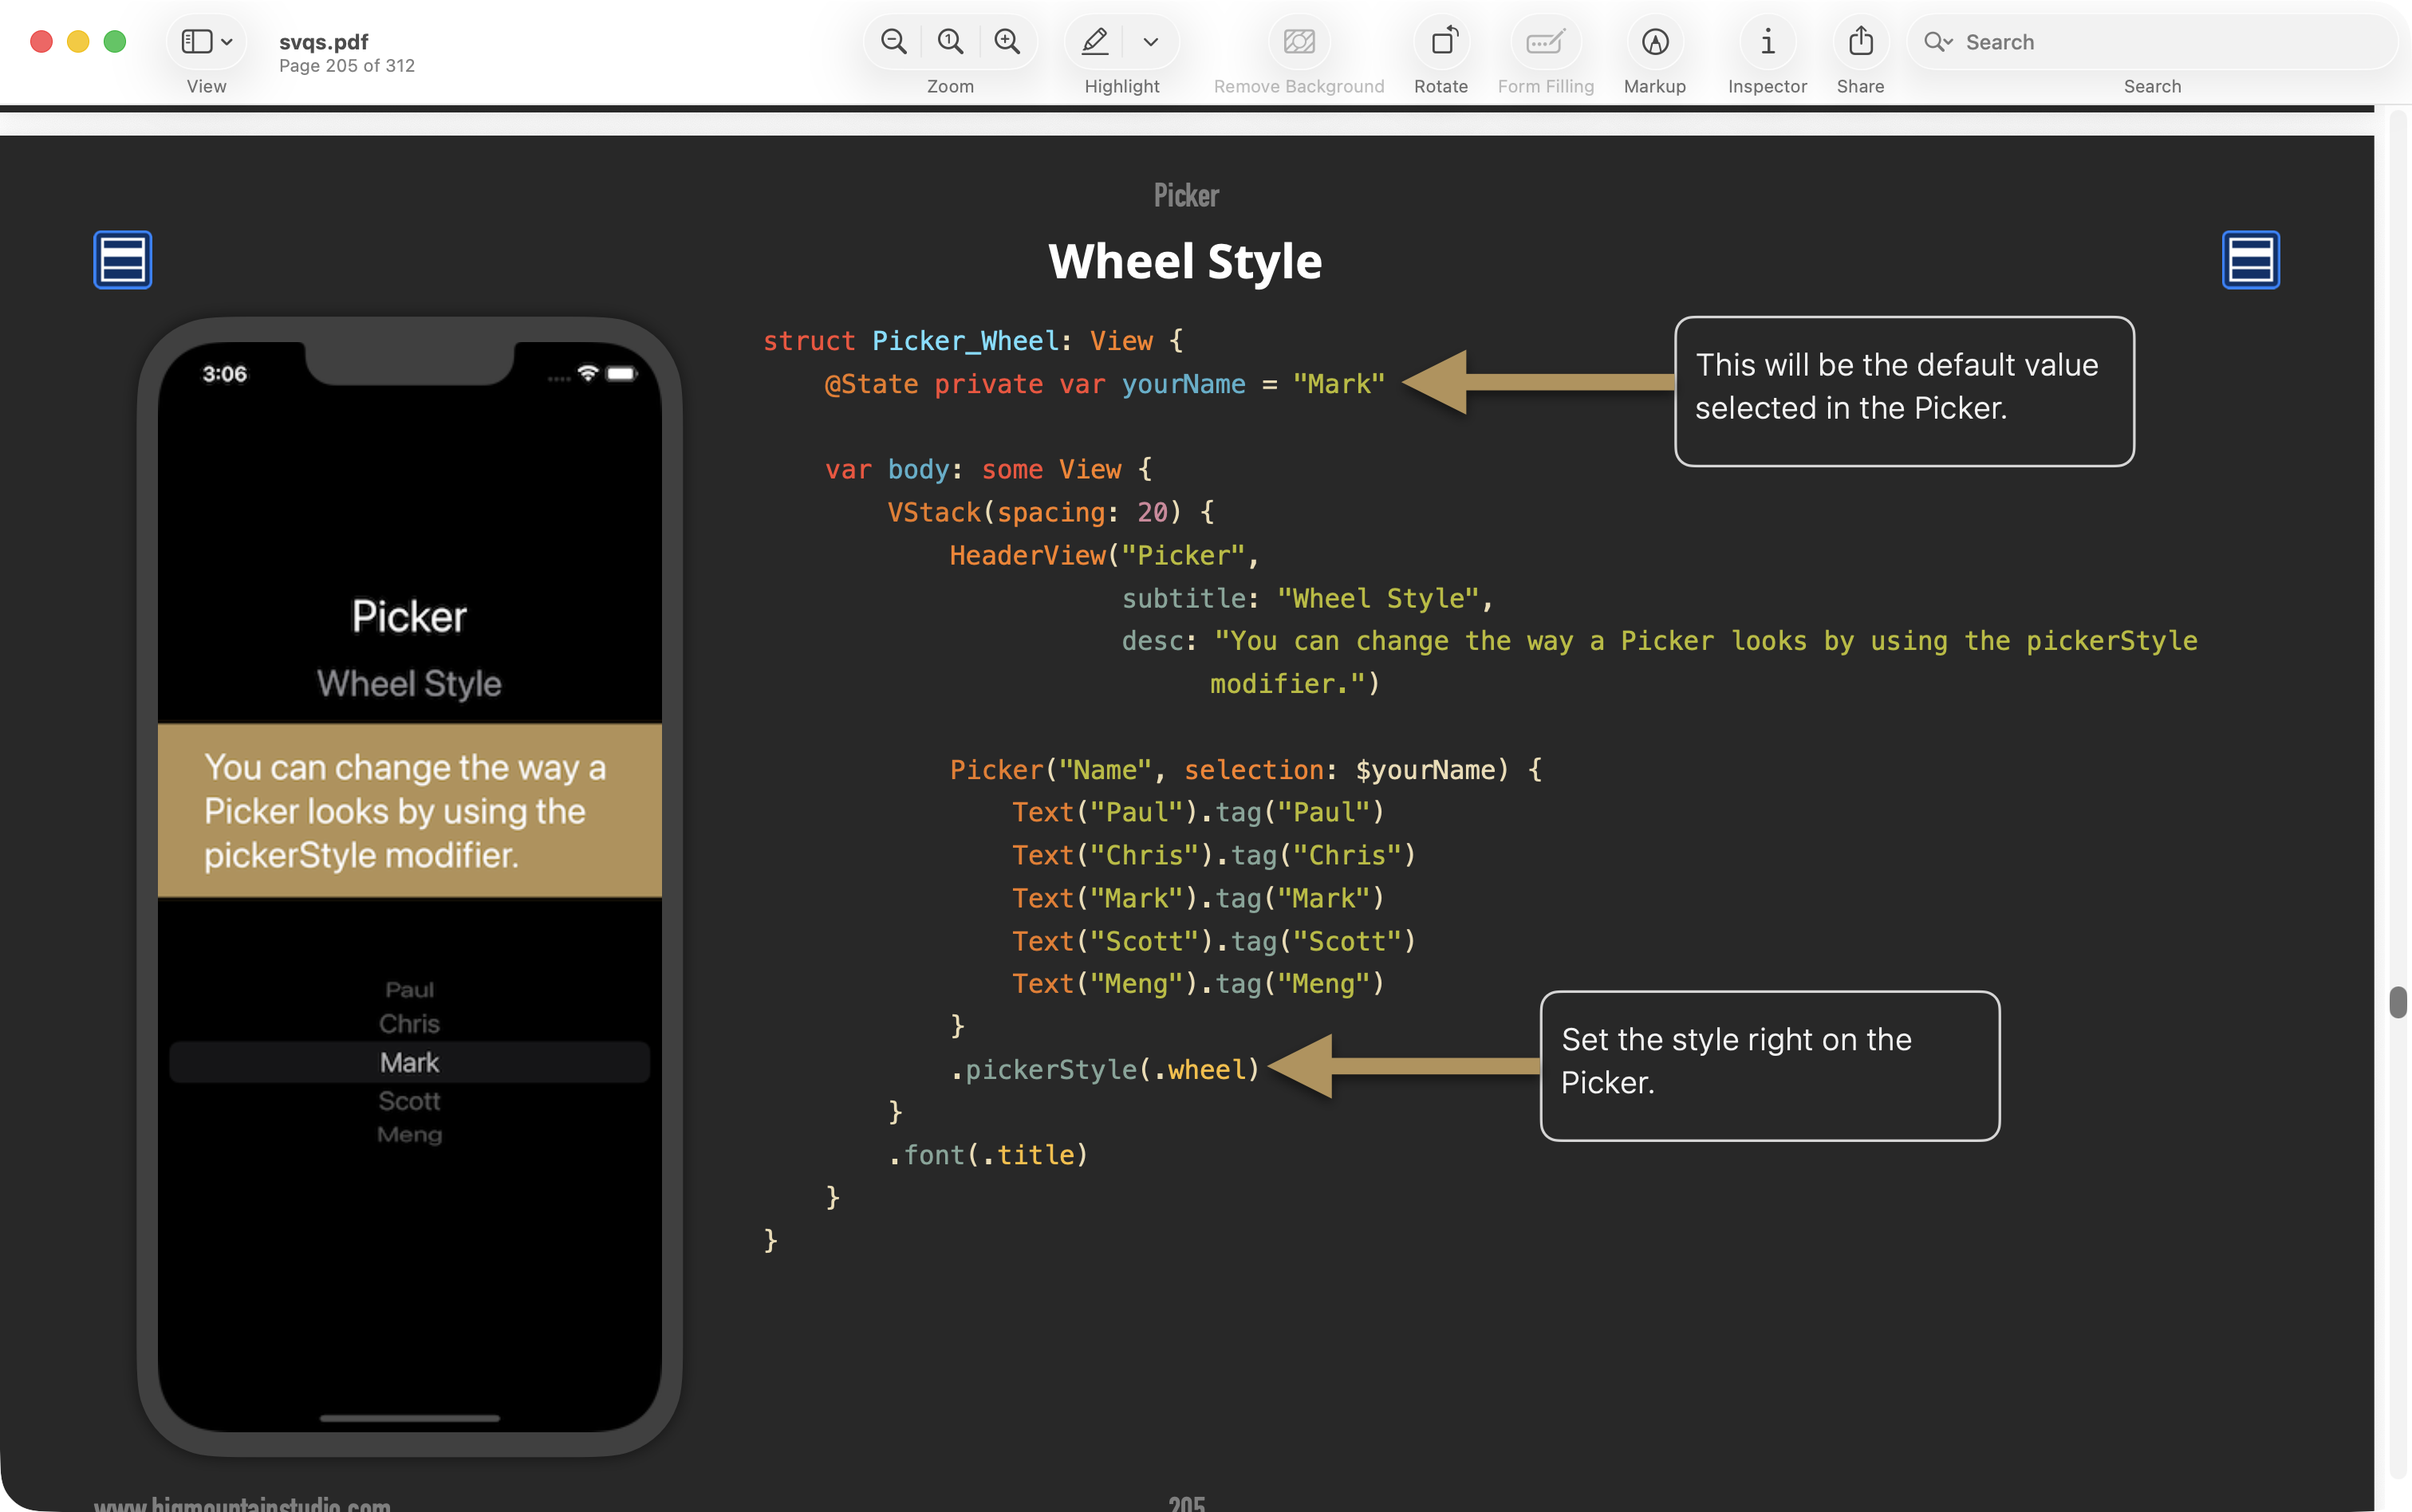
He got something similar working in his view:
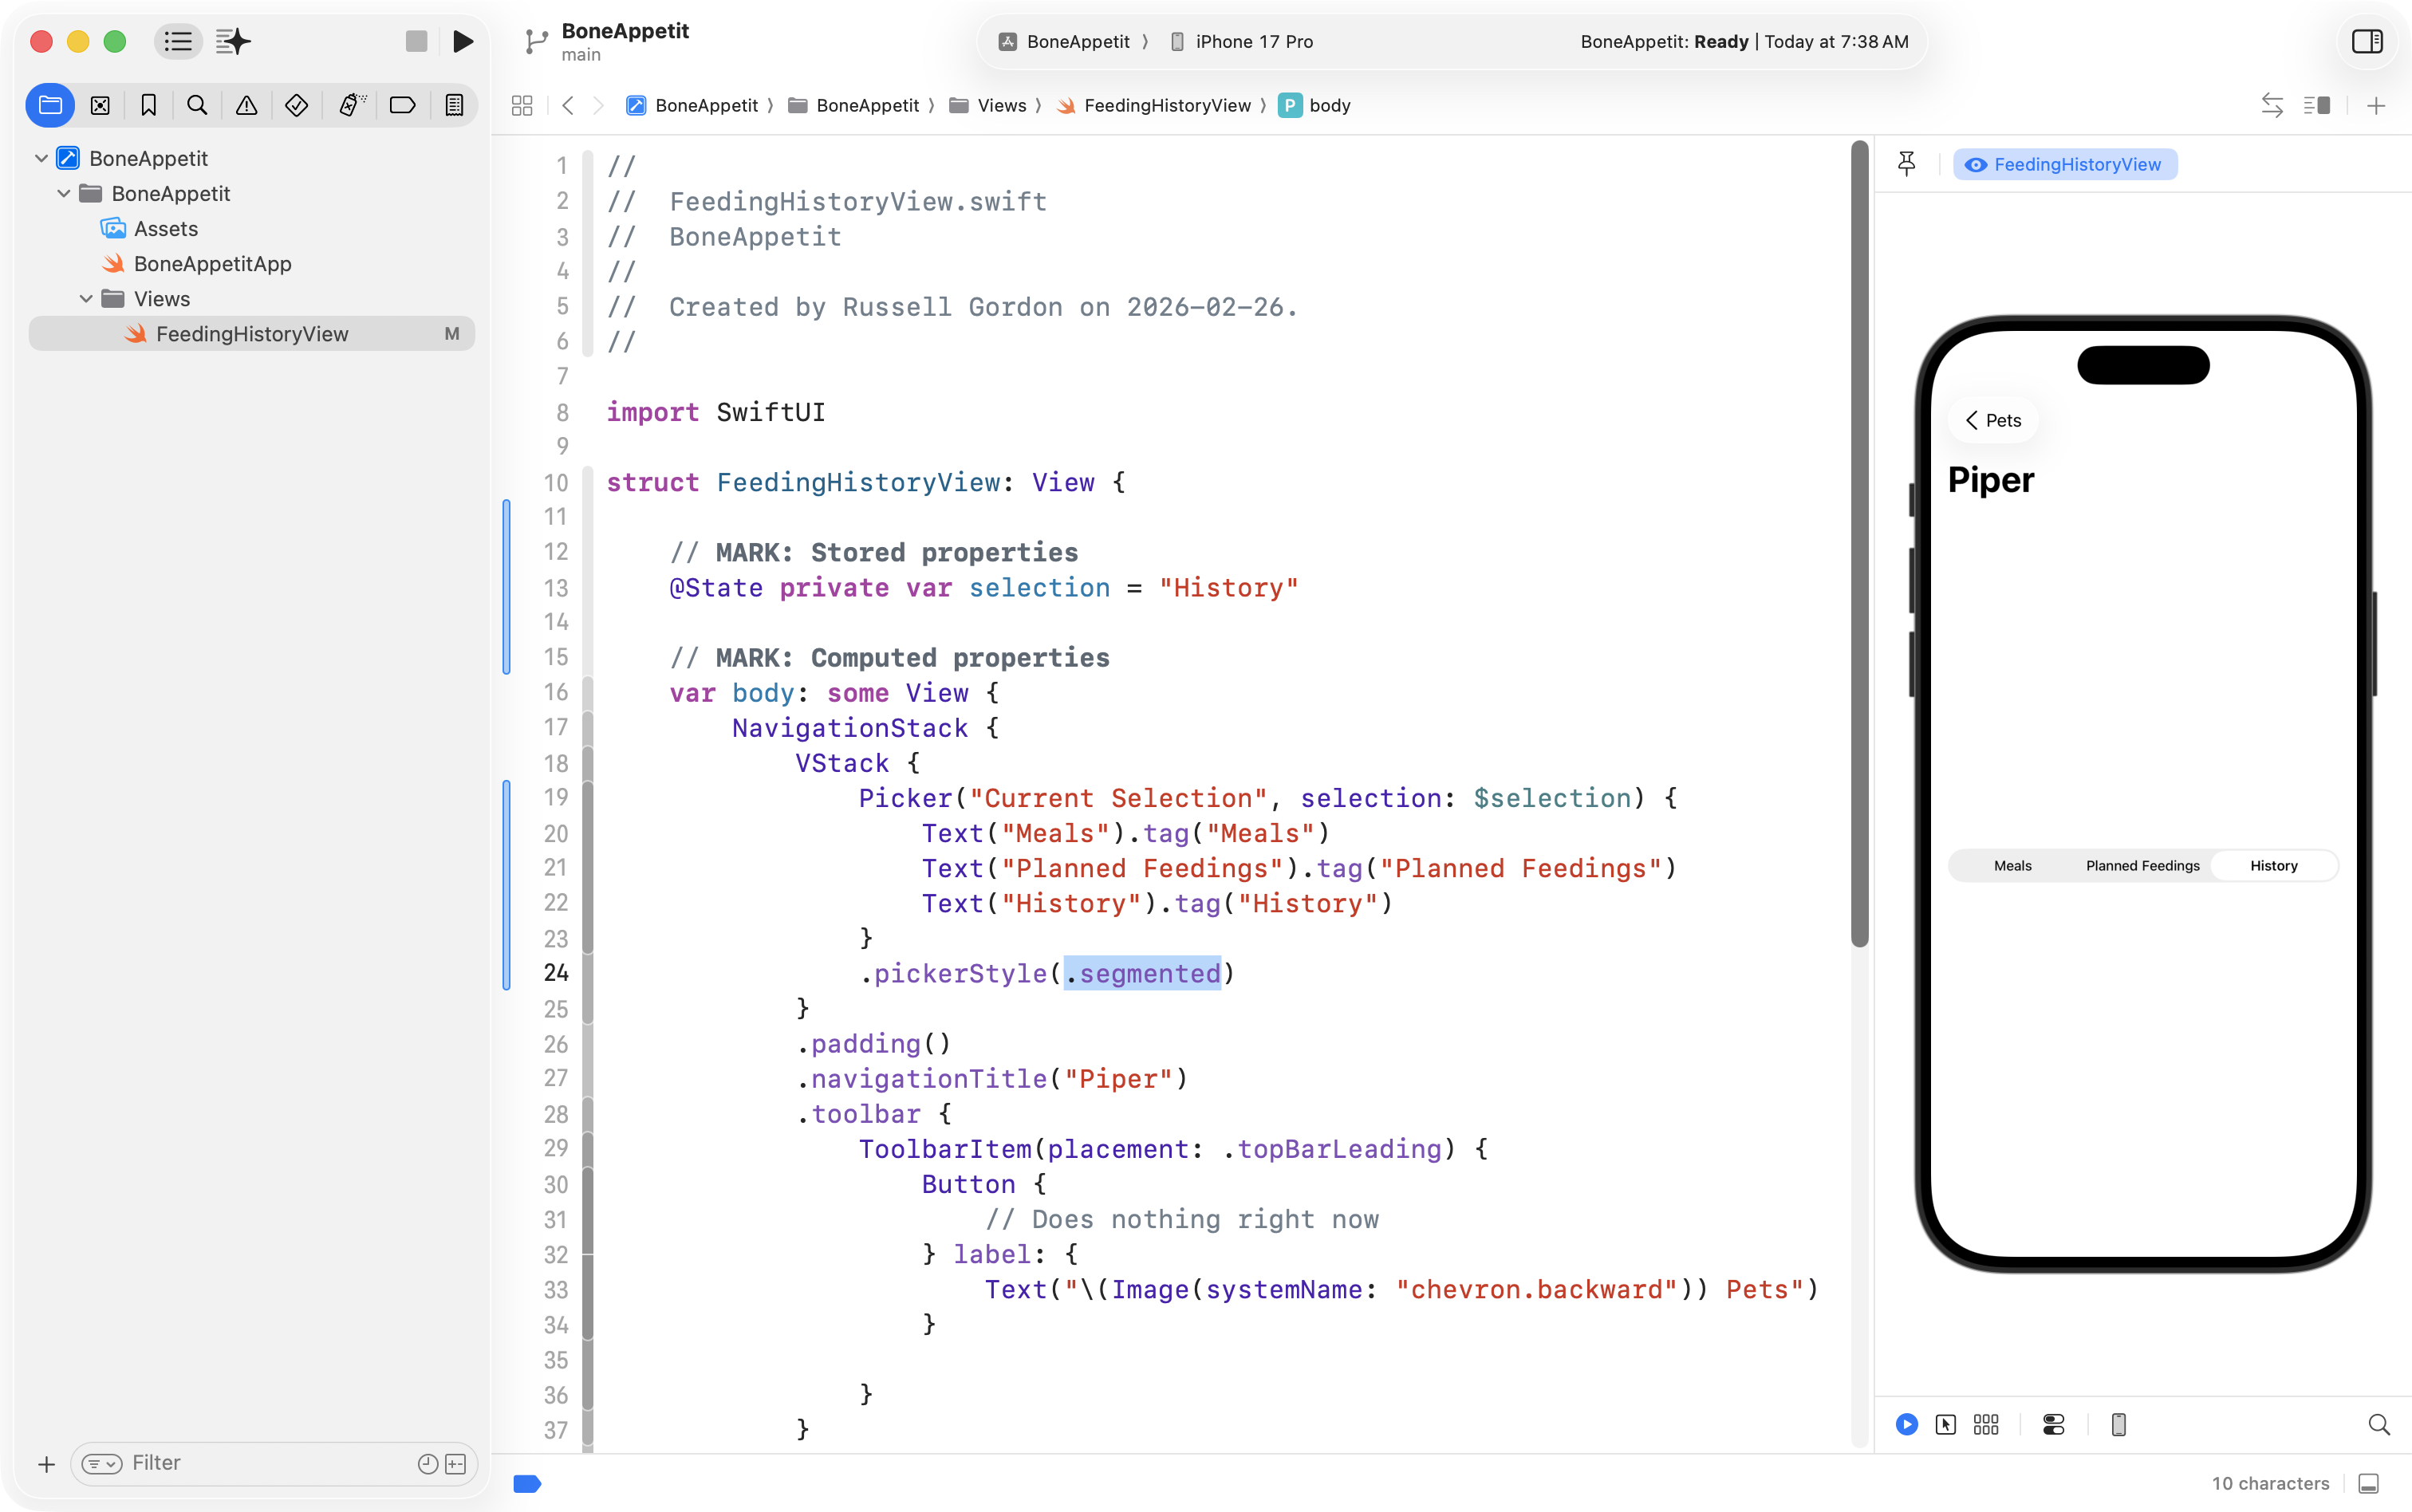
Then by experimenting with picker styles, he was able to obtain the segmented control he was looking for:
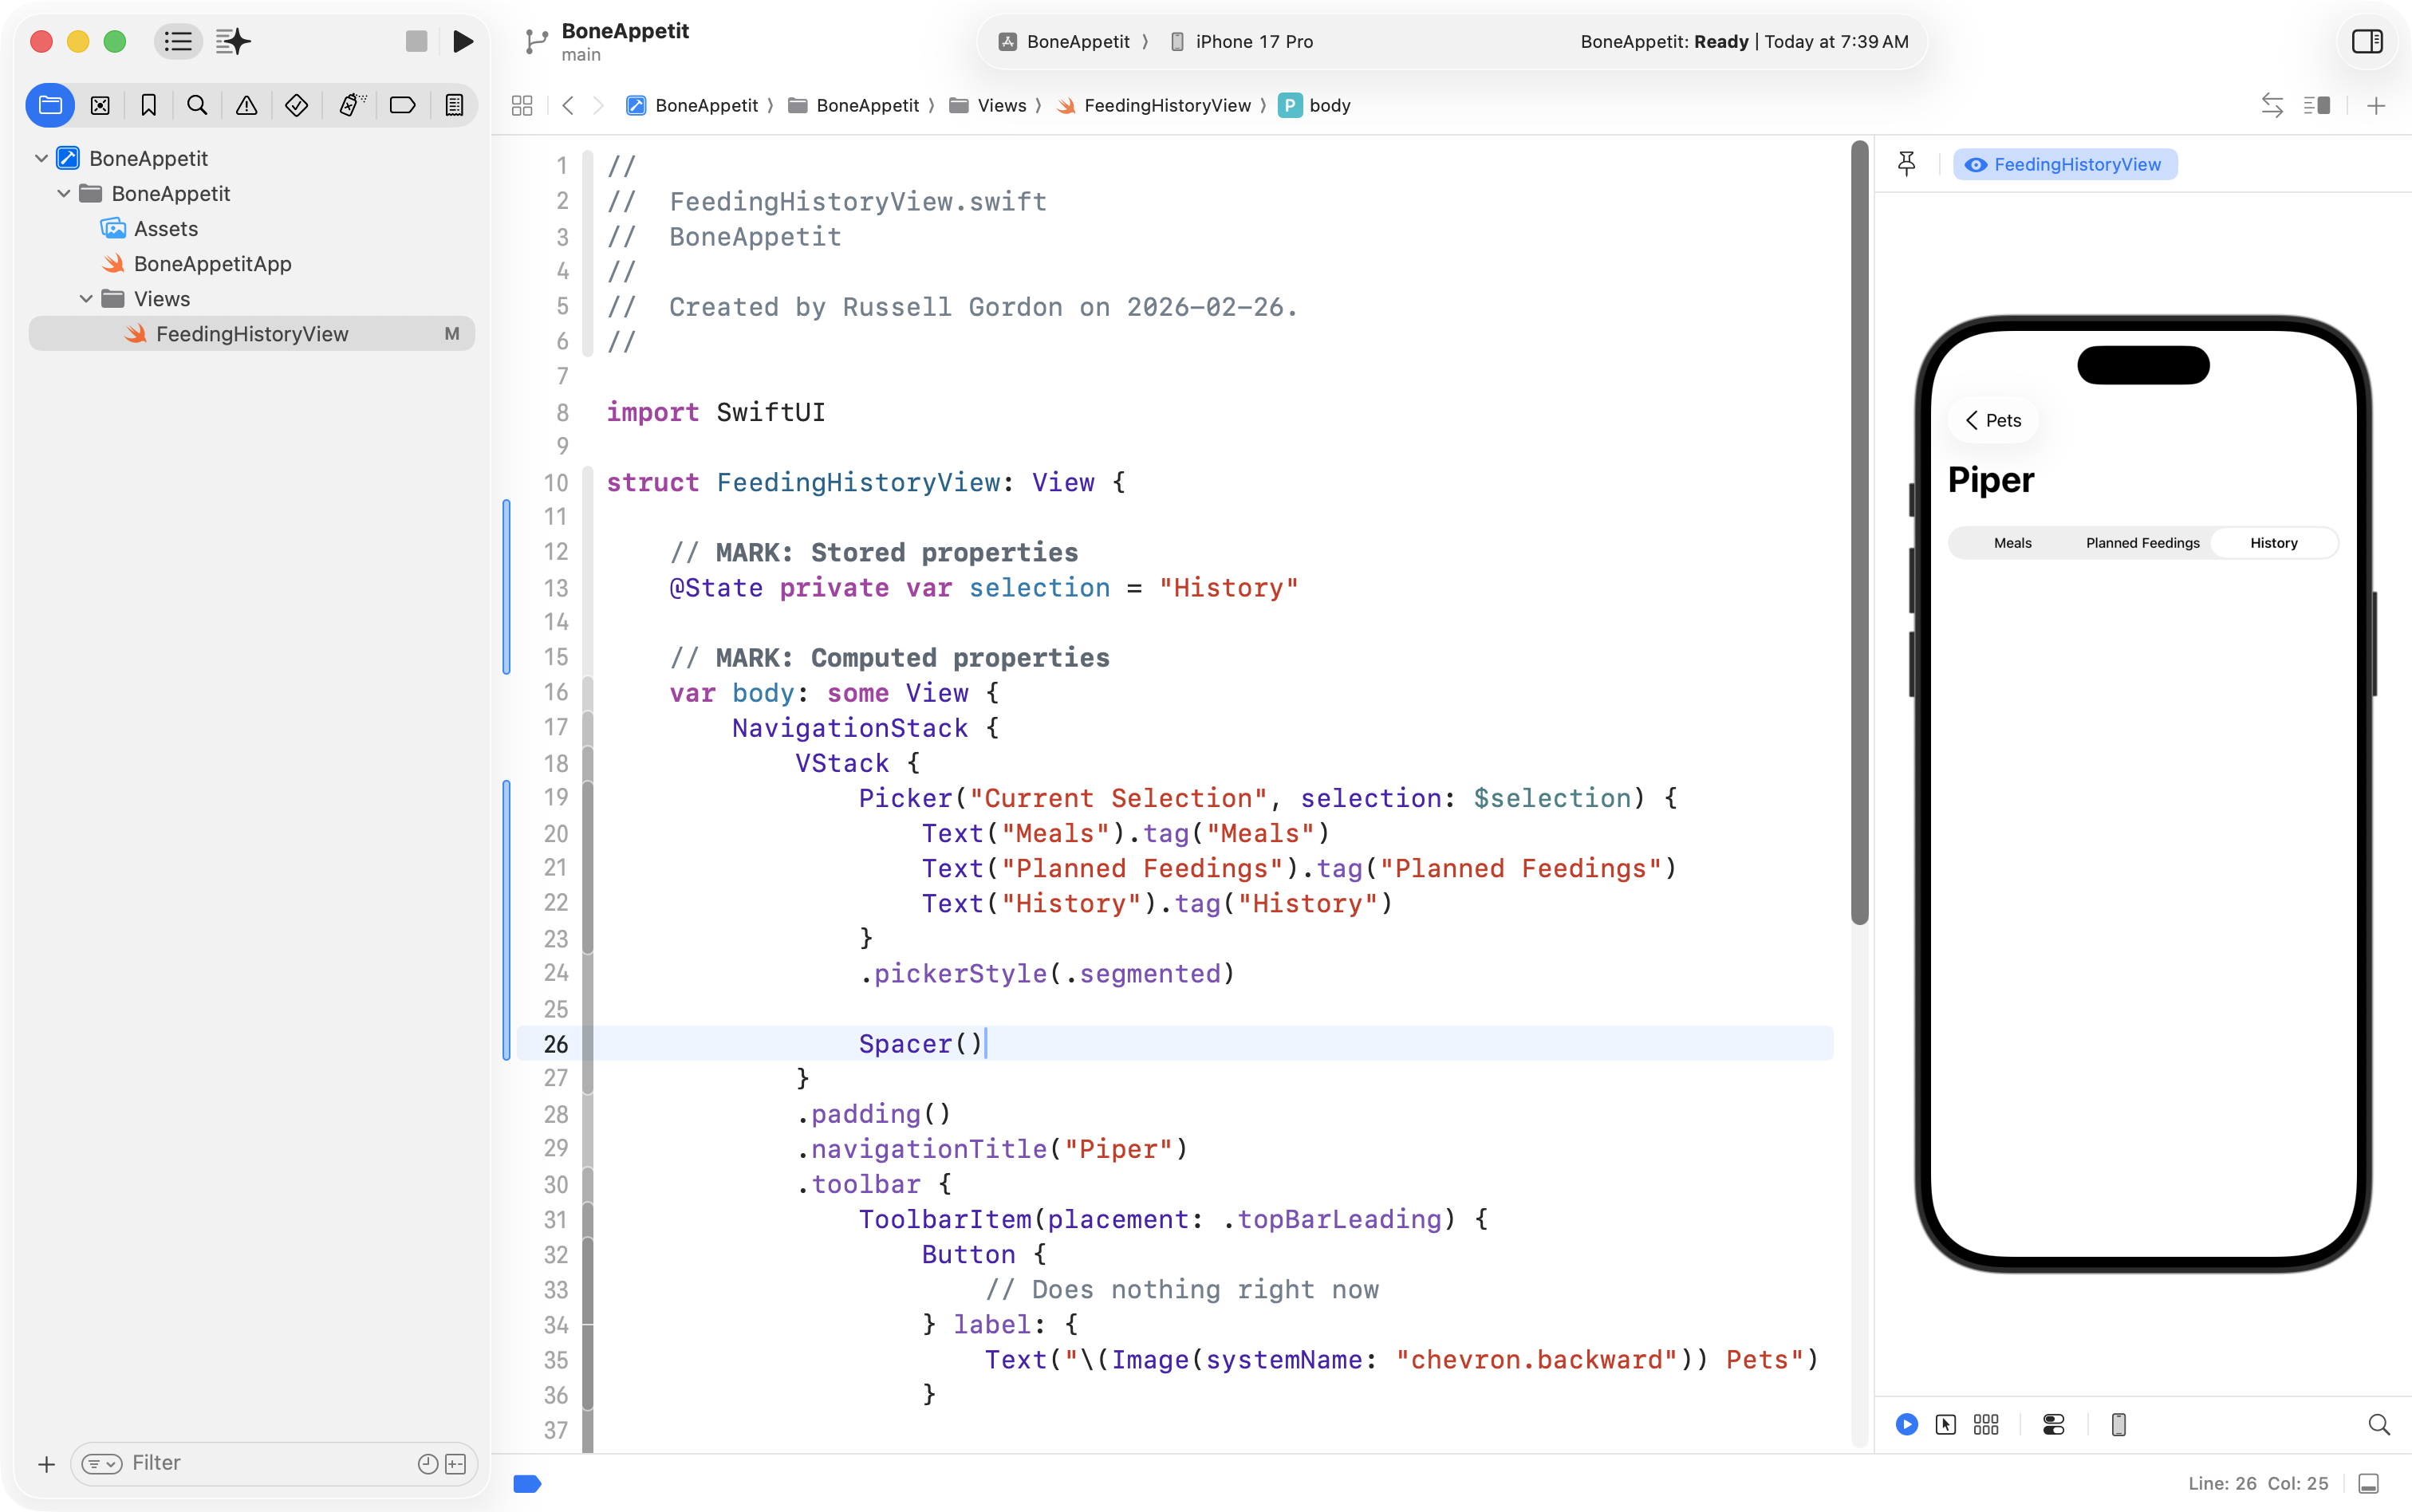
By adding a spacer, he was able to move the picker up to the top of the available space:
This was also good progress, so he committed and saved his work with this message:
Got the picker working! 🎉
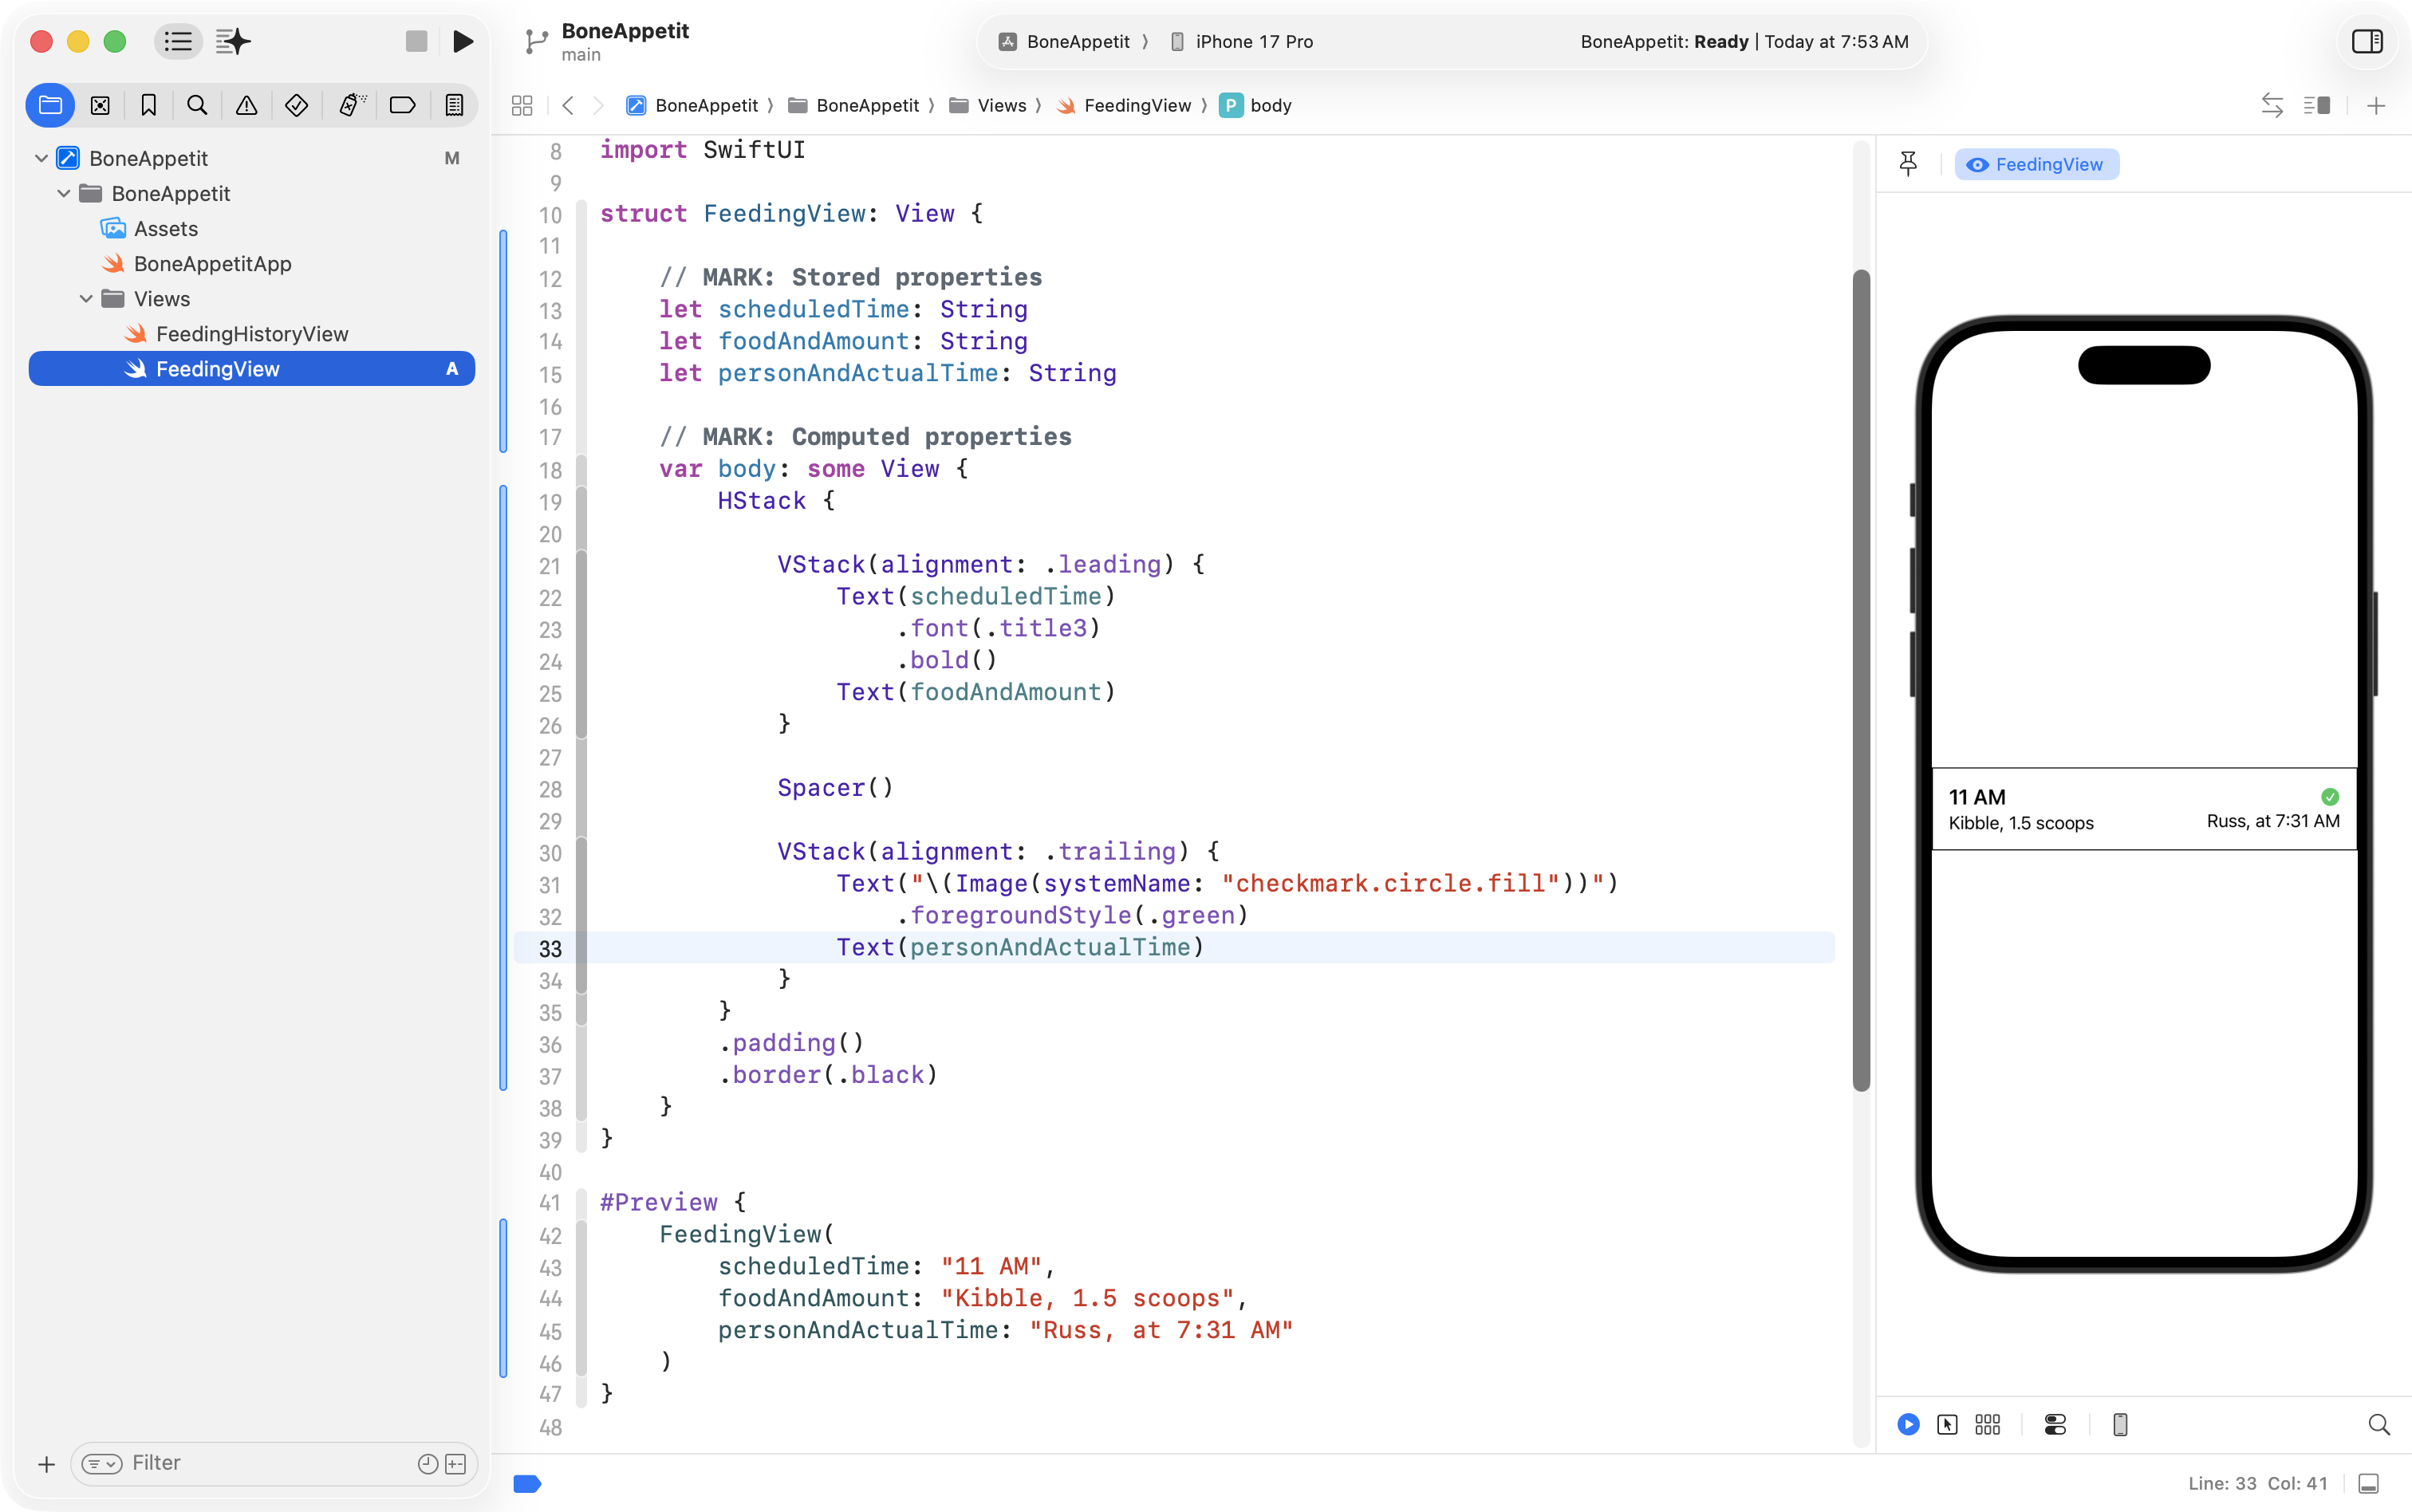
Feeding record
Now Mr. Gordon wanted to work on the main part of the interface that shows when a given feeding occurred.
So, he started with the outer HStack and just put four Text views inside it:
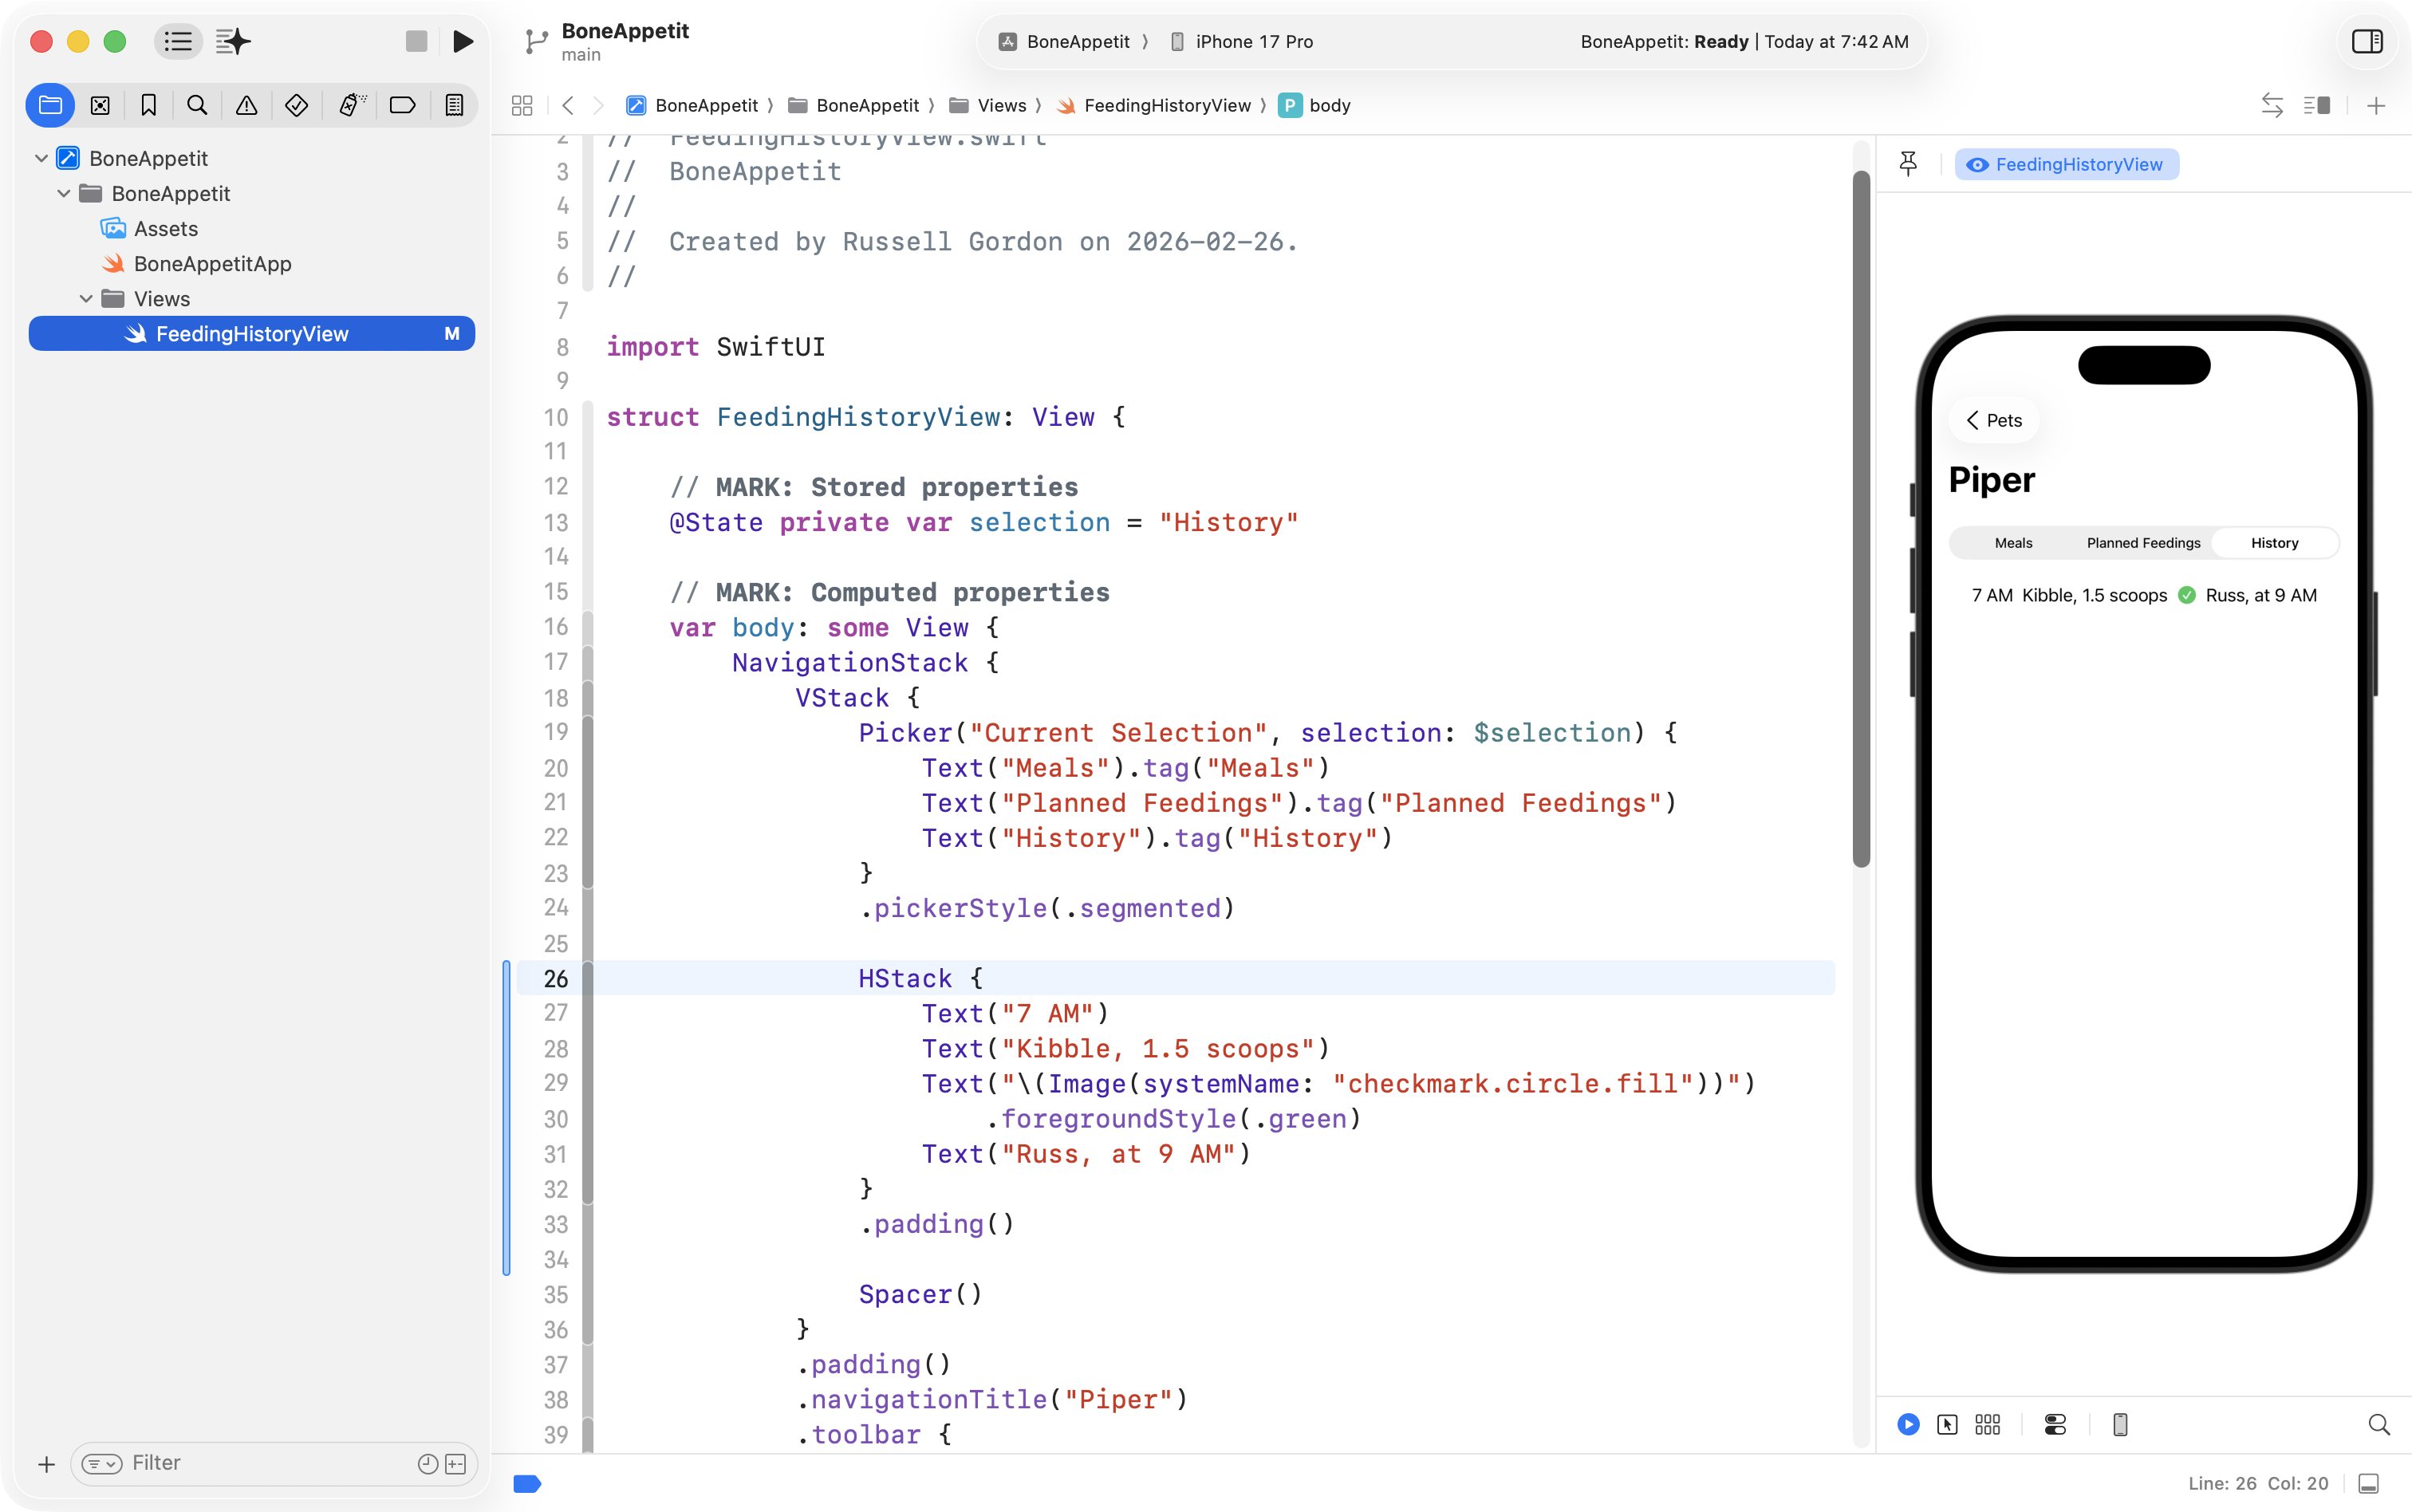
That’s a start, but not quite right. Next, he added used VStack in a couple of places to put some text on top of one another, as per his plan:
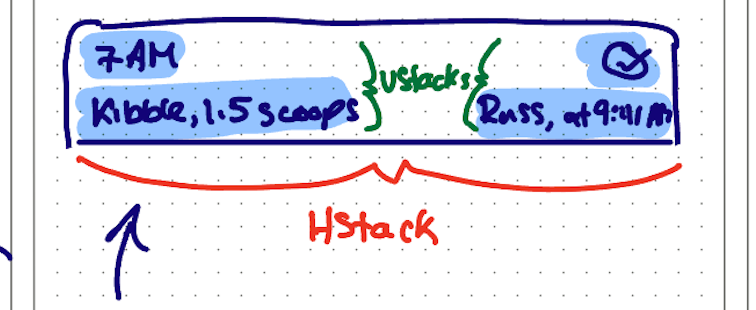
… like this:
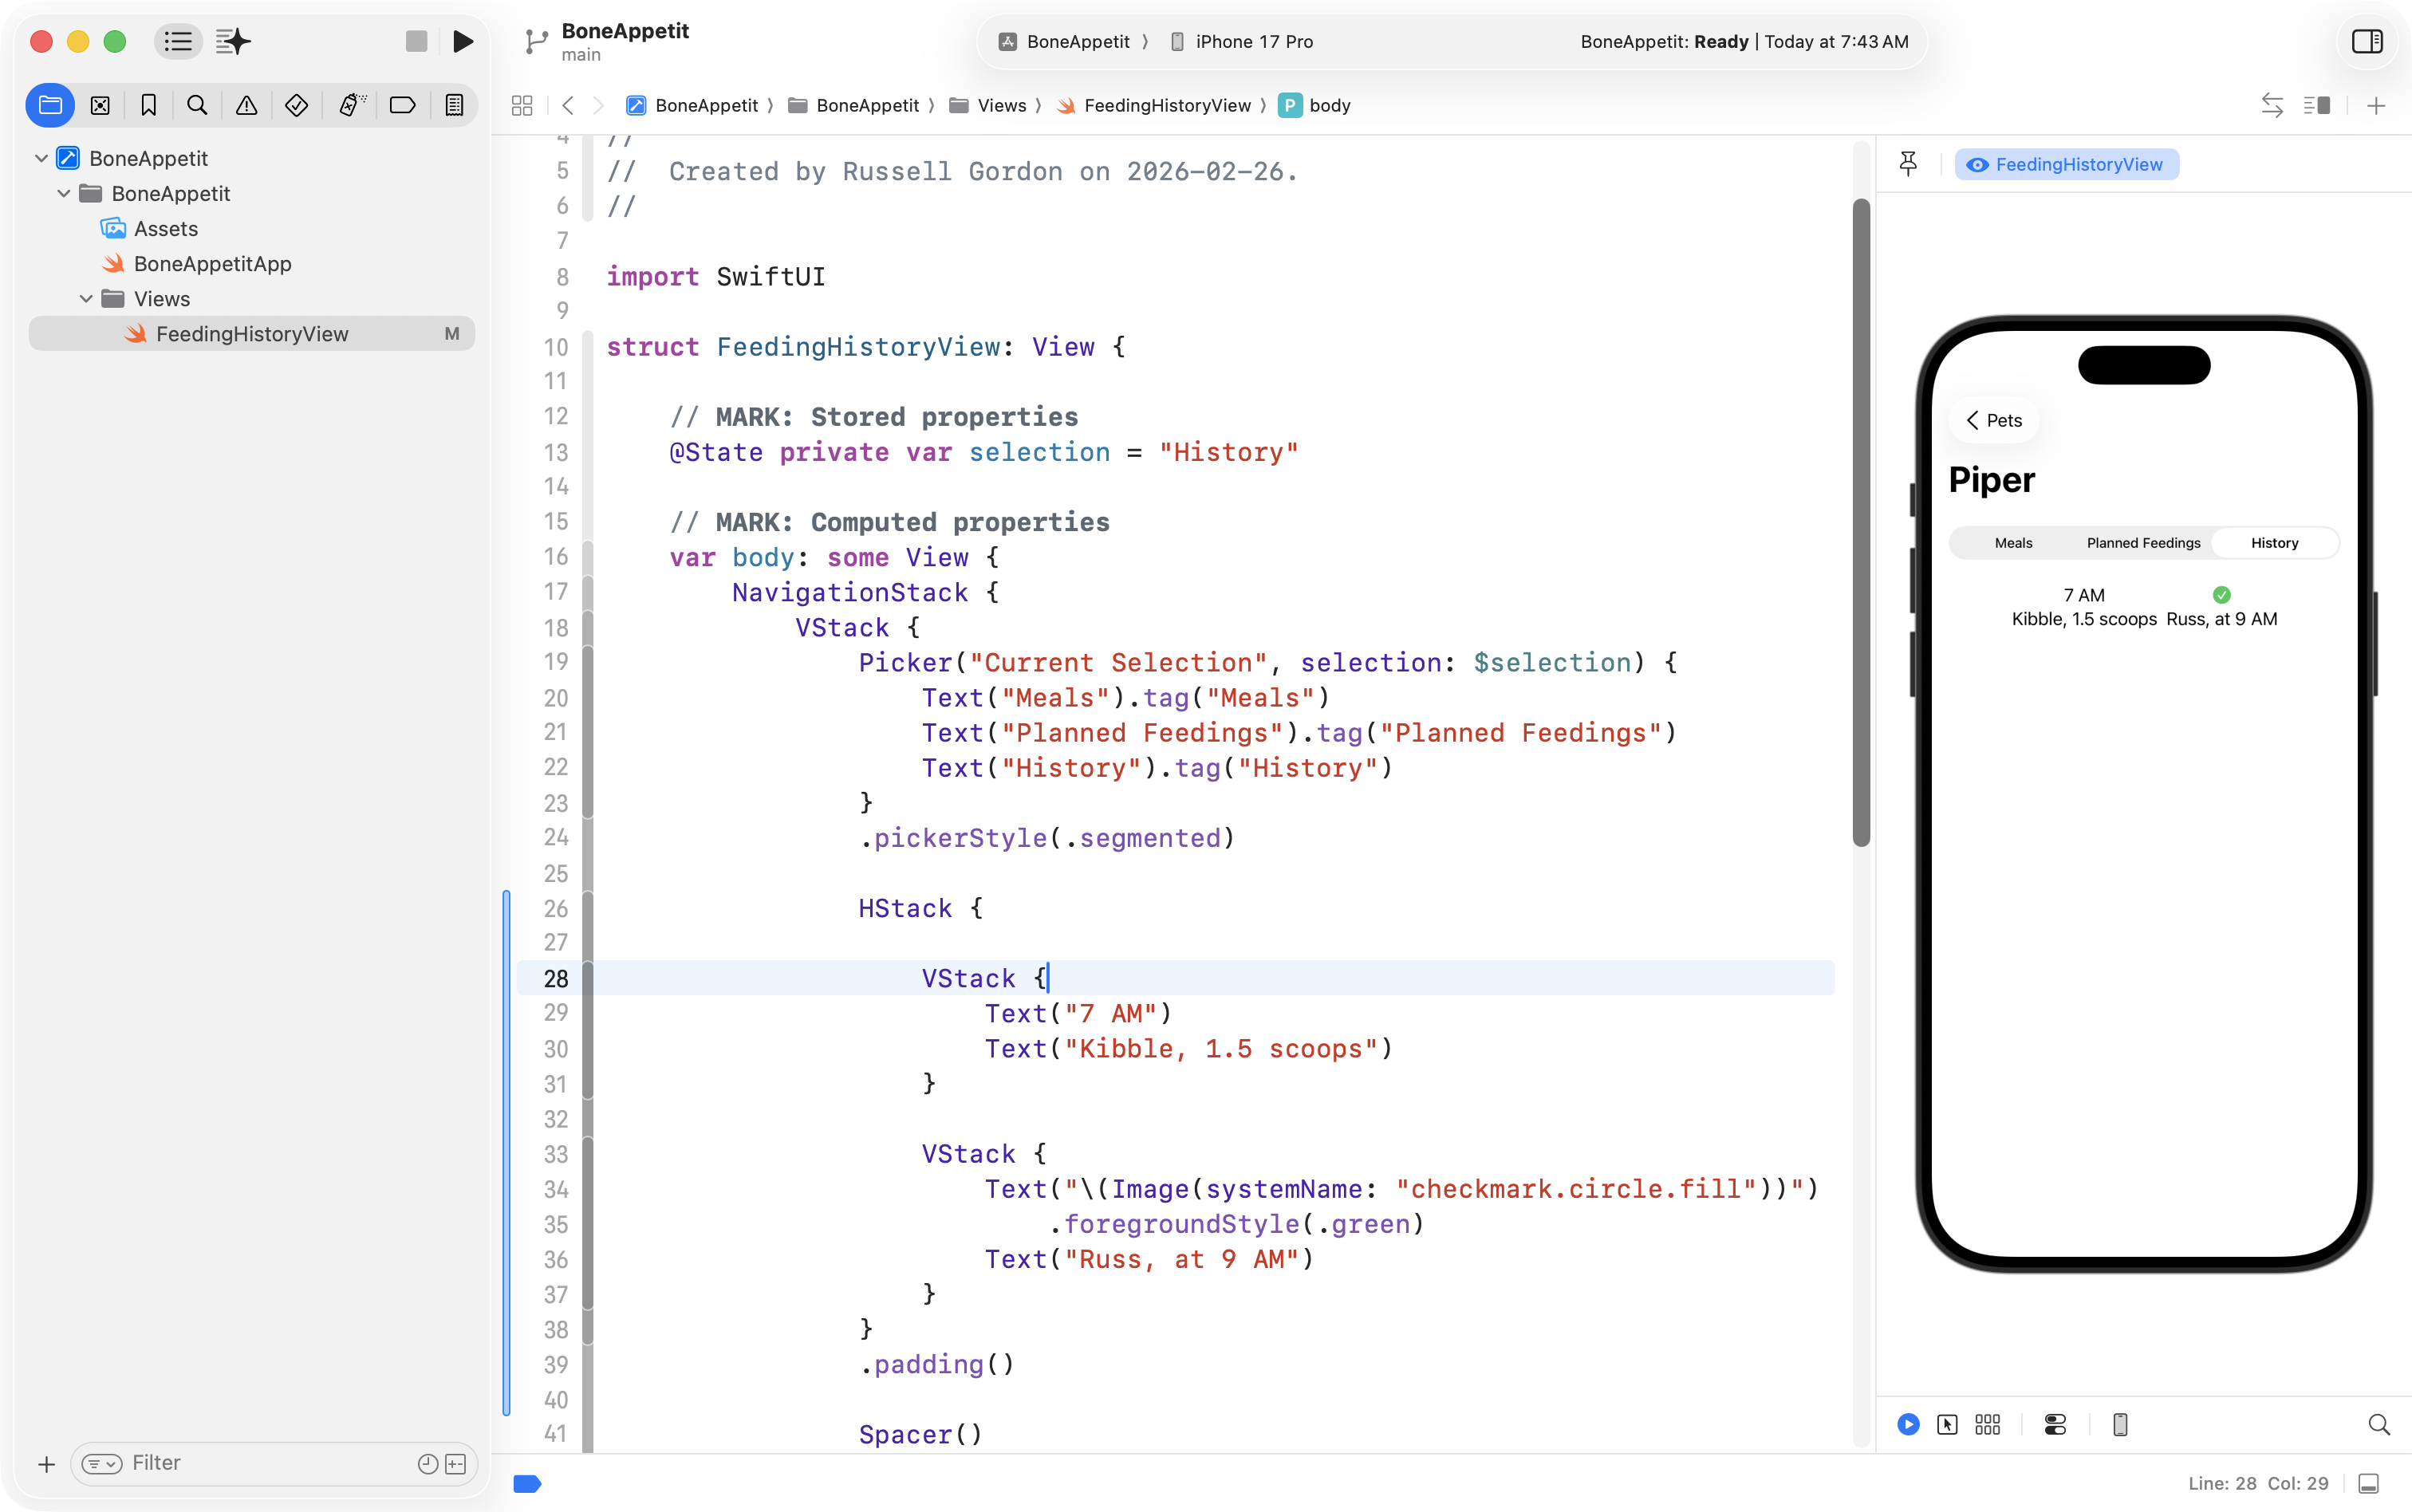
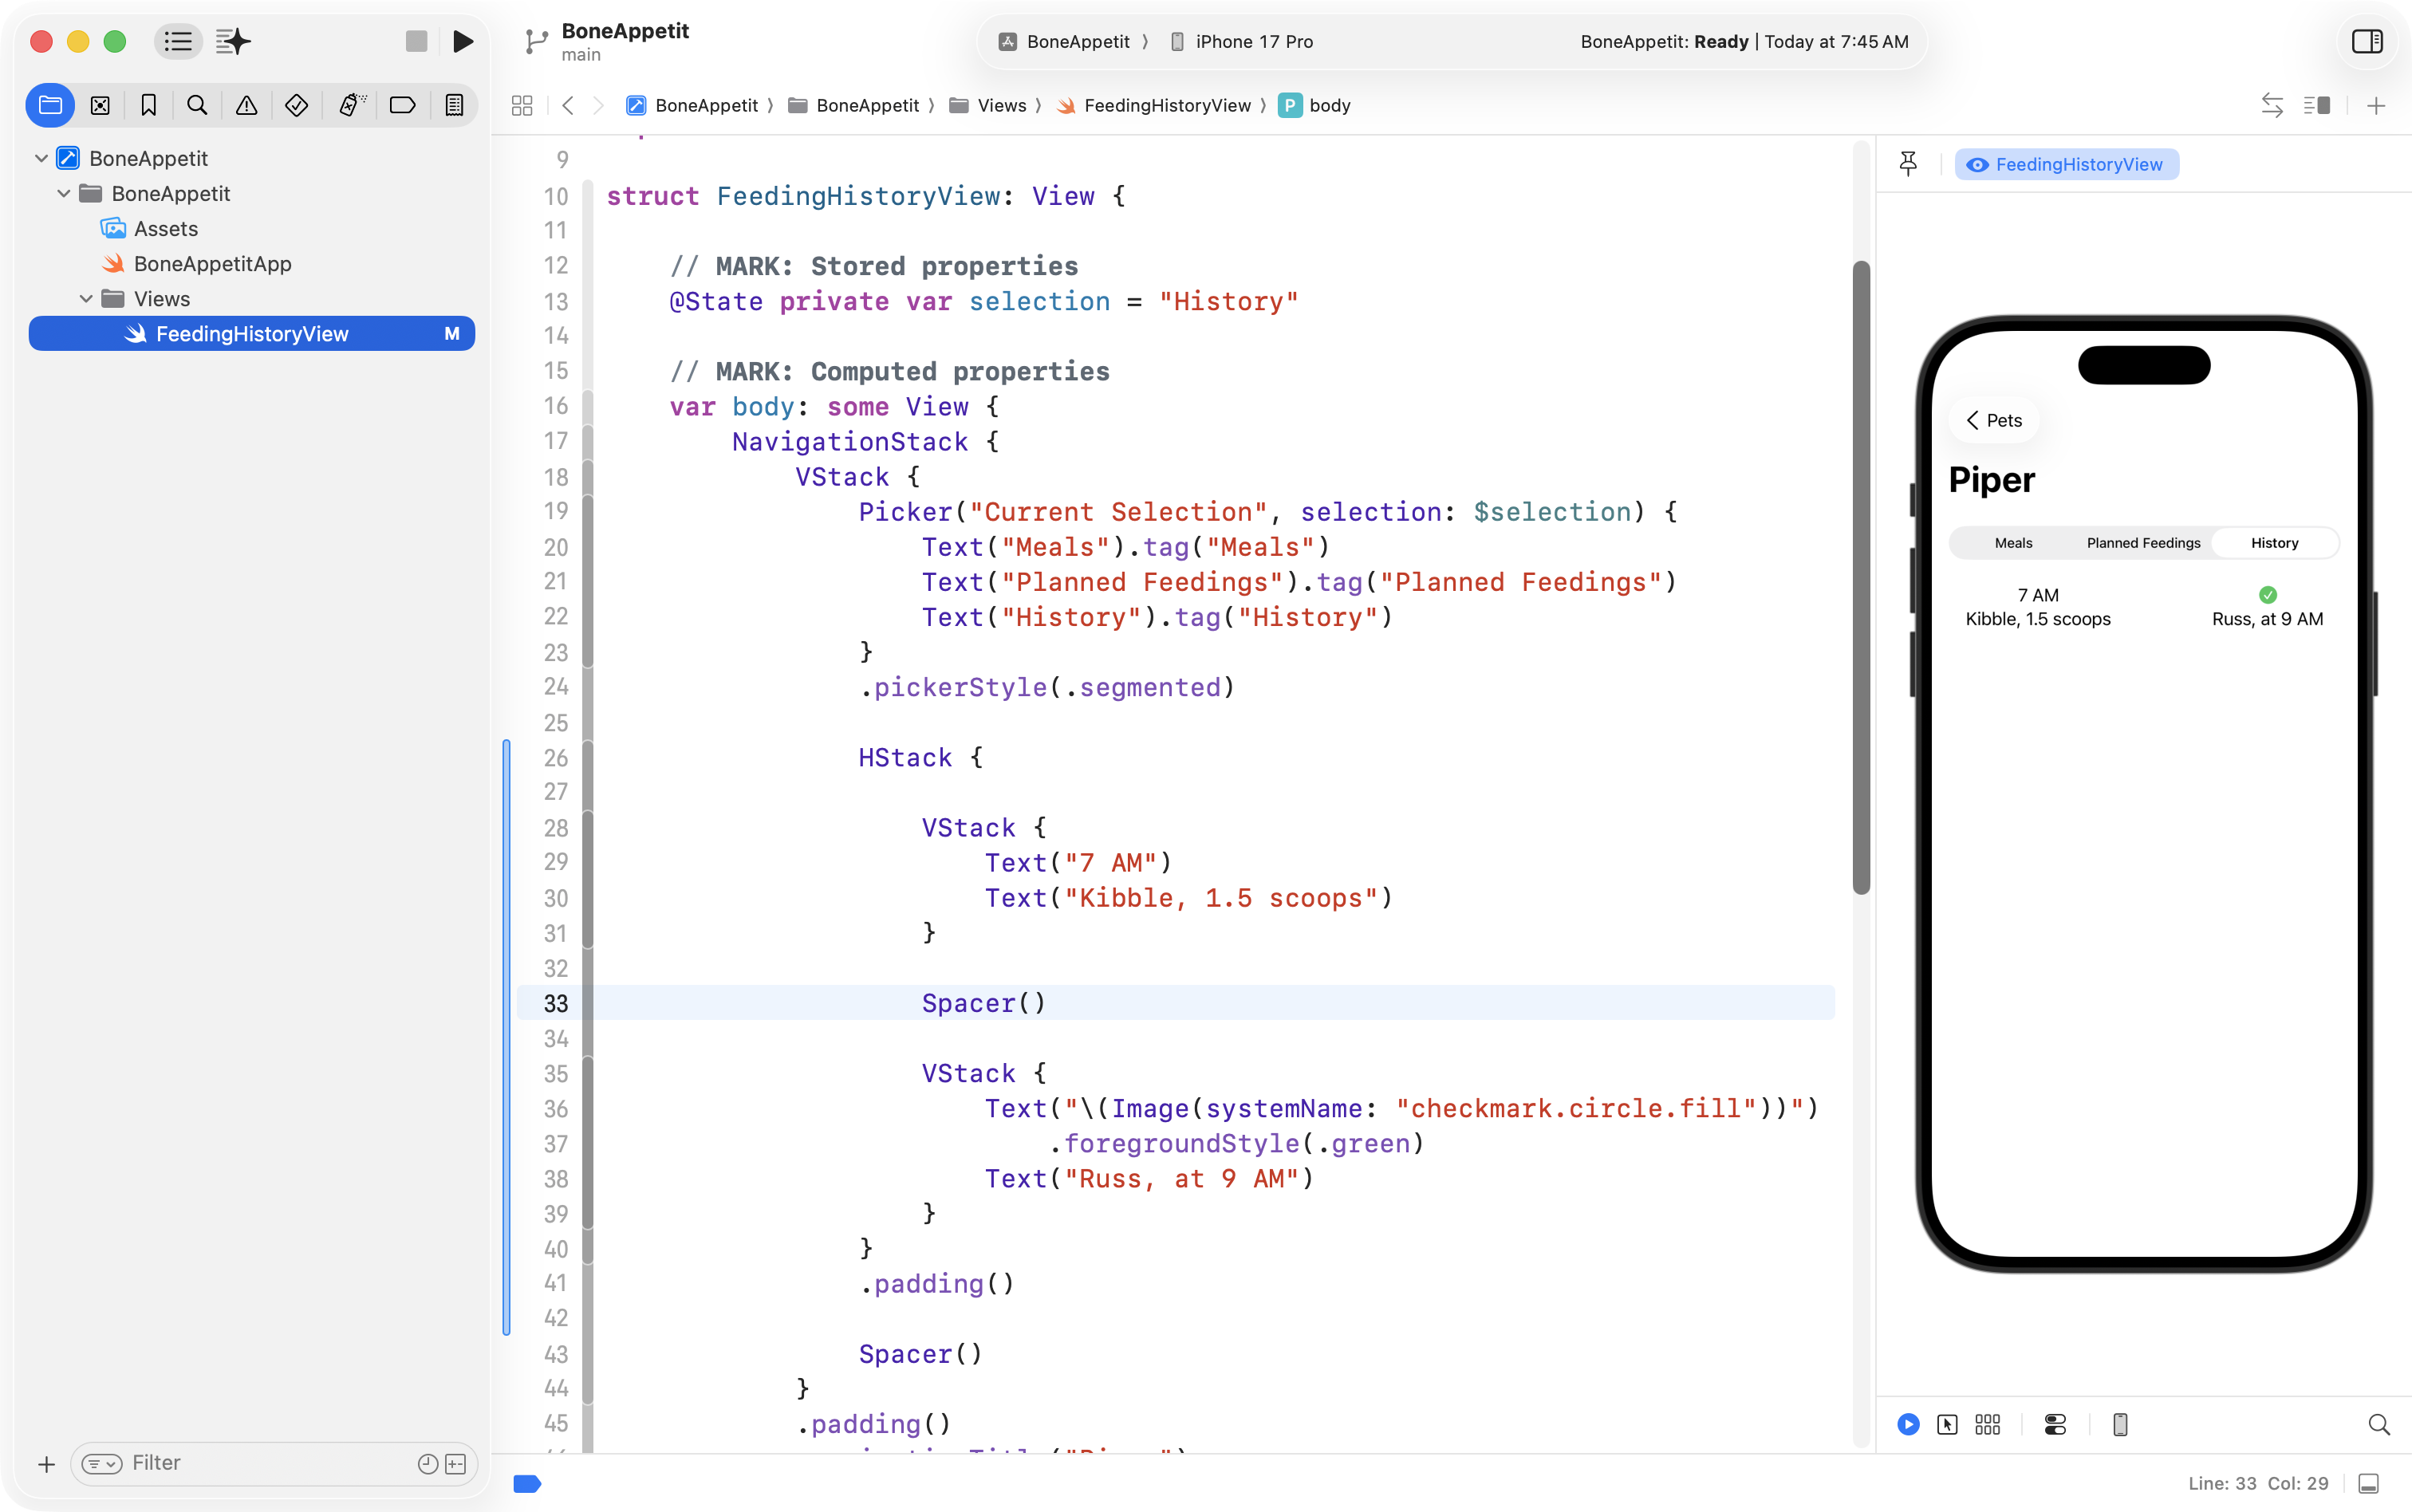
Next he added a Spacer to push each VStack to the left and right sides of the HStack:
The alignment of the text is not quite right in each VStack – this is easily seen by adding a border to each vertical stack:
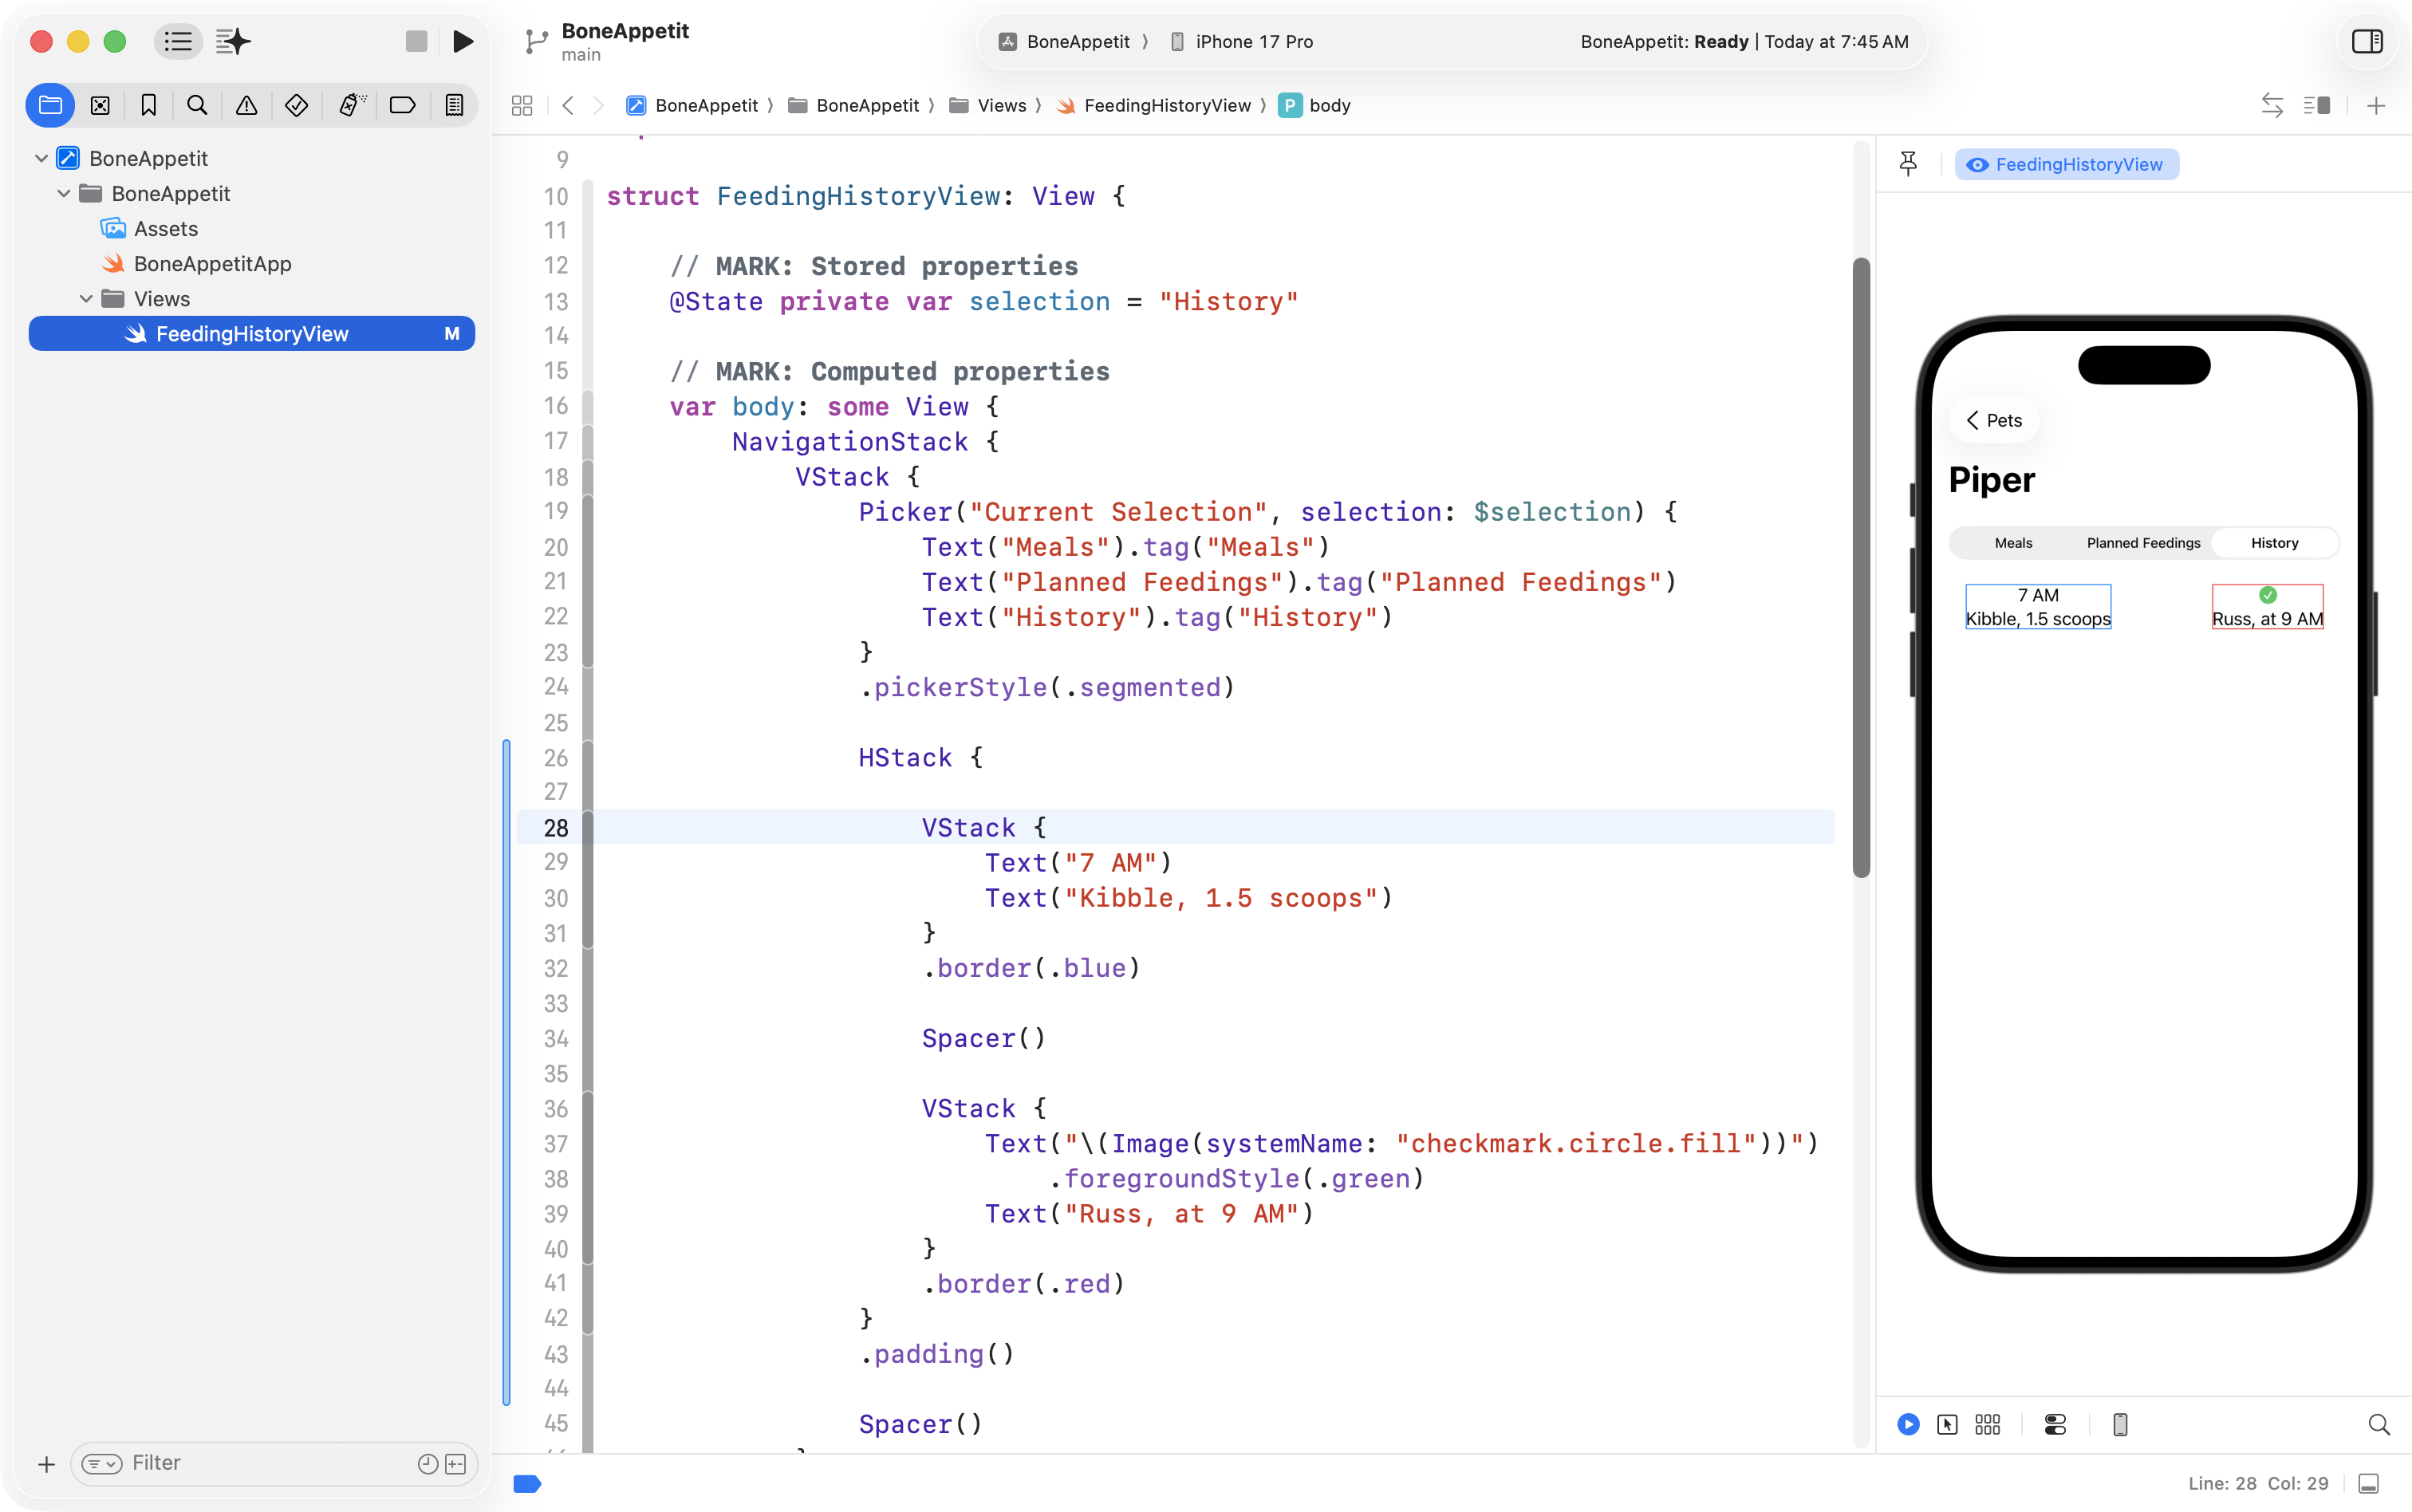
Consulting SwiftUI Views Quick Start helped him find the alignment option:
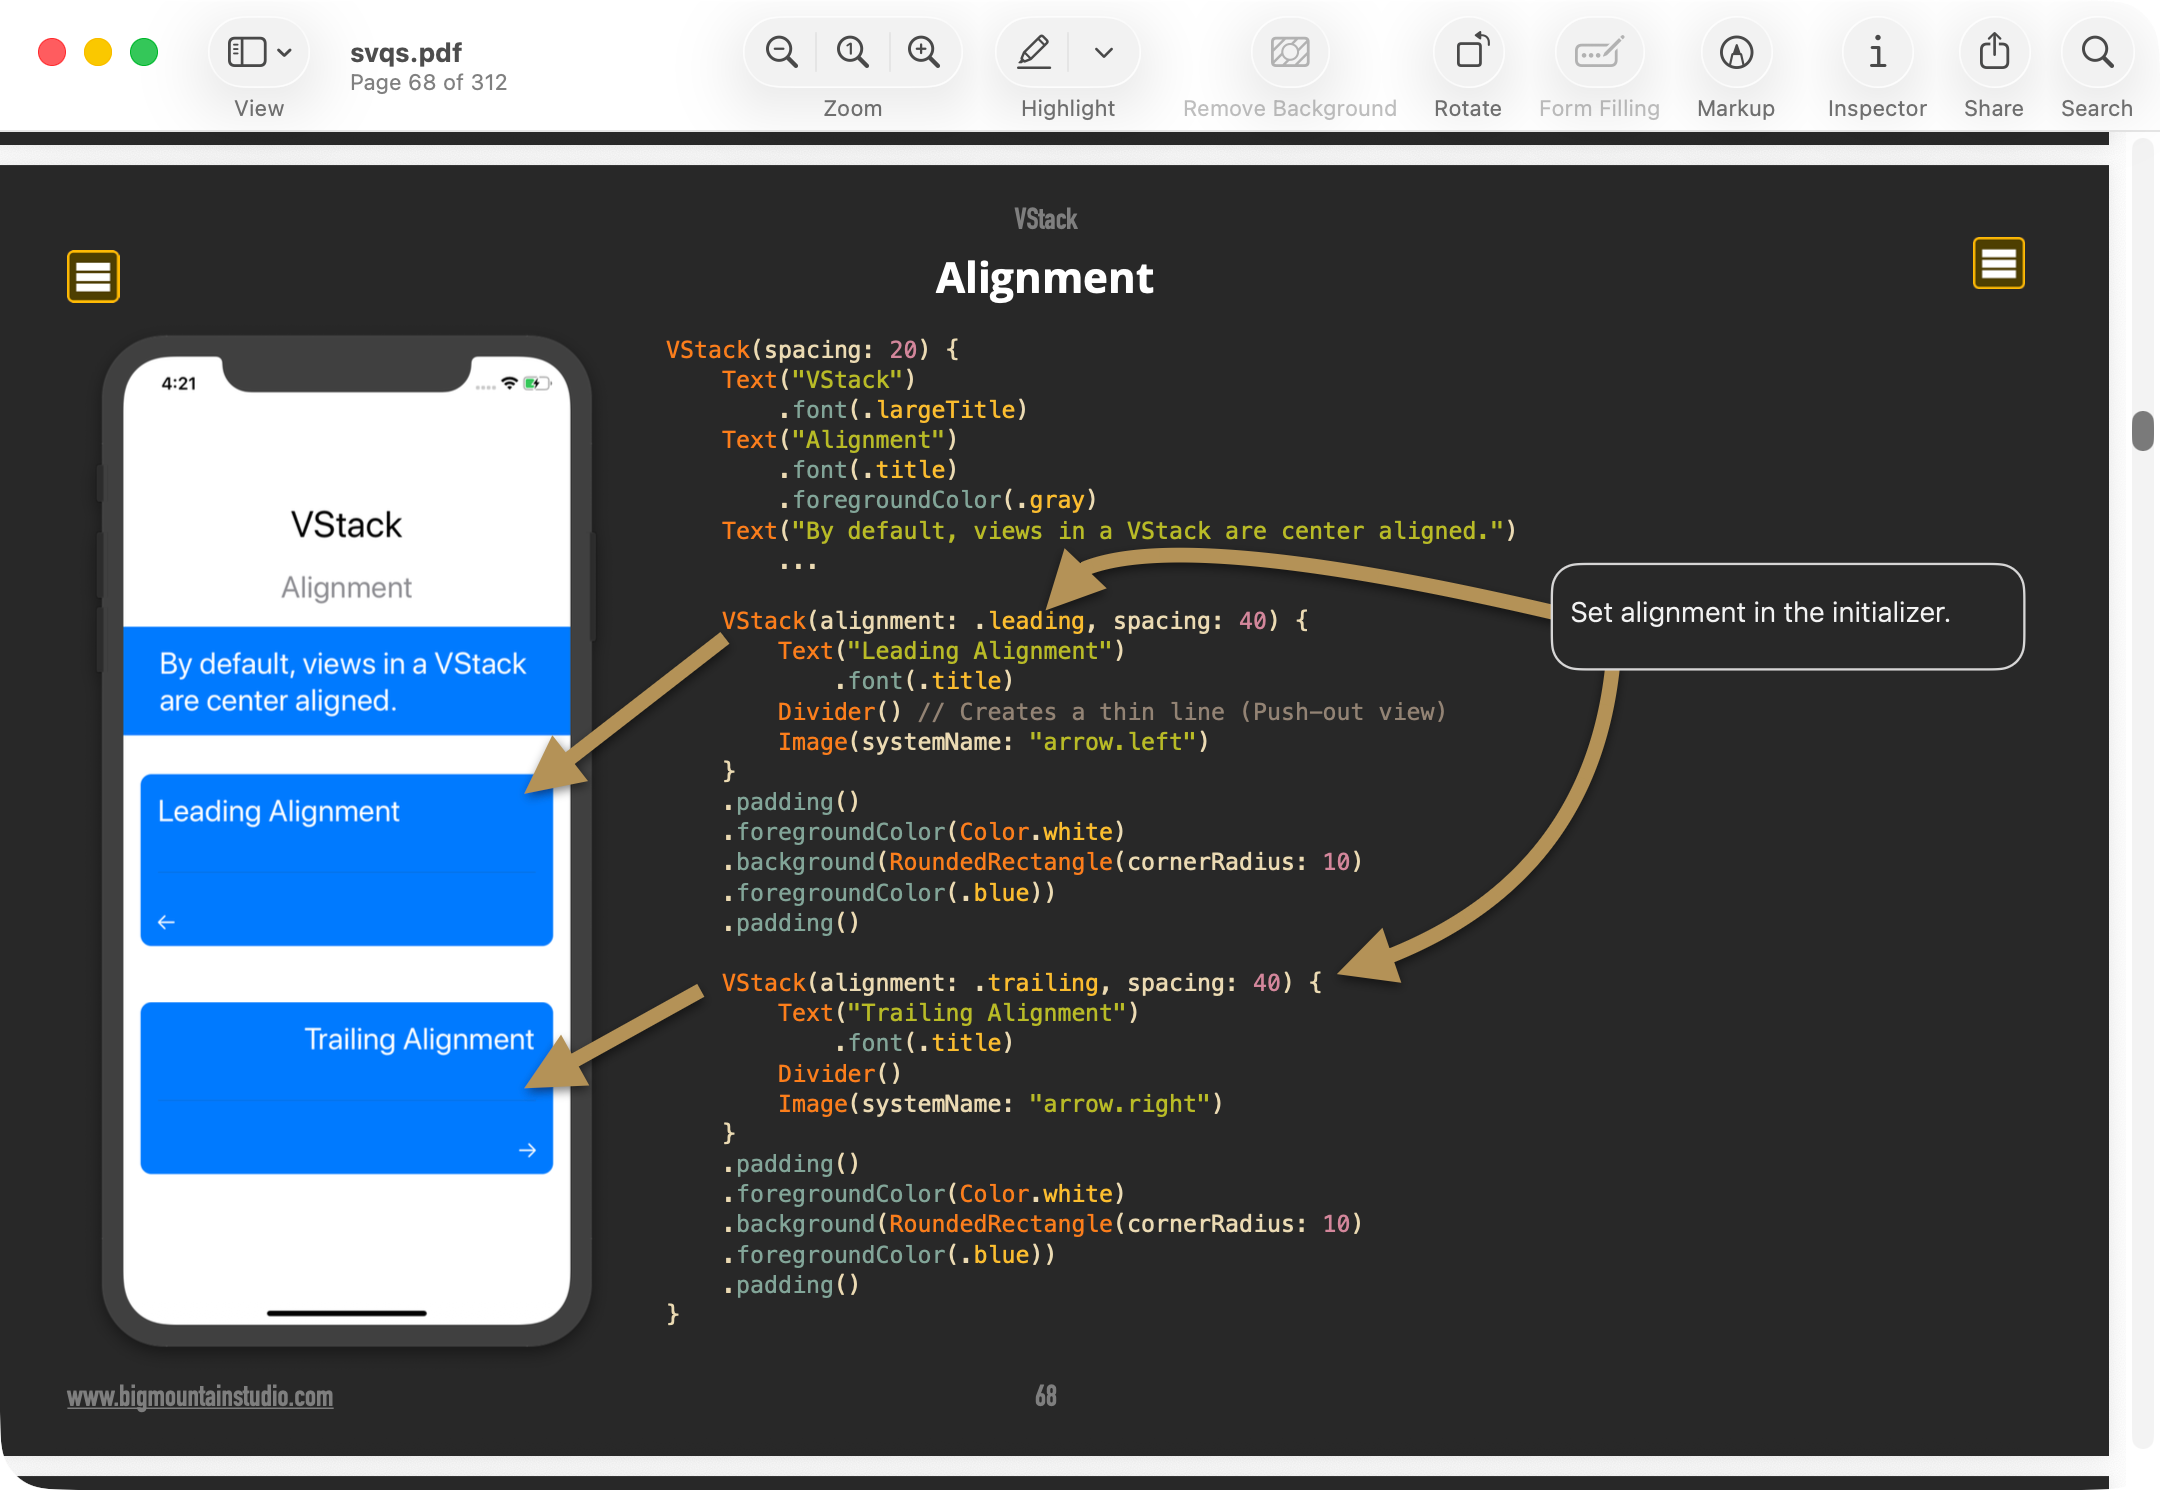
He applied that like so:
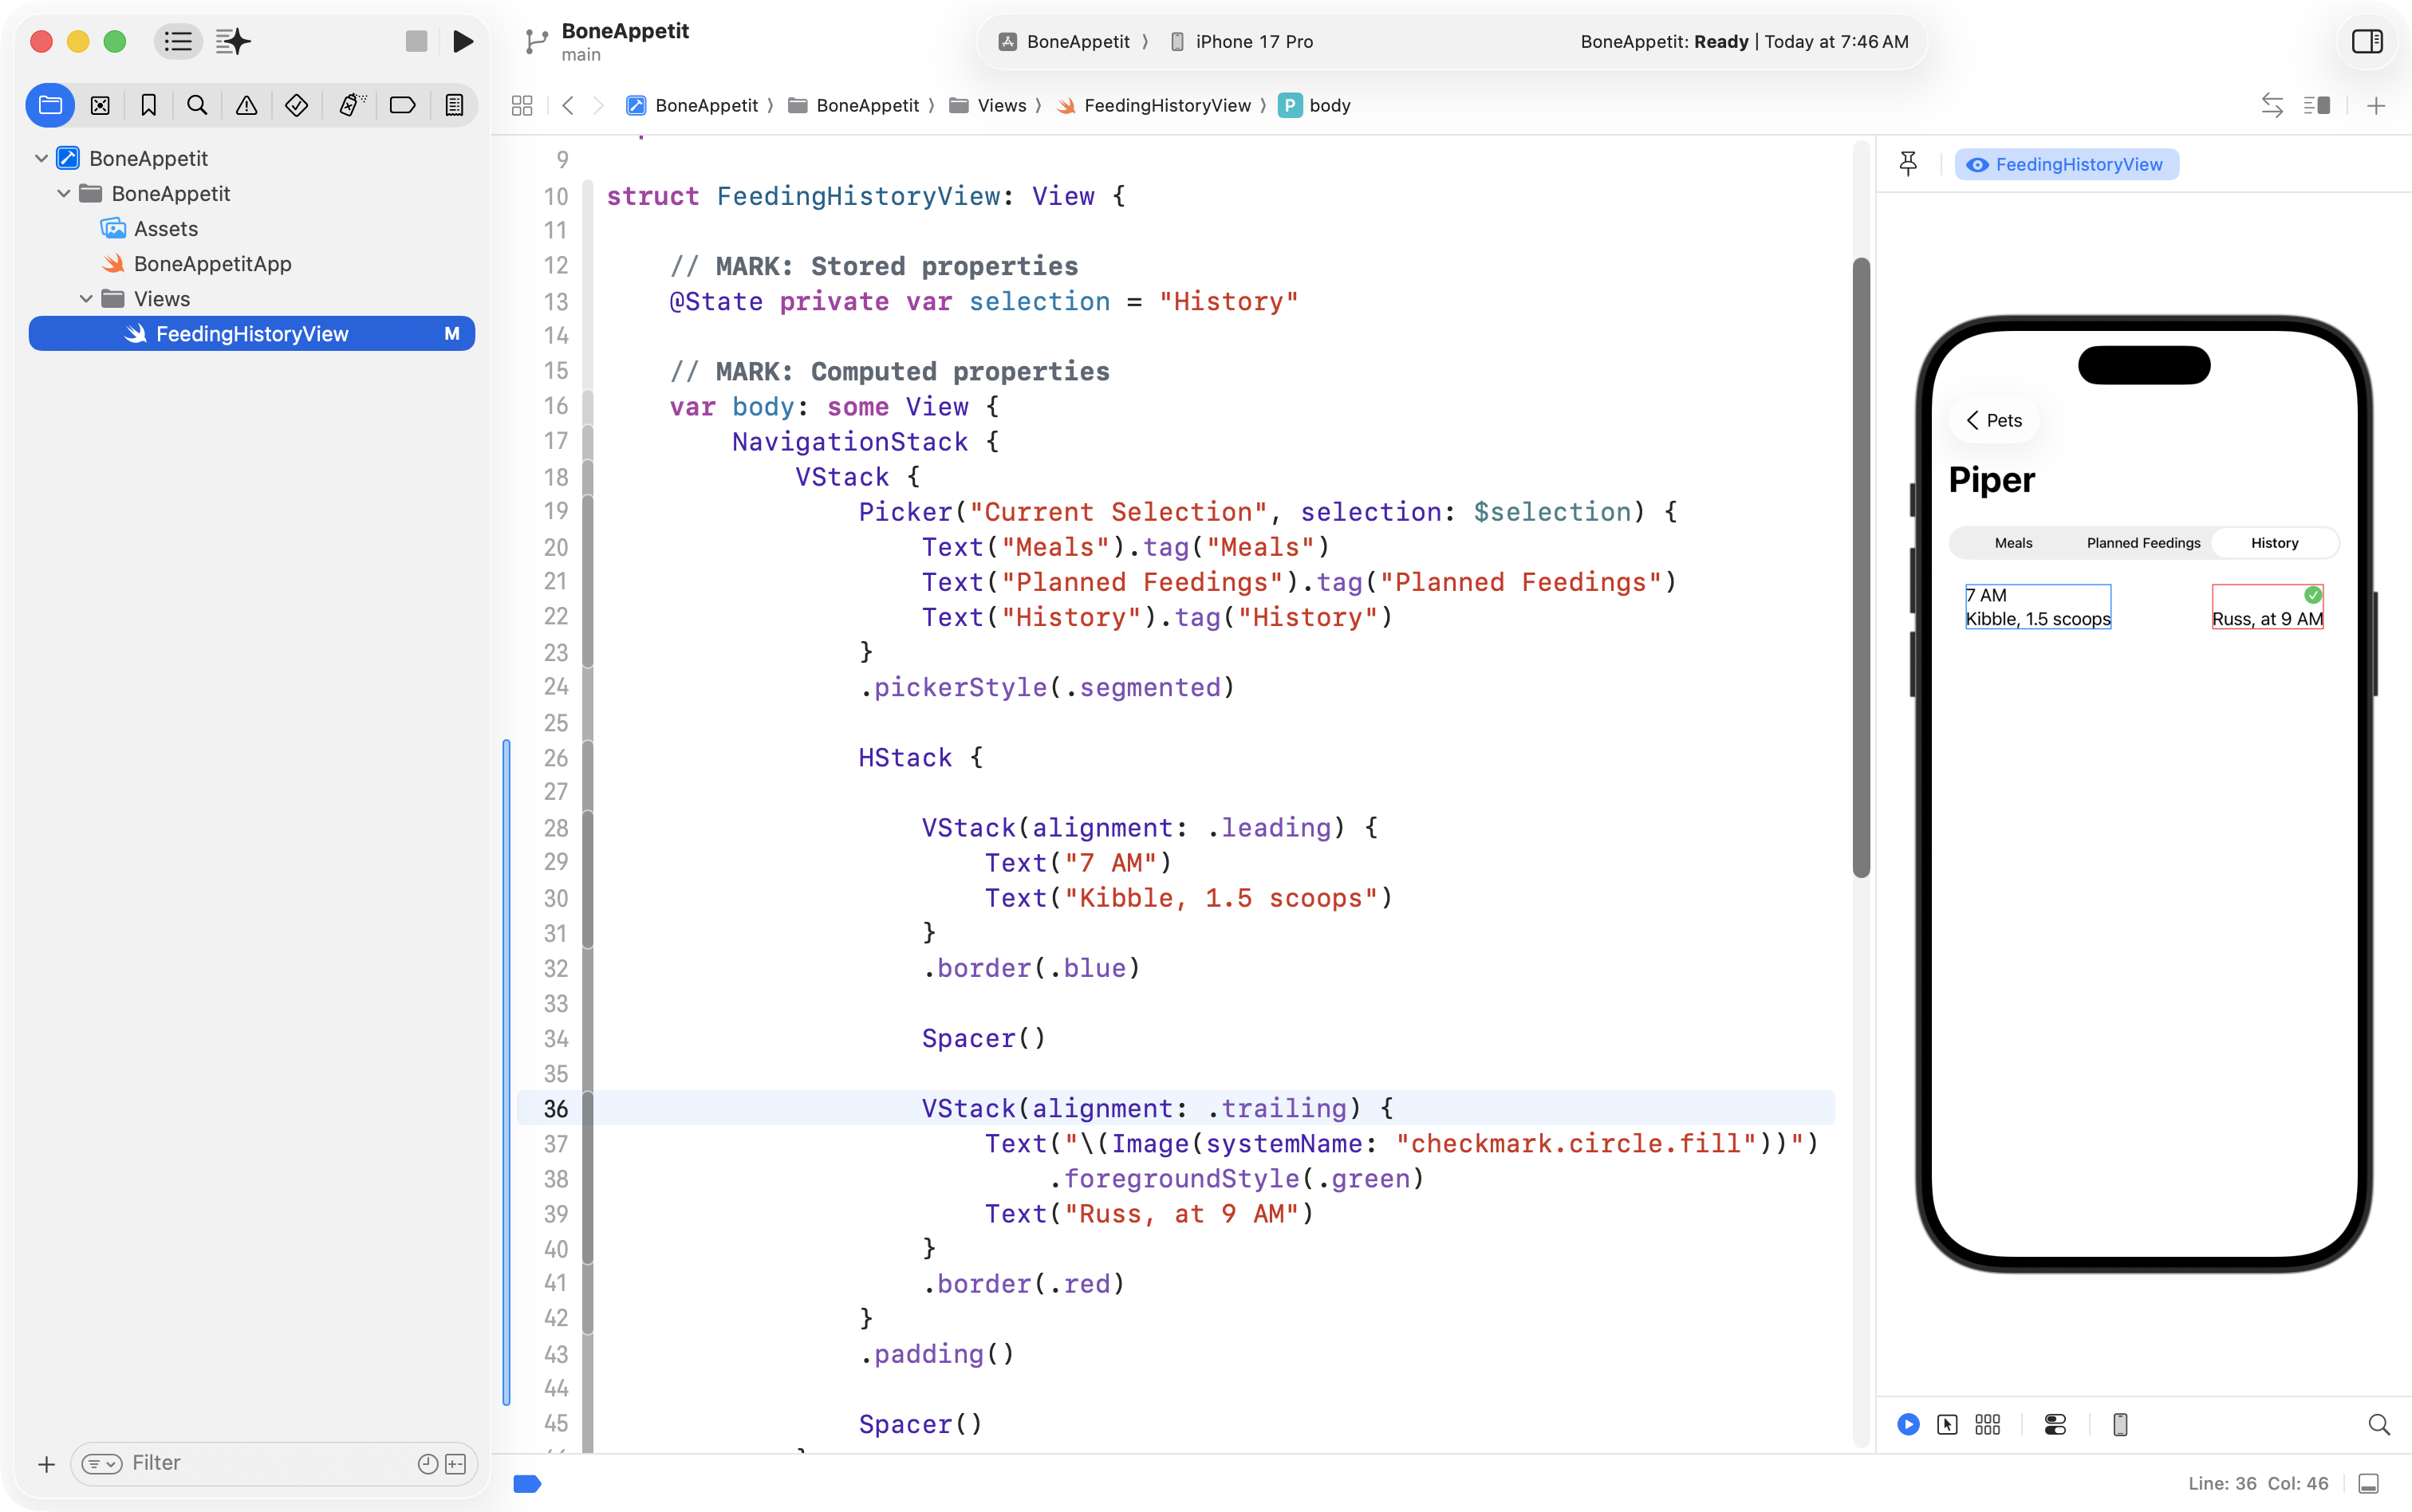
Finally, a bit of work to adjust font size and weight finished the job, along with an outer border to see the edges of the view:
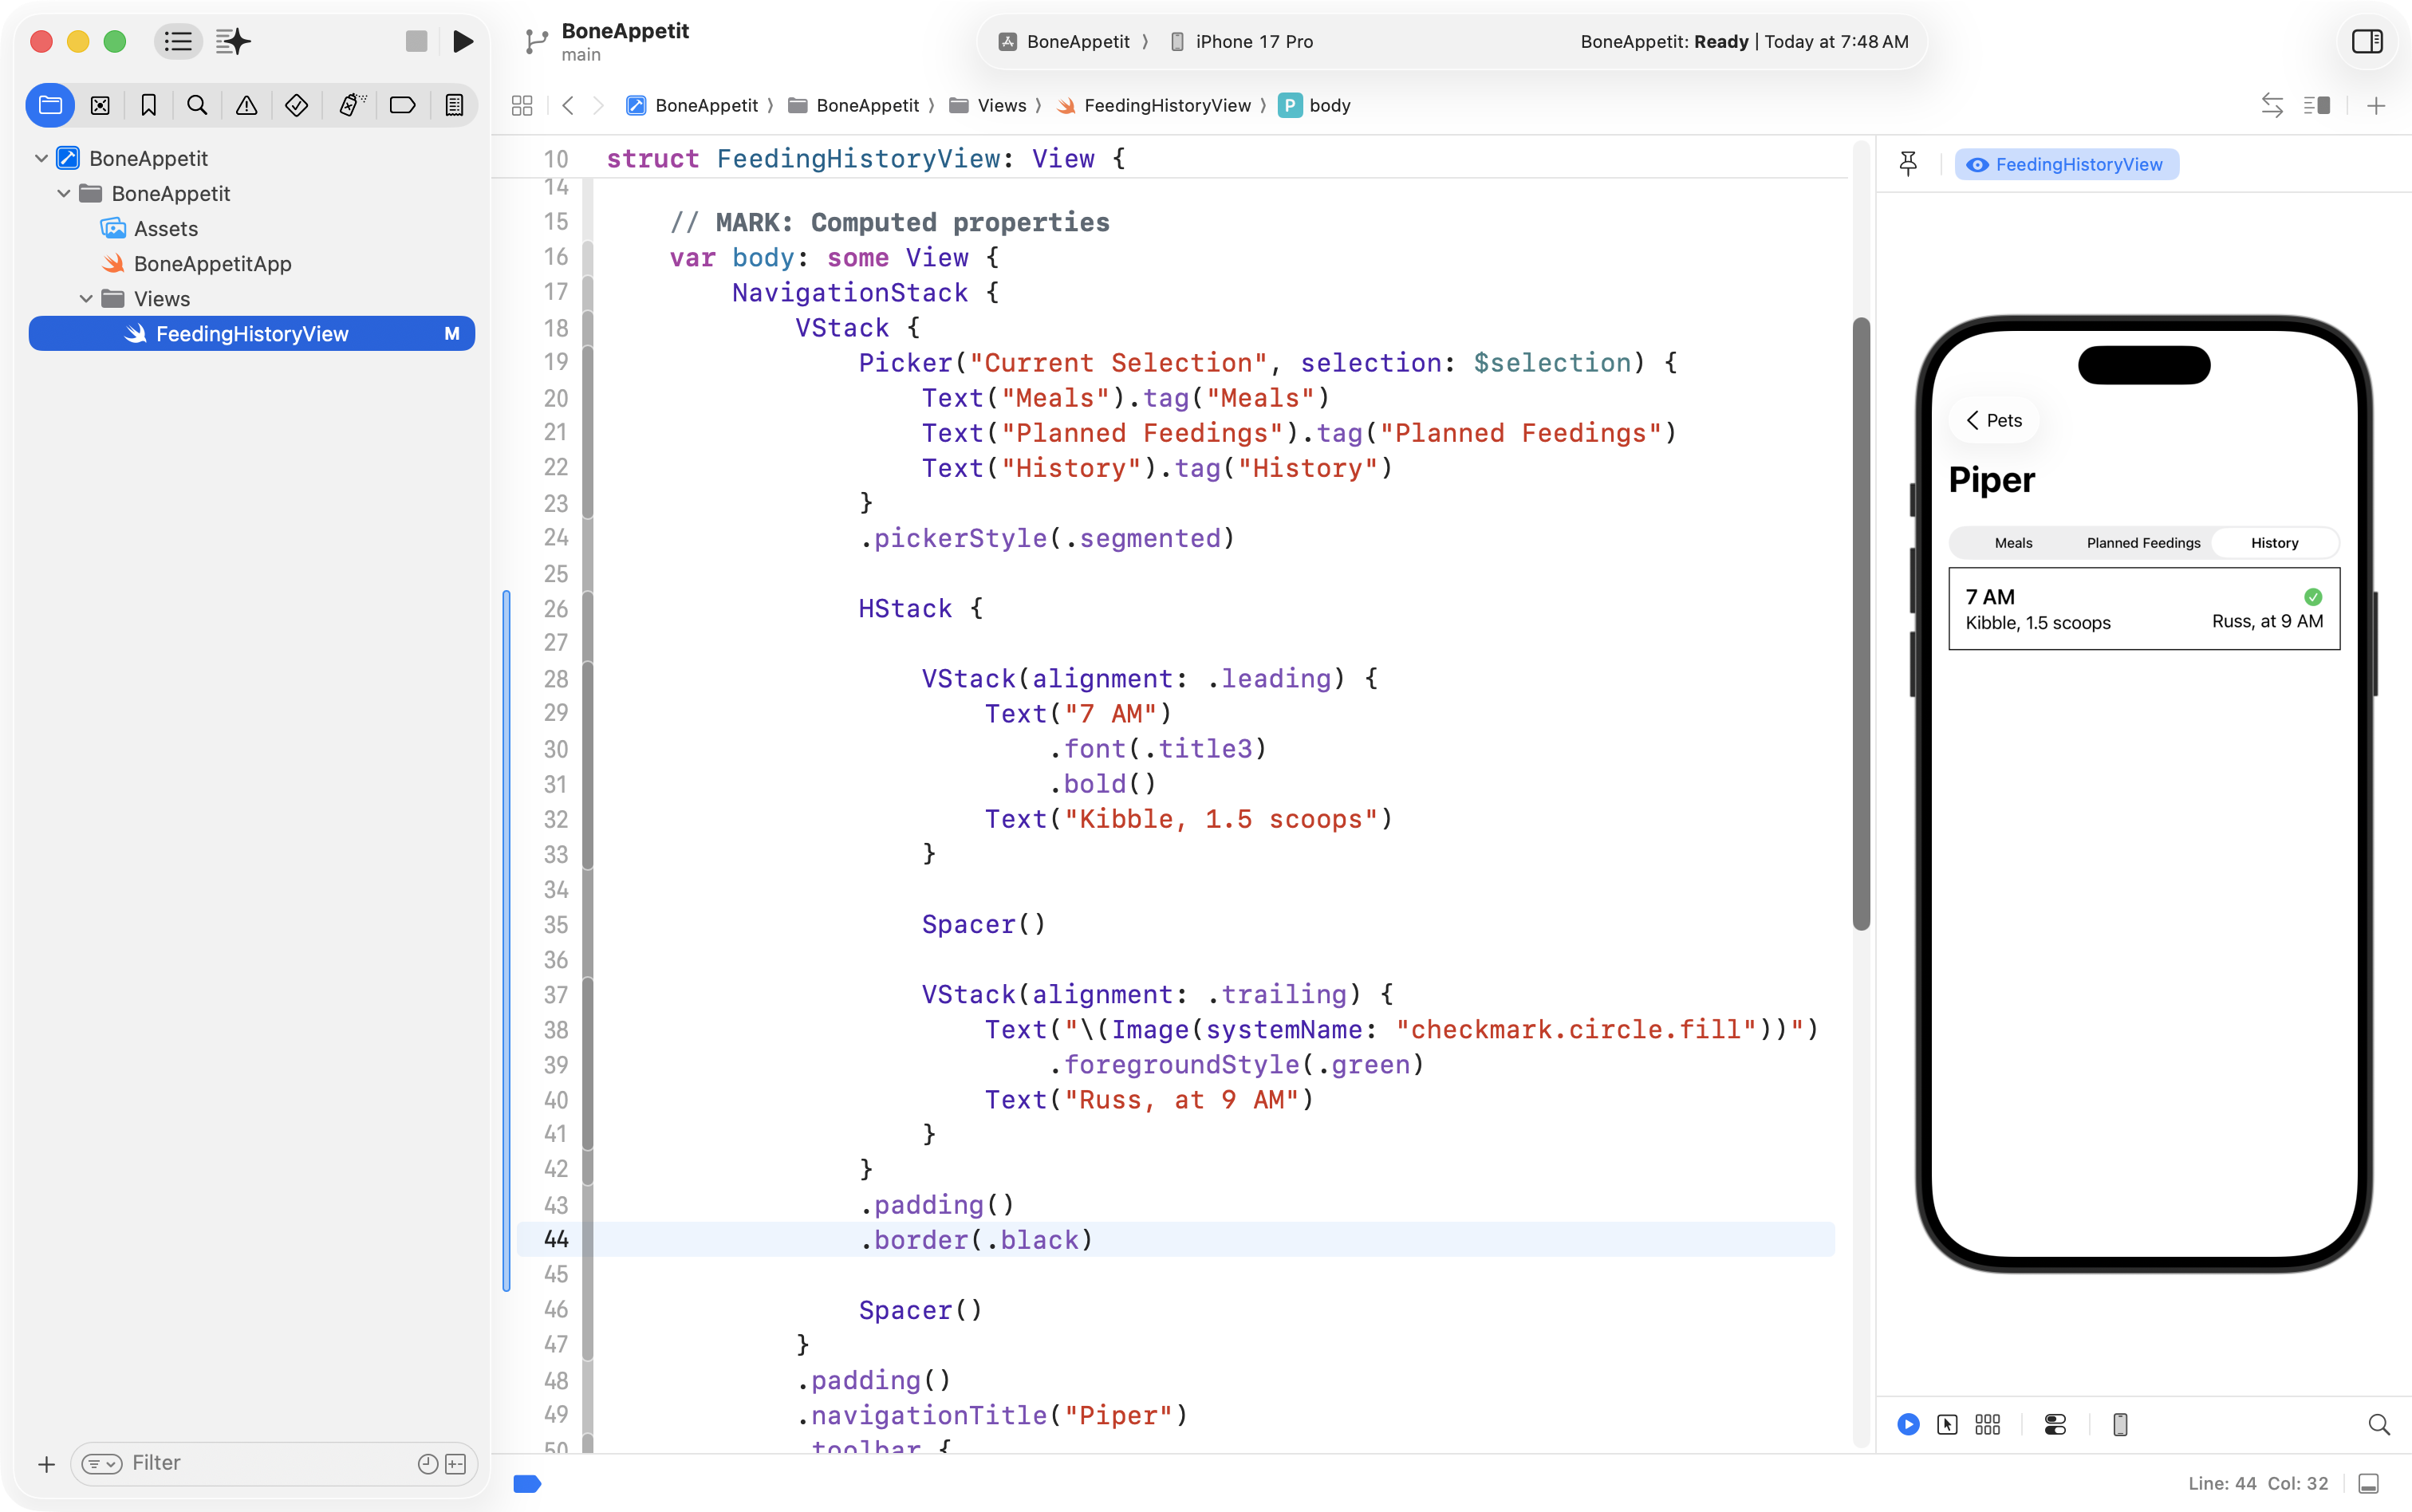
Not wanting to lose this progress, he committed his work using this message:
Got the list item view for a given feeding record done.
Make custom subview
Since the feeding record is repeated many times within the interface:
… and remembering the D.R.Y. principle, Mr. Gordon created a custom subview:
… then used several instances of that view back in the FeedingHistoryView:
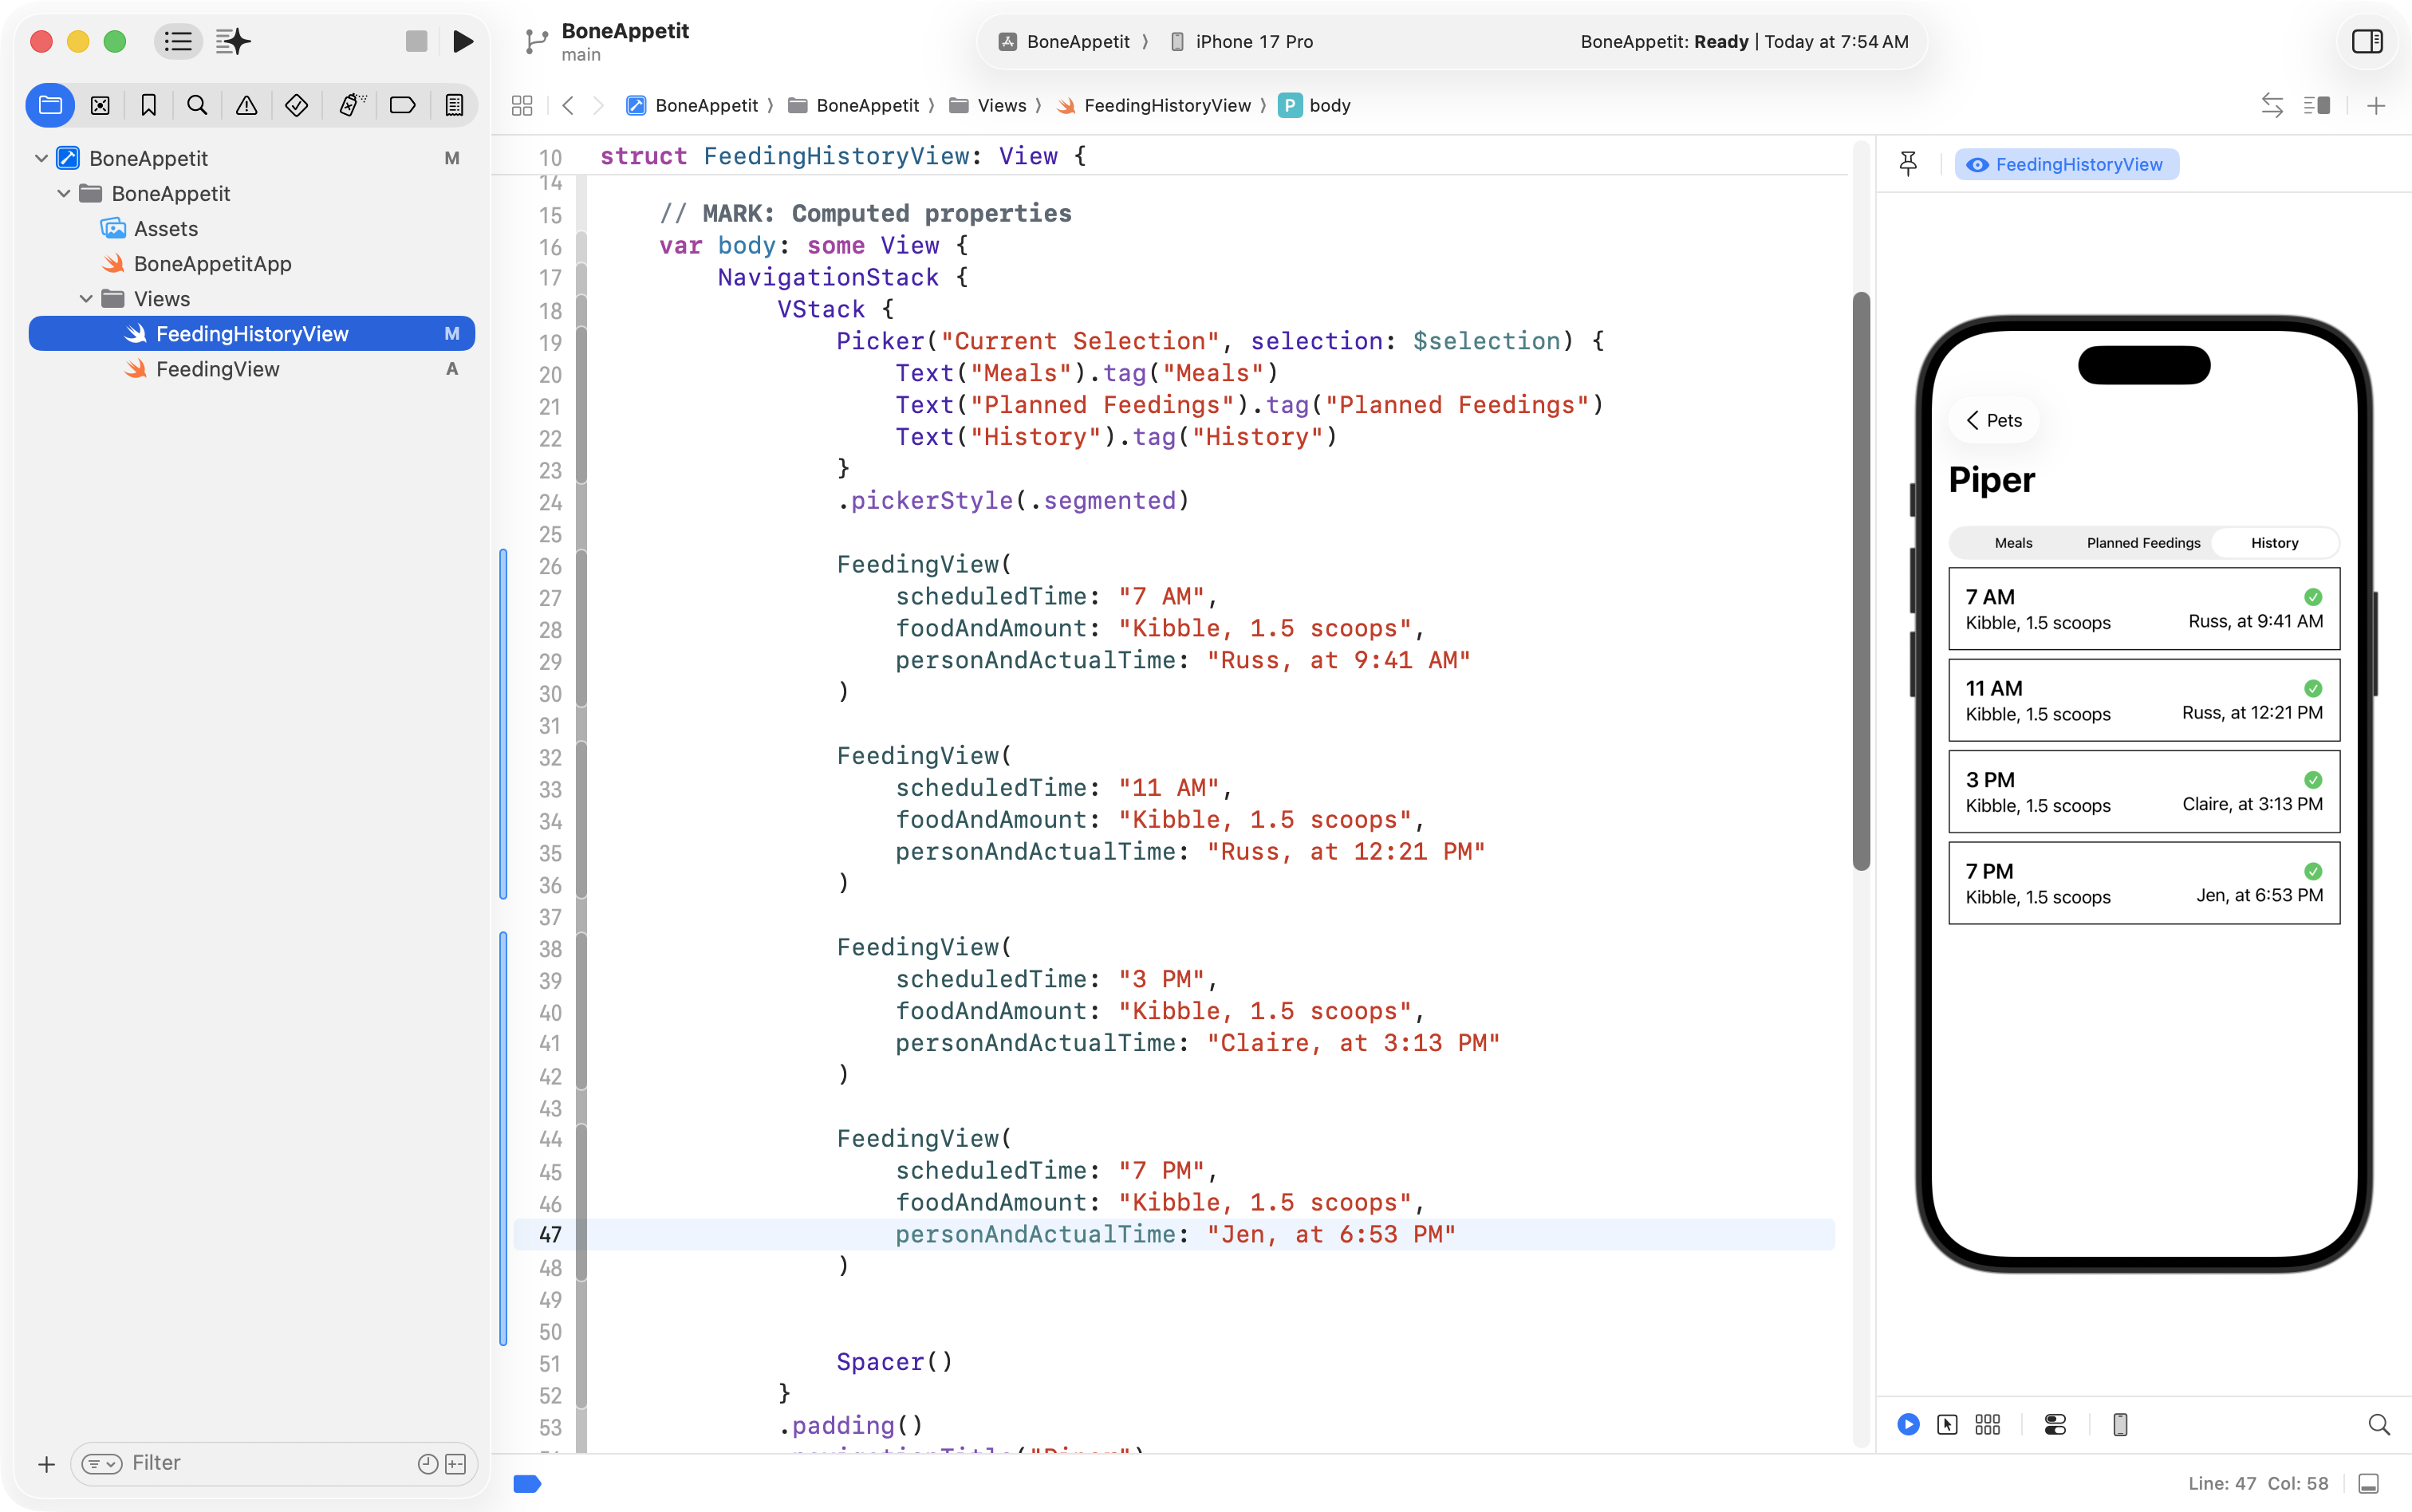
That’s great progress too, so Mr. Gordon committed his work with this message:
Got the feeding item custom subview created. Used it to show several feedings.
NOTE
There is a bit more for Mr. Gordon to do, but you get the idea of what needs to happen for this exercise…
Exercise
Together with your partner, today, make a rough plan for both interfaces, then implement them in code: